Advertisement
Quick Links
Advertisement

Summary of Contents for NCR 7761-K001
- Page 1 KIT INSTRUCTIONS Wall Mount with Expansion Module 7761–K001 Issue B...
- Page 2 NCR, therefore, reserves the right to change specifications without prior notice. All features, functions, and operations described herein may not be marketed by NCR in all parts of the world. In some instances, photographs are of equipment prototypes. Therefore, before using this document, consult with your NCR representative or NCR office for information that is applicable and current.
-
Page 3: Revision Record
Revision Record Issue Date Remarks Jan 2016 First Issue May 2017 Removed reference to VESA... - Page 4 Wall Mount with Expansion (7761–K001) Introduction This kit provides a wall mount for the P1535/P1235 with the expansion module.
-
Page 5: Installation Procedure
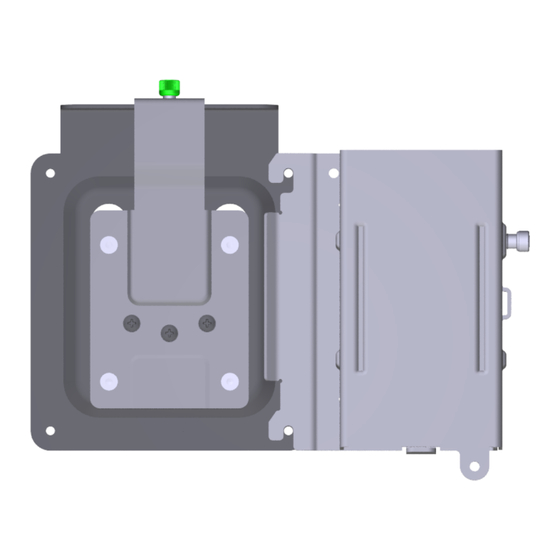
7761-K001 (Wall Mount with Expansion) Installation Procedure 1. Secure the Mount Plate (with UP arrow pointing up) to the vertical surface using lag screws (4). Make sure you install the screws into the studs or that you use hardware of similar strength. Use the bracket as a template to mark the location of the holes or... - Page 6 7761-K001 (Wall Mount with Expansion) 2. Remove the Expansion Module from the terminal. a. Loosen the screws (2). b. Pivot the bottom end of the module up and then remove the plate tabs on the top end of the expansion module from the slots in the rear cabinet.
- Page 7 7761-K001 (Wall Mount with Expansion) 5. Hang the terminal on the Mount Plate. a. Insert the mushroom studs on the Wall Mount into the elongated slots on the Mount Plate. b. Slide the terminal down to lock the brackets together.
-
Page 8: Power Supply Bracket
7761-K001 (Wall Mount with Expansion) Power Supply Bracket 1. Attach the Power Supply Bracket beside the Mount Plate. a. Loosen the screws (2) of the Mount Plate. b. Hook the Power Supply Bracket over the screws. Re-tighten the screws. Note: To install the Power Supply Bracket independently from the Mount Plate,... - Page 9 7761-K001 (Wall Mount with Expansion) 2. Insert the power supply into the bracket (AC Connector on top). 3. Replace the front cover of the bracket. 4. Secure the bracket with the thumbscrew and the AC Power Cord with a cable tie.


Need help?
Do you have a question about the 7761-K001 and is the answer not in the manual?
Questions and answers