
Related Manuals for Peak Scientific Genius XE Series


Summary of Contents for Peak Scientific Genius XE Series
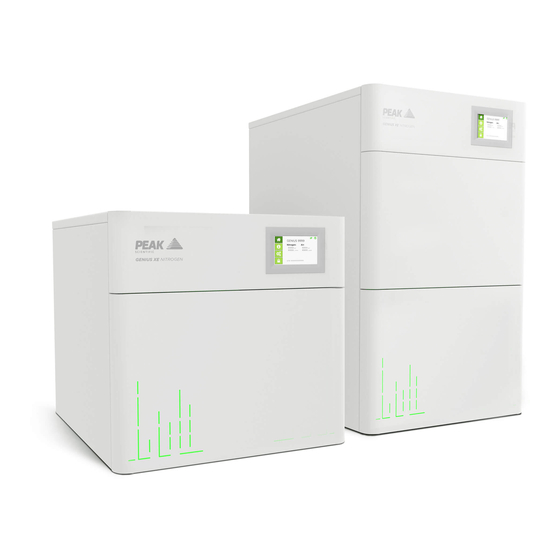
- Page 1 Genius XE Series (All Models) Installation Guide Register product to operate at IMPORTANT IMPORTANT www.peakscientific.com/activate GeniusXE Installation Guide Rev 5 PN IG-0022 RSID 2300 EN 20/11/19...
- Page 2 Register Product to Operate To begin operation of your unit you will need to register your generator. You can do so by visiting www.peakscientific.com/activate or by downloading the Peak Genius App. Registering will activate your 2 year warranty* - covering every single component in your generator.
-
Page 3: Change History
User Manual for your gas generator. Thank you for selecting Peak Scientific to meet your laboratory gas generation needs, should you require any further assistance or support please do not hesitate to contact Peak Scientific or Peak Partner from which you purchased your generator. -
Page 4: Safety Notices
If the user employs an operating procedure, item of equipment or a method of working which is not specifically recommended by Peak Scientific, the user must ensure that the equipment will not be damaged or become hazardous to persons or property. - Page 5 Fittings Kit - Genius XE 35 4mm Hex Key 3300407 US Mains Cable 230V C19 6-15 04-1024 Flow Control SIlencer 02-1096 1/4” PTFE Tubing 00-1266 UK Mains Cable C19 04-1025 1/4” Compression Fitting 02-4421 6mm PTFE Tubing 00-1302 EU Mains Cable C19 04-1026 6mm Push Fit Fitting 02-4600 x1**...
- Page 6 Fittings Kit - Genius XE 70 4mm Hex Key 3300407 Flow Control SIlencer 02-1096 US Mains Cable 230V C19 6-15 04-1024 1/4” PTFE Tubing 00-1266 1/4” Compression Fitting 02-4421 UK Mains Cable C19 04-1025 6mm Push Fit Fitting 02-4600 6mm PTFE Tubing 00-1302 EU Mains Cable C19 04-1026 1/4”...
- Page 7 Right Left 0° 0° Unpack the generator from the shipping crate, referring to the unpacking instruction located on the outside of the box, and position on a flat surface in desired area. The unit should be left to acclimatize for 3 hours. 3300407 First remove the compressor transit brackets.
- Page 8 3300407 Once the top plate has been removed, use the 4mm Hex Key 3300407 to loosen the two cap screws fixing the right-hand side panel to the rear of the generator, then tilt outwards and slide backwards to release the side plate from the generator. 8mm Spanner With the right-hand side plate removed, use an 8mm spanner to remove the hex nuts holding the compressor doors in place, taking care to retain the spring washers.
- Page 9 10mm Spanner The transit brackets are located below the compressors and have stickers on them stating ‘Remove before use’. To remove the transit brackets, use a 10mm spanner to remove the two screws on each bracket as indicated, then slide the brackets out from underneath the compressors.
- Page 10 3300407 Reattach the right hand side and top panel to the generator Ensure all screws are firmly tightened WARNING 02-1096 02-4600 Select the 6mm Push Fit Fitting 02-4600 and attach to the Drain port at the rear of the generator. Attach the Flow Control Silencer 02-1096 to the Nitrogen port. Page 10...
- Page 11 00-1282 Connect the 6mm Polyethylene Tubing 00-1282 to the 6mm Push Fit Fitting 02-4600. Fit the other end of the tubing to a suitable drain connection or container. The container MUST NOT have an airtight seal as water and air will be expelled periodically under a slight pressure.
- Page 12 CAUTION 120V 230V Plug the mains cable into the corresponding 120VAC 60Hz OR 230VAC 50/60Hz single phase power supply. CAUTION ensure the correct cable has been selected for your electrical supply. Consult the Electrical Requirements section if you are unsure of the requirements of your generator.
- Page 13 REGISTER YOU GENERATOR WITH OUR APP OR VISIT WWW.PEAKSCIENTIFIC.COM/ACTIVATE SERIAL: [ XXXXXXXXXXXX ] I’ve got my pin Before the generator will start-up for the first time the user must enter a unique 4-digit PIN code. To receive your generator’s unique PIN code, please register on the Peak website www. peakscientific.com/activate or by downloading the Peak mobile app from the Google Play Store or Apple App Store.
- Page 14 If the reading is 219V or less, then we would highly recommend fitting a Dual Tap Transformer 06-3200 (XE 35) or 06-3210 (XE 70). This can be ordered directly from Peak Scientific. For Genius XE 35 (120V) voltage should not be less than 114V.
- Page 15 If required, the output pressure can be adjusted using the pressure regulator at the rear of the generator. View the pressure gauge below the regulator when setting the pressure. This gauge is for indication only. The actual pressure should be confirmed on the display. minutes Leave the generator switched on for a period of 30 minutes to purge the system.
- Page 16 After 30 minutes of running, the generator can be turned OFF. Allow the stored gas in the internal tanks to dissipate. Once the pressure gauge at the rear of the unit reads 0, the silencer fitting can be removed from the Nitrogen port. Page 16...
- Page 17 02-4421 02-4600 Depending on the size of the inlet on the instrument, select either the ¼” Compression Fitting 02-4421 or the remaining ¼”- 6mm Push Fit Fitting 02-4600. 00-1302 00-1266 Attach the appropriate sized Teflon tubing to the fitting attached to the nitrogen port and connect to the gas inlet of your instrument.
- Page 18 Switch the generator ON using the switch on the rear panel [Initialisation...] Model : GENIUS XE 35 Software : v0.00 Voltage : 230V RMS Initialisation Time : 00:00 Continue... The generator will once again show the initialisation screen. Page 18...
- Page 19 XXXX S/N: XXXXXXXXXXXX The pressure display will again gradually increase to the factory set pressure. CONGRATULATIONS Your Peak Scientific gas generator is now fully installed, operational and ready to supply gas on demand to your instrument. Page 19...
-
Page 20: General Notes
General Notes 1. Electrical requirements for 230V generators are 195V - 253V 50/60Hz. For 195V - 219V would highly recommend fitting a Dual Tap Transformer 06-3200 (XE 35) or 06- 3210 (XE 70). 2. Electrical requirements for the 120V generator is 114V to 126V at 60 Hz. 3. - Page 21 Page 21...
- Page 22 Page 22...
- Page 23 Page 23...
- Page 24 User Manual for your gas generator. Peak Scientific has highly trained, fully certified Field Service Engineers located in over 20 countries across every continent around the world. This allows us to provide an industry-leading rapid response service to our customers.
Need help?
Do you have a question about the Genius XE Series and is the answer not in the manual?
Questions and answers