Advertisement
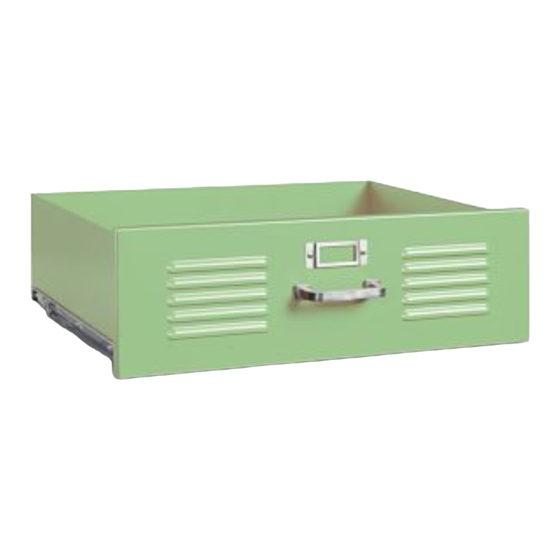
Locker Drawer
Hardware Included
A – Screws – 2pcs
Tools Required
Phillips Head Screwdriver (Not included)
Handle Installation
1. Handle (C) is pre-assembled on the interior of the drawer. Use Phillips Head Screwdriver to unscrew and remove the
Handle (C) and Washers (B) from drawer.
2. Place a Screw (A) through a Washer (B) and insert into the pre-drilled holes on the interior of the drawer. Repeat for
each pre-drilled hole.
3. Place another Washer (B) on the end of the Screw, as it exits the drawer front, for each pre-drilled hole and then align
Handle (C) to the Screws (A). Tighten Screws (A) and Washers (B) into Handle (C) with Phillips Head Screwdriver
until it is firmly attached to drawer.
Drawer Installation
NOTE: IMPROPERLY INSERTING THE DRAWER INTO EXTENDED GLIDES MAY DAMAGE THE GLIDES! HOLD THE
DRAWER AT A LEVEL POSITION AND CAREFULLY ALIGN EACH SIDE OF DRAWER GLIDE WHILE INSERTING IT
INTO THE EXTENDED GLIDES (DRAWER CASE) ON FURNITURE PIECE.
1. Reach inside Locker furniture piece & pull out each mounted, inner glide to the full forward position. See Figure 1.
2. Push in the leaf spring (located at the arrow point in Figure 1) on both sides of the drawer glides so it aligns with the
extended inner glides of the furniture piece at a level position and carefully insert the drawer into the furniture piece.
See Figure 2.
3. Close the drawer (there will be some resistance; push slowly and firmly).
B - Washers – 4pcs
www.pbteen.com
C – Handle – 1pc
Advertisement
Table of Contents

Subscribe to Our Youtube Channel
Related Manuals for PB TEEN Locker Drawer


Summary of Contents for PB TEEN Locker Drawer
- Page 1 Locker Drawer Hardware Included A – Screws – 2pcs B - Washers – 4pcs C – Handle – 1pc Tools Required Phillips Head Screwdriver (Not included) Handle Installation 1. Handle (C) is pre-assembled on the interior of the drawer. Use Phillips Head Screwdriver to unscrew and remove the Handle (C) and Washers (B) from drawer.
- Page 2 Figure 1 Leaf Spring Figure 2 Drawer Removal: 1. Push in the leaf spring (located at the arrow point in Figure 3) on the both sides of drawer glides. See Figure 3. 2. Slowly pull the drawer out at level position as Figure 4. Figure 3 Figure 4 Care Instructions:...
Need help?
Do you have a question about the Locker Drawer and is the answer not in the manual?
Questions and answers