Table of Contents
Advertisement
Quick Links
Advertisement
Table of Contents

Related Manuals for fantastic furniture COMO BEDSIDE 2 DRW


Summary of Contents for fantastic furniture COMO BEDSIDE 2 DRW
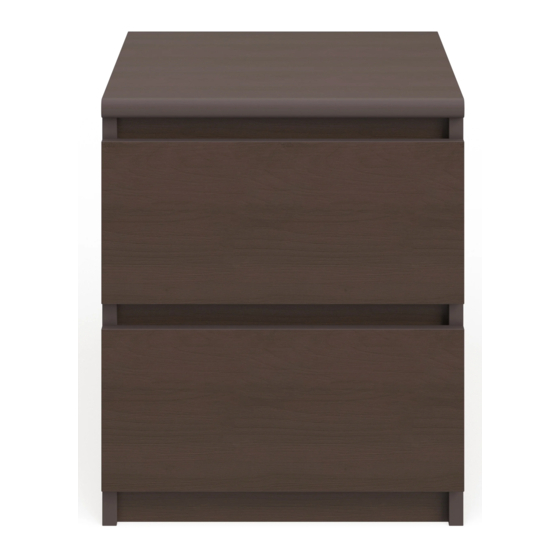
- Page 1 Assembly Instructions COMO BEDSIDE 2 DRW...
- Page 2 WARNING WARN NG FAILURE TO FOLLOW THESE BASIC STEPS CAN LEAD TO DAMAGE THAT IS NOT COVERED BY YOUR WARRANTY Lay out all of the components on a soft surface Read Instructions carefully. as if you were preparing to do a jigsaw puzzle. Check no parts are missing.
- Page 3 What You Need To Assemble The Body Top Panel (P1) (Tools not provided) Flat BladeScrewdriver Phillips Head Screwdriver Mallet Rail (P6) Right Side Panel Back Panel (P3) (P7) Rail (P4) Left Side Right Drawer Rail Panel Rail Side (P4) Drawer Back (P2) (P6) (P10)
- Page 4 Step 1 You will need: 2 x CL Runner Tracks (H6) 6 x Small Screws (H5) (P2) Attach 2 x CL Runner Tracks (H6) to Left Side Panel (P2) with 6 x Small Screws (H5). Step 2 You will need: 2 x CR Runners Tracks (H7)
- Page 5 Step 4 You will need: (P6) 3 x Cam Nuts (H4) (P4) (P6) (P4) (P5) This is how a cam nut works ..The head of the cam bolt goes into the open mouth of the cam nut. You then turn the cam nut so it tightens over the bolt.
- Page 6 Step 6 You will need: (P7) 12 x Small Screws (H5) 4 x Plastic Glides (H12) 20mm Put Back Panel (P7) into the groove on the back of the chest, screw it with 12 x Small Screws (H5). Then hammer 4 x Plastic Glides (H12) on Side Panels (P2) and (P3). Step 7 You will need: 4 x Cam Bolts...
- Page 7 Step 9 You will need: 4 x Small Cam Bolts (H10) (P8) Attach 4 x Small Cam Bolts (H10) into Drawer Front (P8). Step 10 This is how a cam nut works ..The head of the cam bolt goes into the open You will need: mouth of the cam nut.
- Page 8 Step 11 (P11) (P9) (P10) (P8) Slide Drawer Base (P11) into the groove in Drawer Sides (P9) and (P10). Step 12 You will need: (P12) 4 x Long Screws (H2) (P9) (P11) (P10) (P8) Attach Drawer Back (P12) to Drawer Sides (P9) and (P10) with 4 x Long Screws (H2), make sure that the groove lines up the whole way around the drawer.
- Page 9 Step 14 You will need: 1 x DL Runner (H8) 1 x DR Runner (H9) (P10) 4 x Small Screws (H5) (P9) Attach 1 x DL Runner (H8) to the bottom of Left Drawer Side (P9) and 1 x DR Runner (H9) to the bottom of Right Drawer Side (P10) with 4 x Small Screws (H5).
- Page 10 Step 16 Put the drawers into the chest. Please make sure your chest is sitting squarely on the floor,then tighten all the screws and bolts – being careful not to over tighten The job is now complete! In the interest of our environment Please dispose of all packaging thoughtfully.
Need help?
Do you have a question about the COMO BEDSIDE 2 DRW and is the answer not in the manual?
Questions and answers