Table of Contents
Advertisement
Quick Links
Veritas Appliance
Hardware Service Procedure
Operating System Disk Drive Replacement: NetBackup 5030/5230
Appliance
Document Number: 124
Version: 4.0 (5/2/16)
Purpose
This document describes the process for replacing a 1-TB operating system hard disk drive in the
NetBackup 5030 and 5230 appliances.
Affected Models
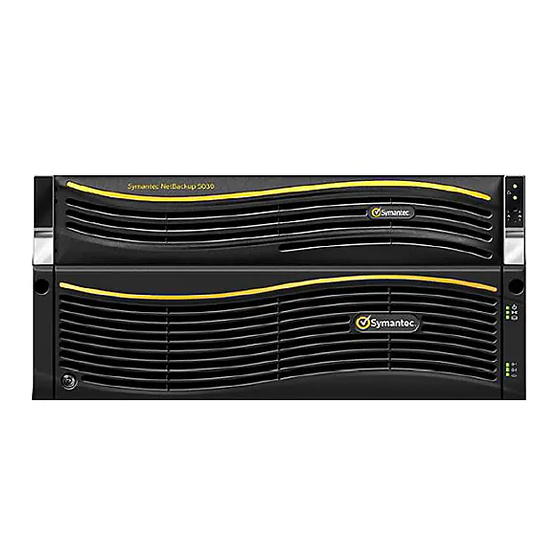
NetBackup 5030 Appliance
The NetBackup 5030 Appliance is a 2U system with no internal storage. It relies on a single, 3U
Veritas Storage Shelf, which is connected to an external storage RAID controller on the back panel
of the appliance. From the front panel of the NetBackup 5030, you can view 12 disk slots, arranged
horizontally. Two SAS disks are installed in slots 0 and 1. The remaining slots hold blank carriers. A
small control panel is on the right side of the front panel. It contains system LEDs and operations
buttons, including the power button. The power sockets are on the left side of the rear panel. The
rear panel contains six PCIe slots. Slot 1 in the PCIe riser 2 holds the external storage RAID controller
that is used to connect the appliance to the storage shelf.
Front view of the NetBackup 5030 Appliances
Figure 1
Rear view of the NetBackup 5030 Appliances
Figure 2
Slot 3
Slot 6
Slot 2
Slot 5
Slot 1
Slot 4
1
Advertisement
Table of Contents

Related Manuals for VERITAS NetBackup 5030


Summary of Contents for VERITAS NetBackup 5030
- Page 1 Affected Models NetBackup 5030 Appliance The NetBackup 5030 Appliance is a 2U system with no internal storage. It relies on a single, 3U Veritas Storage Shelf, which is connected to an external storage RAID controller on the back panel of the appliance. From the front panel of the NetBackup 5030, you can view 12 disk slots, arranged horizontally.
- Page 2 The NetBackup 5230 Appliance is a 2U system with 4 TB or 14 TB of internal storage. It consists of either a stand-alone base server or a base server with one to four attached 3U Veritas Storage Shelves. From the front panel of the NetBackup 5230, you can view 12 disk slots, arranged horizontally.
- Page 3 Replacing a NetBackup 5030/5230 1-TB operating system hard disk drive This section describes how to replace the 1-TB operating system disk drives in the NetBackup 5030 and 5230 appliances. The two 1-TB disk drives located in Slots 0 and 1 contain the operating system for the appliance.
- Page 4 Warning: The drive status LED must be solid amber. Solid amber indicates that the disk drive has failed. If the drive status LED is not solid amber, contact Veritas Support before you proceed. Press the green button on the left side of the drive to release the disk drive lever.
- Page 5 HSP 124 Operating System Disk Drive Replacement NBU5030/5230 Pull the lever open completely but do not slide the drive out of the slot. Let the drive motor stop spinning. This takes about 30 seconds. Slide the drive out of the slot. Place the drive in an ESD-protective bag.
- Page 6 HSP 124 Operating System Disk Drive Replacement NBU5030/5230 To install the disk drive Put on an ESD-compliant wrist strap or take other ESD-protective measures. Remove the replacement disk drive from the ESD-protective wrapper. Press the green button to release the lever. Pull the lever open completely.
Need help?
Do you have a question about the NetBackup 5030 and is the answer not in the manual?
Questions and answers