Table of Contents
Advertisement
Quick Links
1.1.0 | February 2020 | 3725-32915-002A
PRIVACY GUIDE
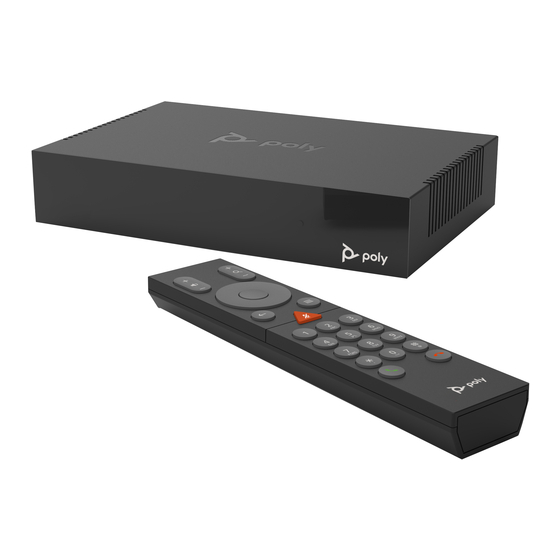
Poly G200
Getting Help
For more information about installing, configuring, and
administering Poly/Polycom products or services, go to
Polycom Support.
Plantronics, Inc. (Poly — formerly Plantronics and Polycom)
345 Encinal Street
Santa Cruz, California
95060
©
2020 Plantronics, Inc. All rights reserved. Poly, the propeller
design, and the Poly logo are trademarks of Plantronics, Inc.
All other trademarks are the property of their respective
owners.
Advertisement
Table of Contents

Subscribe to Our Youtube Channel
Related Manuals for Poly G200


Summary of Contents for Poly G200
- Page 1 Plantronics, Inc. (Poly — formerly Plantronics and Polycom) 345 Encinal Street Santa Cruz, California 95060 © 2020 Plantronics, Inc. All rights reserved. Poly, the propeller design, and the Poly logo are trademarks of Plantronics, Inc. All other trademarks are the property of their respective owners.
-
Page 2: Table Of Contents
Contents Before You Begin....................2 Related Poly and Partner Resources..................2 Privacy-Related Options..................3 Call Detail Report (CDR).....................3 View Recent Calls List......................4 Change the Password......................4 Add, Edit, or Delete Contacts....................4 Configure Deployment Mode....................6 Configure H.323 Settings....................6 Configure SIP Settings......................7 Configure SVC Call Settings....................8 Importing and Exporting System Settings................ -
Page 3: Before You Begin
Topics: ▪ Related Poly and Partner Resources The Poly G200 Privacy Guide provides information on how Poly products utilize customer data and how customers can configure Poly G200 systems to process personal data. Related Poly and Partner Resources See the following sites for information related to this product. -
Page 4: Privacy-Related Options
The Call Detail Report (CDR) feature keeps a record of every incoming, outgoing, and missed call that occurs on the system. The Call Detail Report in Poly G200 system only includes the basic call information: time and call number. It can be viewed from the local user interface and the system web interface. -
Page 5: View Recent Calls List
12 Add, Edit, or Delete Contacts You can add, edit, and delete contact information from the G200 system web interface. You can manage up to 1000 contacts. The contact information only includes name and number, IP address, or SIP URL. - Page 6 • The number of contacts in the file must be less than 1000. • When the uploaded CSV file includes entries already on your G200 system, the system deletes the duplicate files. Procedure 1. In the system web interface, go to Contacts and select Import Contacts 2.
-
Page 7: Configure Deployment Mode
Privacy-Related Options Configure Deployment Mode You can manually configure the deployment mode from the system user interface. You can't configure the deployment mode when the G200 system is in a call, sharing content, or upgrading the camera. Procedure 1. In the system web interface, go to System Settings > Deployment Mode. -
Page 8: Configure Sip Settings
Specifies the registrar protocol. Select SIP. Protocol Transport Protocol Indicates the protocol the system uses for SIP signaling. The SIP network infrastructure your G200 system operates within determines which protocol is required. • TCP: Provides reliable transport via TCP for SIP signaling. -
Page 9: Configure Svc Call Settings
Call Detail Report (CDR) on page 3 Configure SVC Call Settings If you use SVC mode, use the Poly RealPreasence Clariti Ensemble server as the call server. Make sure to enable SVC deployment mode. Important: Poly RealPreasence Clariti Ensemble 1.0 only supports English device names. -
Page 10: Importing And Exporting System Settings
You can export existing G200 system settings to local devices, such as computers or tablets, in .cfg format. You can also import system web interface settings from a device to a G200 system to enable quick manual configuration. Related Links... - Page 11 Privacy-Related Options Note: You need the serial number of your system to open the log file because it's encrypted. Related Links Right to Data Portability on page 12 Importing and Exporting System Settings on page 9...
-
Page 12: How Data Subject Rights Are Supported
A data subject has the right to view and/or obtain a copy of all personal data for a specific data subject. Personal data about specific participants in conferences can be viewed. A copy of any personal data made available to Poly when working with Poly support is available by requesting it from your Poly support representative. -
Page 13: Right To Data Portability
For details on how to erase customer personal data from the system, see #unique_25. Any personal data made available when working with Poly support, specific to a support incident, is retained until the information is requested to be removed by the customer. -
Page 14: Purposes Of Processing Personal Data
Purposes of Processing Personal Data Purposes of Processing Personal Data Category Type of Personal Data Purpose of Processing Interface Type Call Detail Records The following information ▪ Maintaining call ▪ User interface (CDR) for near and far history ▪ Web interface endpoints: ▪... -
Page 15: How Administrators Are Informed Of Any Security Anomalies (Including Data Breaches)
How Administrators Are Informed of Any Security Anomalies (Including Data Breaches) How Administrators Are Informed of Any Security Anomalies Security Anomaly Type Where to Check Recommended Frequency to Check All access and user activities Log files record user activities and Daily all login attempts (successful and unsuccessful) -
Page 16: How Personal Data Is Deleted
If your G200 system isn’t functioning correctly or you forgot the password, you can reset the system. This procedure effectively refreshes your system, deleting all settings except the current software version. The G200 system restore button pinhole is located on the back of the system, as displayed in the following figure:... -
Page 17: Factory Restore Your System
How Personal Data Is Deleted Procedure 1. Using the paper clip, press and hold the restore button. 2. In the system web interface, go to Admin Settings > Factory Reset and click Reset. After about 15 seconds, the system restarts and displays the setup wizard. Related Links Right to Erasure on page 12...
Need help?
Do you have a question about the G200 and is the answer not in the manual?
Questions and answers