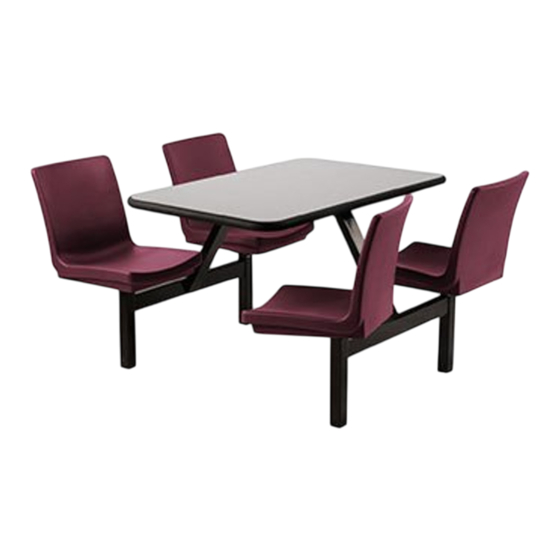
Advertisement
Table of Contents
www.norix.com ● TEL 800 234-4900
Assembly Notes:
Norix is not responsible for any damage due to improper installation. If your shipment does not match the parts list, please contact Norix Customer Service at 800-234-4900.
Norix reserves the right to modify design specifications at any time without an obligation to owners of previously sold products.
___________________________________________________________________________________________________________________________________________________________________________________________________
ITEM QTY
PART NUMBER
A
1
033-3206-XX
B
1
053-3072-MA-YYZZZ-J
C
3
033-3205-XX
D
8
026-006
E
8
025-030
F
8
021-050
G
12
021-002
H
3
024-003
J
2
024-001
K
2
026-008
L
3
025-009
Step 1:
Place Table Top on protected surface. Attach Leg Frame to
Table Top using (8) 5/16-18 x 1" Screws(F),
(8) 5/16 Lock Washers(E), and (8) 11/32 Flat Washers(D).
H
J
K
A
B
Rev. A - 3/14/18
091-914
Oasis Classroom Table
Bolt Down
Assembly Instructions
For Model Number
O23072-XXXXXXX-XXXX-XXXB
PARTS LIST
Oasis Classroom Table Frame
Top, Oasis, 30x72, Juvenile Class, Laminate Top, Molded-Edge
Oasis Bolt Down Leg
Washer, Flat, 11/32 ID x 3/4" OD x 0.050 THK 18-8 SST
Washer, Lock, Split, 5/16", Blk Ox.
Screw, 5/16"-18 x 1" BH, Pin in Torx T-40, Black Oxide, Loctite
Screw, Machine 5/16"-18 X 1-1/4" L, FH, Pin in Torx® T40, Black Oxide, Thd. Lk.
Anchor, Secure Bolt, 3/8" x 2-1/2" L, 5/16"-18 Thread, BH, Pin in Torx® T45, SST
Post
Anchor, Concrete, Wedge, 3/8"-16 X 3.5", Zinc
Nut/Washer Assy. 3/8"-16, Zinc, Thd. Lk.
Washer, Flat, 3/8"
C
DESCRIPTION
F
E
D
H
C
C
L
Tools Needed
Low RPM Variable Speed Drill
5/8" Magnetic Deep Socket
1/4" Hex Driver
Rubber Mallet
24" Socket Extension
3/8" Concrete Drill Bit
Step 2:
Attach Leg to Table Top using
(4) 5/16-18 x 1 1/4" Screws(G).
Repeat for other Legs.
Page 1 of 2
G
Advertisement
Table of Contents

Summary of Contents for norix Oasis Classroom Table
- Page 1 Assembly Notes: Norix is not responsible for any damage due to improper installation. If your shipment does not match the parts list, please contact Norix Customer Service at 800-234-4900. Norix reserves the right to modify design specifications at any time without an obligation to owners of previously sold products.
- Page 2 Mark Floor Locations Step 3: Position unit at final location and mark anchor locations through holes on Legs. Remove Table and drill holes. Completely remove all concrete dust. Step 4: For Frame: Place Flange Nuts(K) on Anchor Wedges(J) and drive Anchors into holes using a rubber mallet.


Need help?
Do you have a question about the Oasis Classroom Table and is the answer not in the manual?
Questions and answers