Advertisement
Advertisement
Table of Contents

Related Manuals for Smartgen BAC06AU


Summary of Contents for Smartgen BAC06AU
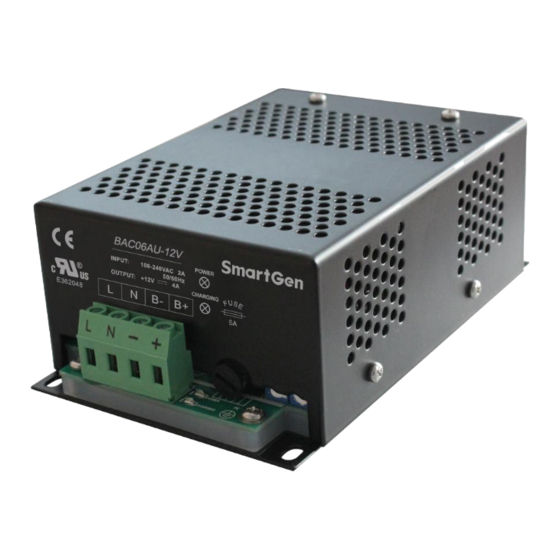
- Page 1 BAC06AU BATTERY CHARGER USER MANUAL SMARTGEN (ZHENGZHOU) TECHNOLOGY CO., LTD.
-
Page 2: Table Of Contents
BAC06AU BATTERY CHARGER USER MANUAL CONTENT 1 OVERVIEW ..........................4 2 PERFORMANCE AND CHARACTERISTICS ............... 4 3 CHARGING PRINCIPLE ....................... 5 4 PARAMETERS CONFIGURATION ..................6 5 OPERATION .......................... 7 6 CASE DIMENSIONS ......................8 BAC06AU Battery Charger Version 1.0... - Page 3 Smartgen Technology at the address above. Any reference to trademarked product names used within this publication is owned by their respective companies. SmartGen Technology reserves the right to change the contents of this document without prior notice. Table 1 Software Version Date...
-
Page 4: Overview
BAC06AU BATTERY CHARGER USER MANUAL 1 OVERVIEW BAC06AU battery charger applies up-to-date switch-type power component, and is specially designed for lead-acid engine starter batteries based on the charging characteristics. It is suitable for long-term complement charging (float) of lead-acid batteries. Output current is 4A for battery 12V, and output current is 3A for battery 24V. -
Page 5: Charging Principle
BAC06AU BATTERY CHARGER USER MANUAL 3 CHARGING PRINCIPLE Fig. 1 Charging Principle Diagram Charging is performed according to the battery charging characteristics and uses two-stage charging method. Charging type is ‘constant current type’, which means when the battery terminal voltage falls below the pre-set value, charging current will be constant;... -
Page 6: Parameters Configuration
BAC06AU BATTERY CHARGER USER MANUAL 4 PARAMETERS CONFIGURATION Table 2 Product Parameters Items Contents Nominal AC Voltage AC (100~240)V Max. AC Voltage AC (90~280)V Input AC Frequency 50Hz/60Hz Characteristics Max. Input Current Max. Efficiency Rated Charging Current Charging Current Error ±... -
Page 7: Operation
BAC06AU BATTERY CHARGER USER MANUAL 5 OPERATION 5.1 BAC06AU MASK ILLUSTRATION Fig. 2 BAC06AU Panel Mask — Connect terminals L and N to AC (100~240)V with BVR 1mm multi-strand copper line; — Connect terminal B+ and B- to battery + and - poles with BVR 1.5mm multi-strand copper line;... -
Page 8: Case Dimensions
BAC06AU BATTERY CHARGER USER MANUAL 5.2.2 FUSE CHANGE OPERATION STEPS Use straight screwdriver to press towards inside and backward wring once anticlockwise, take the fuse out; Change a new fuse after taking out, insert it into the fuse chassis; then use straight screwdriver to press inside by force, and at the same time clockwise giving it a wing is Ok.
Need help?
Do you have a question about the BAC06AU and is the answer not in the manual?
Questions and answers