Advertisement
IMPORTANT:
Please read and follow all safety statements, warnings, assembly instructions, use & care directions,
before attempting to assemble
1. When installing and assembling your gazebo, it is recommended that 4 or more adults are involved.
2. Do not use the unit during an electrical storm, as there is a remote chance of getting struck by
lightning.
3. Do not climb on top of the gazebo. Falling off the gazebo can result in serious injury, possibly even
death.
4. Do not leave the gazebo assembled when there is a risk of high wind, as possible damage will occur
to the structure.
5. Never barbecue under this gazebo or use lanterns that contain open flames.
6. This package contains small items and plastic bags that should be kept away from children.
7. Insure that all connectors & poles are firmly secured in position fully. It is important to do so before use
so as to avoid collapsing or damage to the item, which could result in injury.
Tools required: ladder, hammer screwdriver (not included)
Assembly Instructions
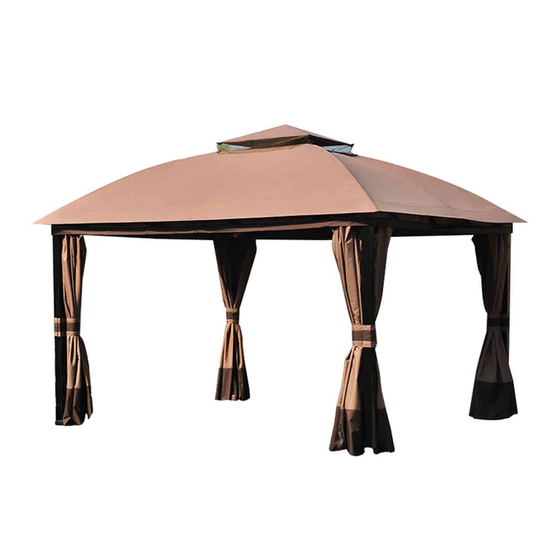
ITEM# L-GZ215PST-1
10'x12' Benen Gazebo
1
Advertisement
Table of Contents

Related Manuals for Sunjoy 10’x12’ Benen Gazebo L-GZ215PST-1


Summary of Contents for Sunjoy 10’x12’ Benen Gazebo L-GZ215PST-1
- Page 1 Assembly Instructions ITEM# L-GZ215PST-1 10’x12’ Benen Gazebo IMPORTANT: Please read and follow all safety statements, warnings, assembly instructions, use & care directions, before attempting to assemble 1. When installing and assembling your gazebo, it is recommended that 4 or more adults are involved. 2.
- Page 2 Parts List Post Base Base cover Short beam (1) Short beam (2) Long beam (1) Long beam (2) Connecting slice Corner Connector Short side connector Long side connector Big top pole Short side pole Long side pole Long mosquito pipe Short mosquito pipe Big top connector Small top connector...
- Page 3 Parts List Small top canopy Big top canopy Wall Mosquito net Hardware Used in Step M6X15 (Bolt) 48 PCS TBZ00306015HQ M6 (Washer) 72 PCS TBZ10406HQ M6X15 (Bolt) 24 PCS TBZ00106015HQ M6 (Wrench) 1 PC...
- Page 4 Fig.1: Put the base cover C on the top of post A, then use bolt (AA) and wash (BB) to connect the base (B) and post A. Note: Make sure the slots on C and A are at the same side. Fig.2: Connect the beam F (D)and beam G(E), by using the bolt (CC) and washer (BB).
- Page 5 Fig.6: Fix the corner connector (I ) on the top of the post (A), by using bolt (AA) and washer (BB). Fig.7: Fix the pothook (U) onto the big top connector (Q), then insert the big top beam (L), long side beam (N), short side beam (M) into Big top connector (Q).
- Page 6 Fig.11: Spread the big canopy (W) and fix the hooks on the canopy Fig.12: Put the decor (T) onto top of post. Fig.13: Connect the mosquito net (GG) with mosquito pipe P (O) by plastic ring (GG). Use plastic ring (GG) to hang the wall (X) onto pipes which under the beam.
- Page 7 USE & CARE: 1. This gazebo is not a permanent structure and should be disassembled & stored away after use. 2. Do not repack your gazebo until completely dry. 3. This gazebo must be assembled by two adults or more. 4.
Need help?
Do you have a question about the 10’x12’ Benen Gazebo L-GZ215PST-1 and is the answer not in the manual?
Questions and answers