Advertisement
Advertisement
Table of Contents

Summary of Contents for Sunjoy Healdsburg Gazebo
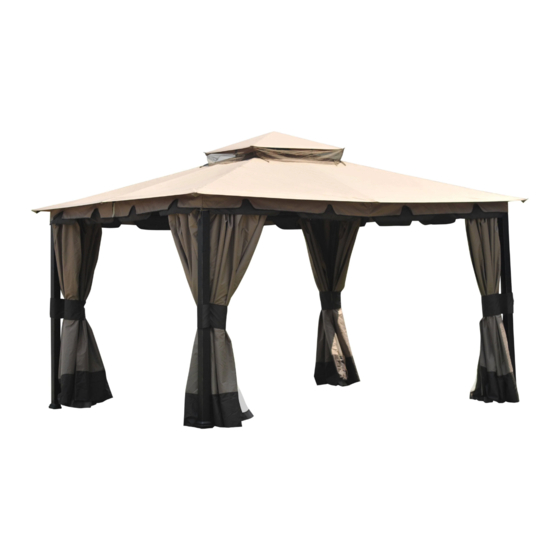
- Page 1 Assembly Instructions Healdsburg Gazebo Item #: L-GZ215PST-4B...
- Page 2 IMPORTANT: Please read and follow all safety statements, warnings, assembly instructions, use & care directions before attempting to assemble. 1. When installing and assembling your gazebo, it is recommended that 4 or more adults are involved. 2. Do not use the unit during an electrical storm, as there is a remote chance of getting struck by lightning. 3.
- Page 3 Parts List Pole Base Base cover Short beam 1 Short beam 2 Long beam 1 Long beam 2 Corner connector 1 Corner connector 2 Side beam connector Corner Connector Big top beam Short side beam Long side beam Long mosquito pipe Small mosquito pipe Big top connector 1 Big top connector 2...
- Page 4 Small canopy Large canopy Wall Mosquito netting Hook Hardware Pack M6X15 Bolt 24PCS M6 Flat washer 72PCS M6X15 Hexagon Bolt 40 PCS M6X25 Bolt 8PCS M6 Wrench 1 PC...
- Page 5 Fig.1: Attach Base cover (C) to Pole (A), and use the Bolt (AA) and Flat Washer (BB) to connect the Base (B) and Pole (A) Fig.2: Connect the Beam F (D) and Beam G (E)by using the Bolt (CC) and Flat washer (BB). Fig.3: Attach connected Beam to Pole (A) by using Bolt (CC) and Flat washer (BB), then use the Bolt (CC) and Flat washer (BB) to fix the Beam and Pole top end tightly.
- Page 6 Fig.7: Attach Corner connector 1,2 (H1, H2) to top end of the Pole (A) by using Bolt (AA) and Flat washer (BB). Fig.8: Insert Big top long beam (R) and Big top short beam (S) into Big top connector 1 (Q1) and Big top connector 2 (Q2).
- Page 7 Hardware Pack Φ 6X260MM Peg 16PCS Plastic hook 104 PCS Fig.14: Hanging Mosquito netting (Y) to Mosquito pipe P(O) by Plastic hook(GG). Fig.15: Hanging Wall (X) to the pipe under Beam (F)by Plastic hook(GG). Fig.16: Lift up Base cover (C), and use Peg (HH) to fasten the gazebo.


Need help?
Do you have a question about the Healdsburg Gazebo and is the answer not in the manual?
Questions and answers