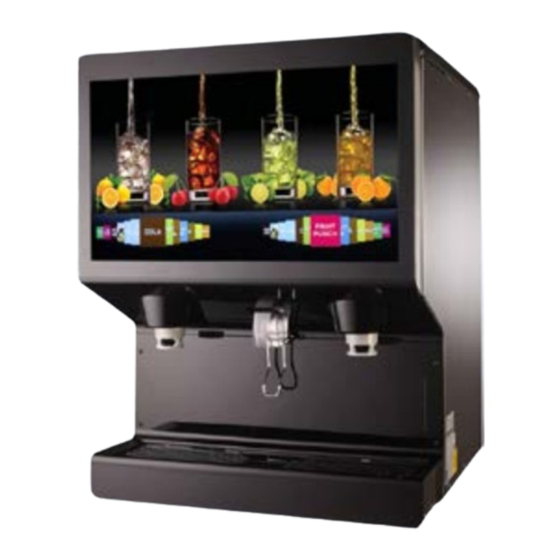
Cornelius IDC PRO Replacement Instructions Manual
Hide thumbs
Also See for IDC PRO:
- Replacement instructions manual (20 pages) ,
- Service manual (12 pages) ,
- Troubleshooting manual (12 pages)
Advertisement
Quick Links
SSD Replacement Instructions – IDC PRO
IMPORTANT
Before replacing SSD, if unit is operational or you have a second IDC PRO unit with
an identical brand lineup be sure to get a back up copy of the units configuration
onto a USB memory stick (see troubleshooting pages 15-19 "Exporting brand
configuration from a pre-existing machine") and or write down the units flavor line
up on the provided Flavor Line Up sheet. This will speed up the process when you
are reconfiguring the unit after new SSD is put into screen.
1
Document Revision x2
Berkshire Hathaway
Advertisement

Summary of Contents for Cornelius IDC PRO
- Page 1 SSD Replacement Instructions – IDC PRO IMPORTANT Before replacing SSD, if unit is operational or you have a second IDC PRO unit with an identical brand lineup be sure to get a back up copy of the units configuration onto a USB memory stick (see troubleshooting pages 15-19 “Exporting brand configuration from a pre-existing machine”) and or write down the units flavor line...
- Page 2 IDC Pro Flavor Line Up • Up to 10 brands per multi-flavor valve • Up to 4 flavor shots per multi-flavor valve • One plain water per valve, with optional flavor shots • One carbonated water per valve • One flavor shot pour per valve...
- Page 3 SSD Replacement Instructions – IDC PRO Tools Required: 1. Large Phillips Screw Driver 2. Fine Tip Phillips Screw Driver 3. USB Memory stick Before proceeding, unplug the power harness from the unit. NOTES: 1. Wear a properly grounded ESD wrist strap if available.
- Page 4 SSD Replacement Instructions – IDC PRO 4. Disconnect the fan harness and remove the cover Document Revision x2 Berkshire Hathaway...
- Page 5 SSD Replacement Instructions – IDC PRO 5. Carefully undo the lock screw to unlock the SSD. DO NOT LOOSE THIS PART! Document Revision x2 Berkshire Hathaway...
- Page 6 SSD Replacement Instructions – IDC PRO 6. Carefully replace the SSD with a new part Document Revision x2 Berkshire Hathaway...
- Page 7 SSD Replacement Instructions – IDC PRO 7. Carefully secure the lock screw to lock the SSD. DO NOT LOOSE THIS PART! Document Revision x2 Berkshire Hathaway...
- Page 8 SSD Replacement Instructions – IDC PRO 8. Connect the fan harness and replace the cover. Make sure the silicone (white glue) doesn’t get in the way of the pins and connector. Document Revision x2 Berkshire Hathaway...
- Page 9 SSD Replacement Instructions – IDC PRO 9. Close the SBC cover 10. Secure the 4 screws as shown 11. Reconnect the power harness 12. After power up, ensure the fan is working properly. Document Revision x2 Berkshire Hathaway...
- Page 10 Troubleshooting Screen resolution comes up incorrect 1. If image on the screen appears to be too far zoomed in or out the screen resolution will need to be adjusted in the Bios settings. 2. Plug in a keyboard into a USB port on the back of the screen.
- Page 11 Troubleshooting 3. BIOS menu will display as shown in the picture. Using the keyboard arrow keys move over to the “Chipset” tab. 4. “North Bridge” should already be highlighted, press the Enter key. 5. Use the down arrow key to highlight “LVDS Panel Type”...
- Page 12 Troubleshooting 6. From the dropdown list select the “1920 x 1080, 48 bit, 60hz” option and press the ENTER key. 7. LVDS Panel type will now read “1920 x 1080, 48 bit, 60hz” 8. Press F4 on the keyboard to Save and Exit. 9.
- Page 13 Troubleshooting Mapping Brands Password is 3333 Document Revision x2 Berkshire Hathaway...
- Page 14 Document Revision x2 Berkshire Hathaway...
- Page 15 Document Revision x2 Berkshire Hathaway...
- Page 16 Troubleshooting Exporting brand configuration from a pre-existing machine I you have an available machine with the same brand configuration. You can copy it over to another machine using a USB Stick. From the unit you want to obtain configuration file from the steps are as follows: Document Revision x2 Berkshire Hathaway...
- Page 17 3. Unplug one of the items in the USB ports on the backside of the door and insert USB drive into the open USB slot 4. Choose the back up and restore option from the service UI menu. 5. From the Backup & Restore menu highlight syrups, water mapping, and flavor combos Document Revision x2...
- Page 18 6. Select the Backup button to begin to process. 7. Screen will go black and text will start to stream through the screen. 8. Once that is finished screen will go back to normal. Close out of service menus and remove USB stick from back of door.
- Page 19 10. Repeat steps 1 thru 4 on the unit 11. In the Backup & restore menu select the load button 12. A window will come up showing “attached media”. Select the USB your USB Stick. 13. Select the “refresh-config.tar.gz” file. 14.
- Page 20 11. Once the information has transferred you will be back to the backup & restore menu. 12. Remove USB Stick from the screen and exit the service menus. 13. Reconnect the cable that was disconnected to put in the USB stick. Document Revision x2 Berkshire Hathaway...


Need help?
Do you have a question about the IDC PRO and is the answer not in the manual?
Questions and answers