Table of Contents
Advertisement
Quick Links
Service Manual
___________________________________________
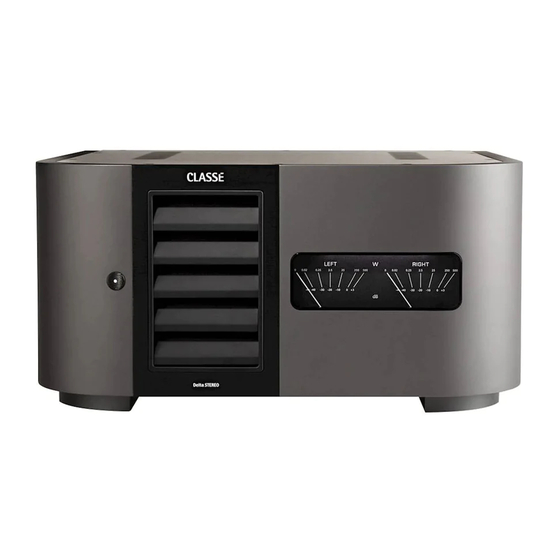
Delta-Series Amplifiers:
CA 2100 Stereo Amplifier
CAP 2100 Integrated Stereo Amplifier
___________________________________________
CA(P)2100 AMP Service Manual v1.4 inc voltage change info .doc
v1.4
Classé Audio Inc
5070 Francois Cusson
Lachine, Quebec, Canada
H8T 1B3
Tel: (514) 636-6384
Fax: (514) 636-1428
www.classeaudio.com
Page 1 of 50
Advertisement
Table of Contents


Need help?
Do you have a question about the Delta Series and is the answer not in the manual?
Questions and answers