Table of Contents
Advertisement
Advertisement
Table of Contents

Related Manuals for Barco AP20


Summary of Contents for Barco AP20
- Page 1 AP20 & AP24 Fan Replacement Kit Installation Manual R59770891/00 28/09/2015...
- Page 2 Barco NV President Kennedypark 35, 8500 Kortrijk, Belgium Phone: +32 56.36.82.11 Fax: +32 56.36.883.86 Support: www.barco.com/en/support Visit us at the web: www.barco.com Printed in Belgium...
- Page 3 Changes Barco provides this manual ’as is’ without warranty of any kind, either expressed or implied, including but not limited to the implied war- ranties or merchantability and fitness for a particular purpose. Barco may make improvements and/or changes to the product(s) and/or the program(s) described in this publication at any time without notice.
-
Page 5: Kit Content
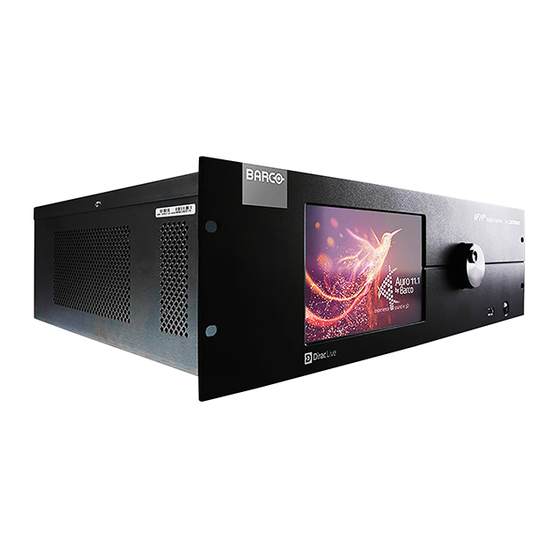
4 screws, 6–32 x 1/2” flat-head Phillips, 100 degree, steel, clear zinc Purpose of the spare part kit The fan subassembly in the fan replacement kit is designed to replace the fan of the AP20 and AP24 audio processor. This document describes in detail the replacement procedures. -
Page 6: Remove The Top Cover
Necessary tools #1 Phillips screwdriver How to remove the front panel assembly? 1. Carefully turn the processor on its side. 2. Remove four 4–40 x 3/16” flat-head Phillips screws from the bottom. R59770891 AP20 & AP24 FAN REPLACEMENT KIT 28/09/2015... - Page 7 Note: Be careful when removing the last screws. 6. Fold the front panel down and away, to provide more room to access to the fan. Note: be careful not to stress any of the cables that are still attached. R59770891 AP20 & AP24 FAN REPLACEMENT KIT 28/09/2015...
- Page 8 Use a small flat-blade screwdriver to help lift up the connector out of the socket. Caution: Do not pull the power connector directly up on the wires. This will pull them out of the connector. R59770891 AP20 & AP24 FAN REPLACEMENT KIT 28/09/2015...
- Page 9 Make sure that the wires and arrows indicating air flow direction are in the correct orientation. Image 1-10 5. Connect the fan power cable to the front panel board socket CN1. The connector is keyed to go into the socket in only one direction. R59770891 AP20 & AP24 FAN REPLACEMENT KIT 28/09/2015...
-
Page 10: Install The Front Panel Assembly
4–40 x 3/16” flat-head Phillips screws How to install the front panel assembly? 1. Slide the front panel back into the chassis. 2. Insert four 4–40 x 3/16” flat-head Phillips screws on each side to secure. R59770891 AP20 & AP24 FAN REPLACEMENT KIT 28/09/2015... -
Page 11: Install The Top Cover
6. Place the processor back down. 7. Inspect the processor to make sure that all connectors are properly seated and the screws and nuts are tight. Install the top cover Necessary tools #1 Phillips screwdriver R59770891 AP20 & AP24 FAN REPLACEMENT KIT 28/09/2015... - Page 12 2. Once the top cover is properly seated, install two 4–40 x 1/4” pan-head Phillips screws. Note: If the screw holes are not lined up correctly, the cover is not seated correctly. Adjust the top cover if necessary. Image 1-18 R59770891 AP20 & AP24 FAN REPLACEMENT KIT 28/09/2015...
Need help?
Do you have a question about the AP20 and is the answer not in the manual?
Questions and answers