Advertisement
Quick Links
Advertisement

Related Manuals for Geeek A31 V2


Summary of Contents for Geeek A31 V2
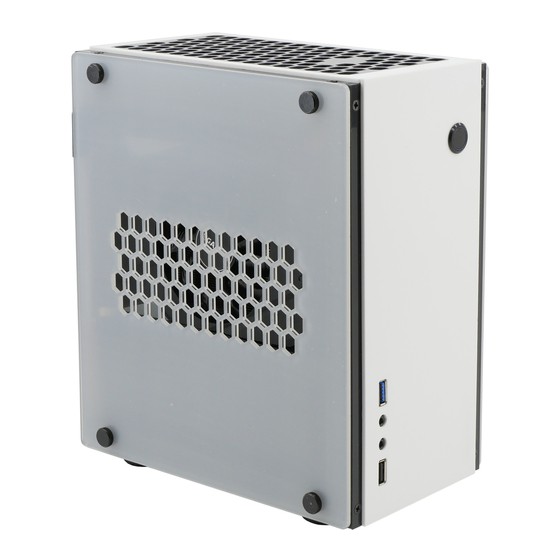
- Page 1 Version 2.0 A31 V2 INSTALLATION GUIDE 2002B...
-
Page 2: Screws List
SCREWS LIST 25mm Standoff x2 40mm Standoff x4 Screws for Power A1 : Thumb Screw x8 Screws for Fan M3 T type Nut Supply A2 : M3x5mm x4 M3x10mm M4x14mm M4x8mm M3x8mm M3x5mm Plastic Pad x2... - Page 3 Aluminum Frame Installation Screw Acrylic Panel Please read the “Aluminum Frame installation”before assembling this case...
- Page 4 STEP 01 Aluminum Frame Installation 205mm 210mm 205mm...
- Page 5 STEP 02 Install the M/B Standoffs 40mm 4X...
- Page 6 STEP 03 Install ① Left Upper and ② Lower Side Brackets on the Aluminum Frame...
- Page 7 STEP 04 Rear Panel Installation...
- Page 8 STEP 05 ①Bottom Panel and ②Foot Pad Installation...
- Page 9 STEP 06 Power Supply Installation...
- Page 10 STEP 07 USB Module and M/B Installation Highly recommend to install the CPU cooler and ram before installing the motherboard.
- Page 11 STEP 08 PCIe Riser Cable Installation (Optional Purchase) 25mm 2X...
- Page 12 STEP 09 Install and Secure the Graphic Card...
- Page 13 STEP 10 2.5” SSD/HDD Installation...
- Page 14 STEP 11 Case Fan Installation...
- Page 15 STEP 12 Top Panel Installation...
- Page 16 STEP 13 ① Power Switch and ② Front Panel Installation...
- Page 17 STEP 14 Side Panels Installation...
Need help?
Do you have a question about the A31 V2 and is the answer not in the manual?
Questions and answers