Advertisement
Quick Links
Advertisement

Subscribe to Our Youtube Channel
Related Manuals for Geeek A60


Summary of Contents for Geeek A60
- Page 1 A60 INSTALLATION GUIDE Version 1.0 201912A...
-
Page 2: Screws List
SCREWS LIST 15mm Standoff X4 30mm Standoff X2 6#32x10mm M3 Nut Screws for Radiator 45mm Standoff X4 M4x16mm M4x8mm M3x8mm M3x5mm M3x10mm... - Page 3 Aluminum Frame Installation Screw Acrylic Panel Please read the “Aluminum Frame installation”before assembling this case...
- Page 4 STEP 01 Aluminum Frame Installation...
- Page 5 STEP 02 Install the Standoffs on the Left Upper and Lower Side Brackets 45mm 4X...
- Page 6 STEP 03 Install the Step 2 on Left Upper and Lower Aluminum Frames...
- Page 7 STEP 04 Install the HDD Bracket on the Right Aluminum Frame...
- Page 8 STEP 05 Install the Rear Panel & Power Extension Cable 05-1 05-2 Please use the screws inside the bag (power extension cable) to install the power extension cable.
- Page 9 STEP 06 Install the Bottom Panel & Footpad Screws for Foot pad Please use the screws inside the bag (Foot pad) to install the power extension cable. We suggest to complete all the installations and cable management first and install the bottom panel at last. It will be easier for the assembly.
- Page 10 STEP 07 Install the Motherboard...
- Page 11 STEP 08 Install the Power Supply Bracket 15mm 4X...
- Page 12 STEP 09 Install the PSU Holder When you have difficulties during the assembly, you can remove the bottom panel first before assembly.
- Page 13 STEP 10 Install the 2.5”HDD 10-2 10-1 10-3...
- Page 14 Install the PCIe Riser Cable (Optional STEP 11 11-2 Purchase) 11-1 11-3 25mm 2X...
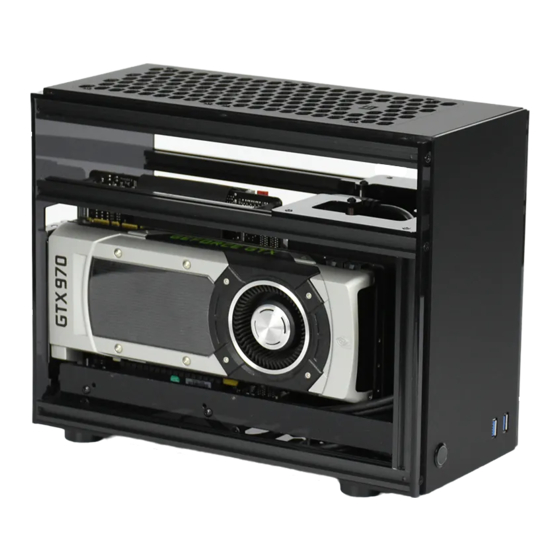
- Page 15 STEP 12 Install and Secure the Graphic Card 12-2 12-1...
- Page 16 STEP 13 Install the Power Switch, Front USB and Panel 13-1 13-3 13-2...
- Page 17 STEP 14 Install Top Panel on Aluminum Frame...
- Page 18 STEP 15 Top Panel Installation When you have difficulties during the assembly, you can remove the bottom panel first before assembly.
- Page 19 STEP 16 Side Panel Installation...
Need help?
Do you have a question about the A60 and is the answer not in the manual?
Questions and answers