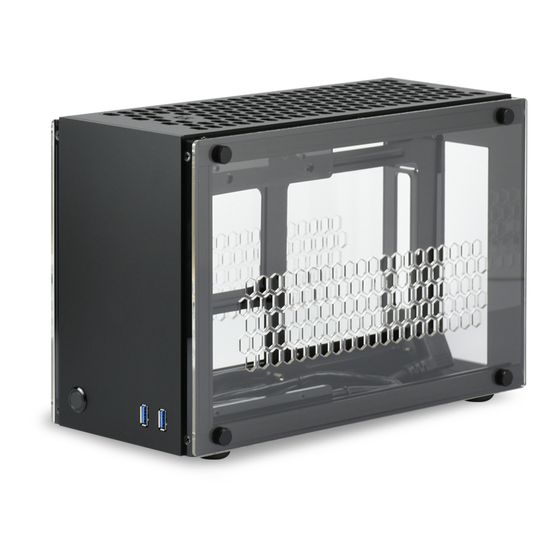
Geeek A50 PLUS Installation Manual
Hide thumbs
Also See for A50 PLUS:
- Installation manual (20 pages) ,
- Installation manual (21 pages) ,
- Installation manual (24 pages)
Advertisement
Quick Links
Advertisement

Related Manuals for Geeek A50 PLUS


Summary of Contents for Geeek A50 PLUS
- Page 1 Version 2.0 A50 PLUS INSTALLATION GUIDE...
-
Page 2: Screws List
SCREWS LIST 螺絲列表 A1 Plastic Pad 墊片 x6 M4 Thumb Screw Screws for Fan Screws for PSU M3 T type Nut A2 Standoff 銅柱 x6 M4手擰螺絲 M3螺母 風扇螺絲 電源螺絲 M4x14mm M4x8mm M3x8mm M3x5mm M3x5mm... - Page 3 Aluminum Frame Installation Screw 螺絲 鋁框架安裝說明 Acrylic Panel 壓克力板 螺母 Please read the “Aluminum Frame installation”before assembling this case 安裝前請務必先理解鋁框架如何安裝...
- Page 4 STEP 01 Aluminum Frame Installation 安裝機身鋁框架...
- Page 5 STEP 02 HDD Bracket Installation 安裝硬碟支架到右側鋁框架...
- Page 6 STEP 03 Back Panel Installation 安裝後面板...
- Page 7 STEP 04 Install the PSU Metal Bracket on the Front Panel 安裝電源鐵支架到前面板...
- Page 8 STEP 05 Install the ( 1 )USB 3.0 Cable and ( 2 )Power Switch on the front panel first, then install the ( 3 )front panel on the case 安裝( 1 )雙USB 3.0線 及 ( 2 )電源開關到前面板,然後安裝( 3 )前面板...
- Page 9 STEP 06 Install the Standoff and Plastic Pad on the M/B Metal Bracket 安裝銅柱及墊片到主機板鐵支架...
- Page 10 STEP 07 M/B Metal Bracket installation 安裝主機板鐵支架...
- Page 11 Highly recommend to install the CPU STEP 08 cooler and ram, power switch connector before installing the motherboard. M/B installation 請先安裝 CPU散熱器及記憶體、電源開 關連接線到主機板 . 安裝主機板...
- Page 12 STEP 09 Power Supply Installation 安裝電源供應器...
- Page 13 STEP 10 Power Extension Cable Installation 安裝電源延長線...
- Page 14 STEP 11 PCIe Riser Extension Cable Installation 安裝PCI-E延長線...
- Page 15 STEP 12 GPU Card Installation 安裝顯示卡...
- Page 16 STEP 13 2.5" SSD/HDD Installation 安裝2.5"硬碟...
- Page 17 STEP 14 Case Fan Installation on the Top Panel 安裝系統風扇到上面板...
- Page 18 STEP 15 Top Panel Installation 安裝上面板...
- Page 19 Please complete the cable management STEP 16 before installing the bottom panel. 請先完成所有的整線後再安裝底蓋 Case Fan and Bottom Panel Installation There are two sides for the bottom panel, 安裝系統風扇(可選)及底蓋 one side with the countersunk holes needed to be toward to the outside. 底蓋有分正反面,沉孔的那一面朝外...
- Page 20 STEP 17 Footpad Installation on the Bottom Panel 安裝機殼腳墊到底蓋...
- Page 21 STEP 18 Place the case in horizontal, then install the side panel 請將機殼平躺後再安裝側板 Side Panel Installation 安裝側板...
Need help?
Do you have a question about the A50 PLUS and is the answer not in the manual?
Questions and answers