Advertisement
Quick Links
Advertisement

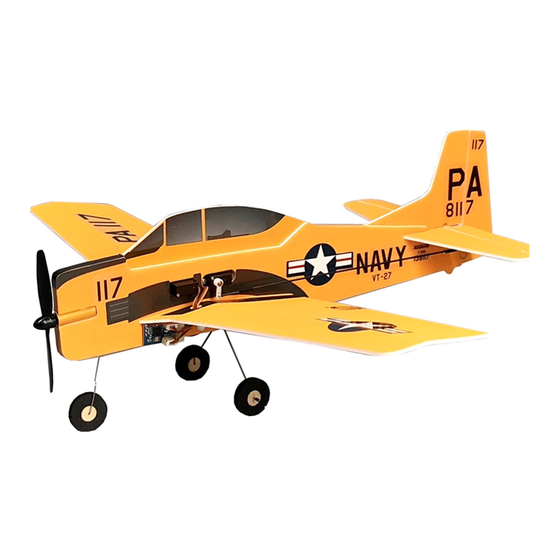
Summary of Contents for MinimumRC T-28 Trojan
- Page 1 T-28 Trojan Assembly Instructions...
- Page 2 1. Paste the fuselage paint sticker and cut off the rudder parts. 2. Connect the rudder to the fuselage with paint sticker. Note that the distance between the rudder surface and the fuselage plate is 1mm.
- Page 3 3. Installing the servo base(plywood).
- Page 4 4. Paste fuselage coated stickers and assemble fuselage panels. 5. After assembling the fuselage panels, paste the hatch cover stickers.
- Page 5 6. Coating paper coated motor. 7. Install the motor and paste the front landing gear steel wire according to the carved position.
- Page 6 8. After the motor wire passes through the hole in the middle of the fuselage, the bottom of the fuselage is filled. 9. Fixed main landing gear steel wire and base with screw.
- Page 7 10. Installation of main landing gear base. 11. Installation of wing support.
- Page 8 12. Cut off the elevator and connect with the hinge patch. (the patch is better fixed with glue). Note that there is a 1 mm gap between the rudder and the tail plate. 13. Install the horizontal tail fin, the elevator needs to move freely.
- Page 9 14. Bend the wing along the notch. 14.Installation of the wing.
- Page 10 15.Reinforce the wing with φ1mm carbon rods. 16.Installation of the control horns.
- Page 11 17.Installation of the servos.
- Page 12 18.Connect the pushrod clips & pushrods with heat shrinkable tube and fix them with glue.
- Page 13 19.Installation of the pushrods.
- Page 14 20. Combination of core and tire.
- Page 15 21.Use heat shrinkable tube to hold the wheels. 22.Attach the receiver to the fuselage with Velcro.
- Page 16 ·The amount of elevator and rudder is 5 mm for each side. Please adjust the rudder surface to the level before flight test. Explore the ultimate possibility of airplane kits MinimumRC.COM...


Need help?
Do you have a question about the T-28 Trojan and is the answer not in the manual?
Questions and answers