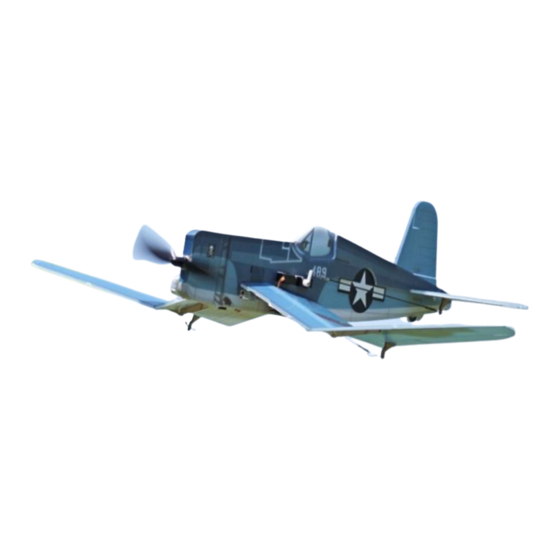
Summary of Contents for MinimumRC F4U Corsair
- Page 1 F4U Corsair Assembly Instructions Important notification ·Always use UFO glue on foam material parts, do NOT use 502 super glue. 502 super glue is for pushrod and steel wires.
- Page 2 1. Use the end of a carbon fiber rod to score through the half-cut line of the rudder & elevator surface. 2.After scored through the half-cut line, rudder & elevator surface can move in both directions. 3. Fuselage parts.
- Page 3 4. Install the servo plate. 5. Glue the motor with adhesive. 6. Glue both sides of fuselage together.
- Page 4 7. Connect the aileron servo to a powered receiver and install the servo arm on its central position. 8. Install the aileron servo & wing support with glue. 9. Cover the aileron servo with sticker.
- Page 5 10. Install the horizontal tail. 11. Use the end of a carbon fiber rod to score through the half-cut line of the wing surface. 12. After scored through the half-cut line, ailerons can move in both directions.
- Page 6 13. Install inner parts of the wings. 14. Install external parts of the wings. 15. Glue the conduit & conduit base on both side of the wings. Excess part of the conduit needs to be cut off.
- Page 7 16. Glue the aileron control horns. 17. Aileron wire drive system. Bend the steel wire as shown to decrease resistance. 18. Attach the steel wire clip to the same hole of aileron servo arm. (the arm can be moved out from the side to facilitate connection.)
- Page 8 19. Attach the steel wire hooks to aileron control horns. 20. Put the steel wire into the conduit and check whether the movement is smooth. 21. Connect the aileron servo to a powered receiver to make sure the servo arm is on its central position. Connect the steel wire and clips with heat-shrinkable tube and fix with glue.
- Page 9 22. Use screws to fix the tail servos. 23. Use screws to fix the tail servos. 24. Glue the elevator & rudder control horns.
- Page 10 25. Use heat-shrinkable tube to connect the pushrod and clips. (Length of pushrods need to be cut according to actual needs.) 26. Attach the pushrods to servos. 27. Attach the pushrods to control horns.
- Page 11 28. Attach the receiver on the left side of fuselage with velcro. 29. Attach the battery to the right side of fuselage with velcro.
- Page 12 ·The center of gravity is 10 mm from the leading edge of the wing. Move the battery forward and backward to adjust the center of gravity. ·The range of elevator, rudder and aileron movement is 5 mm for each side. Please adjust the rudder surface to the level before flight test. Explore the ultimate possibility of RC aviation www.MinimumRC.com...


Need help?
Do you have a question about the F4U Corsair and is the answer not in the manual?
Questions and answers