Subscribe to Our Youtube Channel
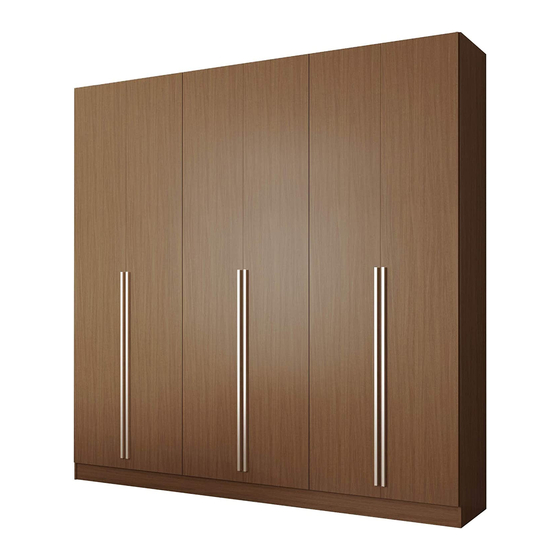
Summary of Contents for Manhattan Comfort Eldridge Wardrobe
- Page 1 TENORE Eldridge Wardrobe Model # 34150, 34163, 34184 MÓVEIS PROVÍNCIA IND. COM. LTDA ROD. ASSIS CHATEAUBRIAND, KM 174 | CEP: 15110-000 GUAPIAÇU - SP - BRASIL | FONE: 05517 32679200 WWW.MOVEISPROVINCIA.COM.BR...
- Page 3 For Best Results • Do not throw away packaging materials until assembly is complete. • Assemble item on a soft surface, such as cardboard or carpet, to protect finish. • Proper assembly requires two people. Tools Required View our assembly video online www.manhattancomfort.com Stuck? Questions? We are here to help.
- Page 4 16. Vertical Backplates 17. Horizontal Backplate 18. Front of Drawer 19. Side of Drawer – Left 20. Side of Drawer – Right 21. Back of Drawer 22. Bottom of Drawer 23. Outer Doors 24. Inner Doors 25. Support Beams Eldridge Wardrobe...
- Page 5 3529 x 1 Where to find the items Box 1 Box 2 Box 3 Box 4 Box 5 Box 6 0136 0357 2510 0138 0394 3518 4158 0160 0429 3527 4219 0162 0440 3529 0329 0494 4157 0342 0599 4462 Eldridge Wardrobe...
- Page 6 ‚ smaller predrilled holes. 0329 STEP 2 Take 2x04 and hammer ‚ 2x0329 into each of them. STEP 3 Take and hammer ‚ 4x0329 into ends. 0329 Take 6x3518 and hammer ‚ 3518 them into holes under 01. Eldridge Wardrobe...
- Page 7 STEP 6 Flip baseboard ‚ upside down. Place 8x0136 on bottom ‚ of baseboard and screw 2x0160 into each. 0136 Note: Bottom of baseboard ‚ has no predrilled holes. 0160 Suggested placements of 0136 are as shown. Eldridge Wardrobe...
- Page 8 0440 Note: When placing ‚ 4157 be sure to use the flat 0440. 0440 Note: When placing ‚ 4157 be sure that the wheels are facing down and are also facing the smooth edge of the wood. Eldridge Wardrobe...
- Page 9 0160 STEP 11 0440 Place 4x4157 and screw 0160 ‚ 2x0160 through each. 4157 Place 0440 on each pair ‚ 4157 as shown and screw 2x0160 through each as shown. Note: See notes on step 8. ‚ Eldridge Wardrobe...
- Page 10 ‚ 0329 0160 2x0160 through each. 4462 Hammer in 2x0329 on top ‚ edge of 2x0329 bottom edge. STEP 13 Repeat Steps 10 and 11 ‚ on 08. Flip over and repeat ‚ step 12 on it. Eldridge Wardrobe...
- Page 11 2x0329 into each ‚ as shown. 0329 STEP 16 0160 Flip over 2x14 and place ‚ 4462 4462 on each and screw 2x0160 through each. Note: Align the 4462 ‚ this step exactly opposite 4462 in Step 15. Eldridge Wardrobe...
- Page 12 2x07 and hammer ‚ 4x0329 into each as shown. 0329 0599 STEP 18 Take and hammer ‚ 4x0329 as shown. 0599 Screw into middle ‚ of 09. 0329 STEP 19 Take and hammer ‚ 4x0329 as shown. 0329 Eldridge Wardrobe...
- Page 13 ‚ 0599 0599 STEP 21 Flip over and screw in ‚ 3x0599 as shown. 0599 STEP 22 Hammer in 2x0329 on side ‚ edge of 2x0329 0329 opposite side edge. Screw in 2x0599 as shown. ‚ Eldridge Wardrobe...
- Page 14 3527 STEP 24 3527 Place on baseboard ‚ as shown. Place 0494 with the arrow ‚ pointing down and screw 0494 it in. 3527 Screw into ‚ 06, going through and into the two side edges of 07. Eldridge Wardrobe...
- Page 15 10. 0494 Place with the arrow ‚ pointing to hole by the top and bottom of screw each in. 3527 Screw into ‚ 08, going through and into the two side edges of 11. Eldridge Wardrobe...
- Page 16 STEP 28 Place at edge ‚ of baseboard. Screw 2x3527 into 12, ‚ going through and into side edge of 01. 3527 Screw into ‚ 12, going through and into two side edges of 07. 3527 Eldridge Wardrobe...
- Page 17 Place with the arrow 0494 ‚ pointing toward the holes on the top and bottom of both and screw each in. Screw 2x3527 into ‚ 2x3527 into 12, going through and into the two side edges of 15. Eldridge Wardrobe...
- Page 18 3527 Slide another to the ‚ right of the 2x16 and screw in 3527. 0342 Place and all ‚ 0357 and hammer through it. Hammer the rest of 0357 ‚ on all edges of backboards as shown. Eldridge Wardrobe...
- Page 19 Push them all together. ‚ 0329 3527 Screw through ‚ into and screw 3527 into 21. through STEP 32 Slide into slot. ‚ 0429 STEP 33 Screw 2x0599 into ‚ as shown. Screw 2x0162 through 0599 ‚ into 0429. 0162 Eldridge Wardrobe...
- Page 20 0160 Screw through ‚ each 0138. Place 0440 on each side ‚ of bottom of drawer and screw 2x0160 into each. Note: When building the ‚ drawers make sure to use the L-shaped 0440. 0440 Eldridge Wardrobe...
- Page 21 Drawers 4158 0394 STEP 36 Repeat drawer procees 3 ‚ more times and slide them into wardrobe as shown. Take 3x4158 and place ‚ them onto 0394. Eldridge Wardrobe...
- Page 22 0162 left doors by screwing one 4219 end of to the middle hole, and the other end to the far left hole. 0160 STEP 38 2510 Flip over door and place ‚ 3x2510 and screw 2x0160 through each. Eldridge Wardrobe...
- Page 23 Doors 4462 2510 Screw A Screw B STEP 39 2510 Align in doors with ‚ 4462 in wardrobe sections and slide them in. Screw A Turn ‚ clockwise and Screw B counterclockwise to adjust hinges. Eldridge Wardrobe...
- Page 24 View our assembly video online www.manhattancomfort.com help@manhattancomfort.com 1888-230-2225...


Need help?
Do you have a question about the Eldridge Wardrobe and is the answer not in the manual?
Questions and answers