Advertisement
Quick Links
Advertisement

Subscribe to Our Youtube Channel
Related Manuals for Manhattan Comfort Mulberry


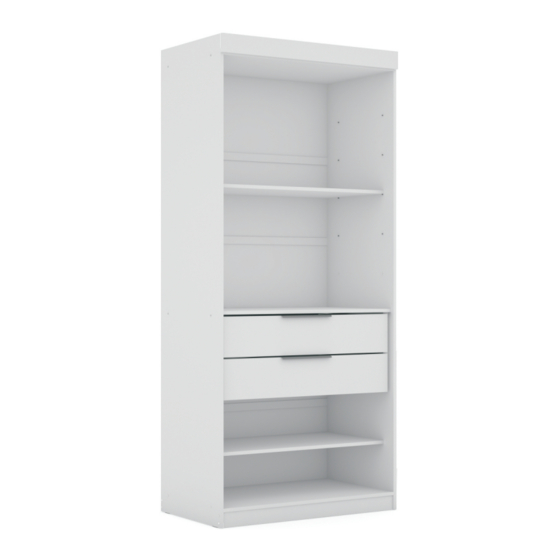
Summary of Contents for Manhattan Comfort Mulberry
- Page 1 888-230-2225 help@manhattancomfort.com Mulberry Side Wardrobe...
-
Page 2: Included In The Package
H = 04x I = 50x K = 08x L = 08x Q = 02x M = 08x N = 02x O = 02x P = 02x Tools needed Philips screw driver (not included) Screw driver Mulberry 02/10 side wardrobe... - Page 3 11 lb 11 lb Front view Rear view Step 01 Using the hardware (G) connect the part (16) onto the part (03) and the part (17) onto the part (04). Mulberry 03/10 side wardrobe...
- Page 4 Fix the hardware (H) onto the part (03) and the part (04) with the hardware (C ). Connect the part (16) and part (17) with the hardware (D). Step 03 Connect the part (01) onto the part (02) with the hardware (B). Mulberry 04/10 side wardrobe...
- Page 5 (05) with the hardware (J) and the hardware (A). Step 05 Connect the part (01), the part (02), the part (11) and the part (05) onto the part (03) and the part (04) with the hardware (B). Mulberry 05/10 side wardrobe...
- Page 6 (15) and the hardware (I). Step 03 Step 07 Connect the part (13) onto the part (03) and the part (04) joining the corners with the hardware (J) with the hardware (A). Mulberry 06/10 side wardrobe...
- Page 7 (07) and (08) until the groove of the part (09). Step 03 Step 09 Connect parts (07), (08) and (06) using the hardware (E + F). Apply the hardware (M) on the hardware (F). Mulberry 07/10 side wardrobe...
- Page 8 Step 10 Use the hardware (C) with the hardware (L) as shown on detail. Step 03 Step 11 Connect the hardware (N) onto the part (06) with the hardware (C ). Mulberry 08/10 side wardrobe...
- Page 9 Apply the hardware (K) into the part (03) and the part (04) to support the part (12). Step 03 Step 13 Install the drawer fitting it into the slides fixed on the side of parts (03) and (04). Mulberry 09/10 side wardrobe...
- Page 10 *press the hardware wings (P) to put in the hole that you drilled in the wall. wings Hardware (P), plugged in the wall. wings Then fasten with the hardware (C) the hardware (Q) on the part (11) Mulberry 10/10 side wardrobe...
Need help?
Do you have a question about the Mulberry and is the answer not in the manual?
Questions and answers