
Related Manuals for Manhattan Comfort 5GMC


Summary of Contents for Manhattan Comfort 5GMC
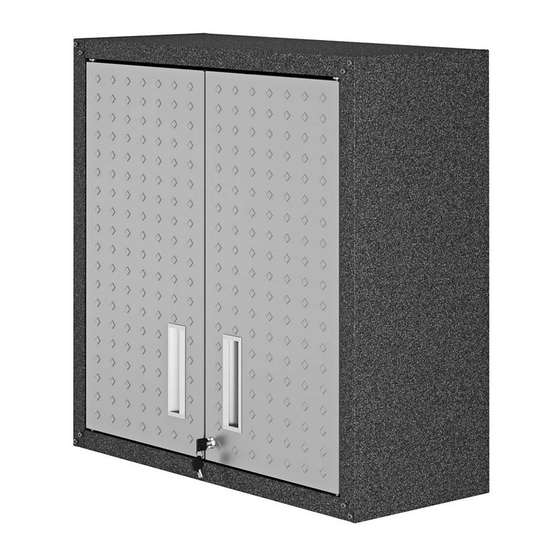
- Page 1 1000008345 - 03/04/2020 Assembly Guide Model: 5GMC Fortress Floating Garage Cabinet Stuck? Questions? We are here to help. 1-888-230-2225 help@manhattancomfort.com...
- Page 2 In order to ease the assembly, you should separate and identify the parts first Necessary hardware for the assembly, leveling and safety * Included in the kit * Not included in the kit ½” Locking nut, no key tightening required. Do not place the parts directly onto the floor.
-
Page 3: Hardware List
Fortress Floating Garage Cabinet Upper Back 3000007264 Wall Fixation Support 3000007235 WARNING Side 3000007298 Shelf 3000007301 3000007299 Maximum weight supported by shelf Lower Back 3000007266 Bottom 3000007300 Side Left Door 3000007298 3000007304 Right Door 3000007302 Hardware list 1000008301 1000011853 1000011851 1000008778 1000011850 Qty. - Page 4 1 - Fit part P4 inside part P1. STEP 1 2 - Fit both parts in the frontal side, with F1 and F2. STEP 2 1 - Fit part P6 inside part P1. 2 - Fit both parts in the frontal side, with F1 and F2...
- Page 5 STEP 3 1 - Fit part P4 and P6 insed part P1. 2 - Fit part P1 to part P4 and part P6, at the frontal side, with F1 and F2. 1 - Turn the cupboard with the back side STEP 4 upwards 2 - Fit part P1 to part P4 and part P6, at the...
- Page 6 STEP 5 1 - Fit part P8 into part P4 and parts P1 2 - Check that all fits are supported over the bolts 3 - After fitting the parts, screw the bolts until locked WARNING Position part P8 on the P4 side for mounting the cabinet.
- Page 7 STEP 7 1 - Fit part P9 inside parts P1, P6 and P8. Check that all fits are supported over the bolts 2 - After fitting the parts, screw the bolts until locked STEP 8 1- Turn the cupboard so that it will stand in the position of use 2- Fix F7 to parts P1, as shown here below...
- Page 8 1 - Place part P18 diagonally so it fits inside the cupboard STEP 9 2 - Lean part P18 to part P1 and place it over the F7 detailed in the illustration here below 3 - Bend the other side of part P18 down, leaning it over the left F7 STEP 10 1 - Align part P16 at an approximate height of 4 - Drill the wall where market on the wall,...
- Page 9 1 - Insert the metal part of the bushing into 2 - Pull the bushing driving it against the wall STEP 11 STEP 11 and then push the plastic ring the hole until it overcomes the wall. until it leans close to the wall Plastic ring WALL WALL...
- Page 10 STEP 13 1 - To assembly the doors, fit door P22 lower hinge bolt inside the bushing fixed in part P6 2 - Then, pull the pin of door P22 upper hinge down; align the door and release the pin to fit the bushing fixed in part P4 3 - Repeat the step for part P23 1º...
- Page 11 ITEMS EXCLUDED FROM WARRANT S This limited warranty does not cover: 1. In-home service including, but not limited to, service calls to correct the installation of any Manhattan Comfort Fortress Garage products or to instruct the consumer on how to use or install them.
Need help?
Do you have a question about the 5GMC and is the answer not in the manual?
Questions and answers