Advertisement
Quick Links
™
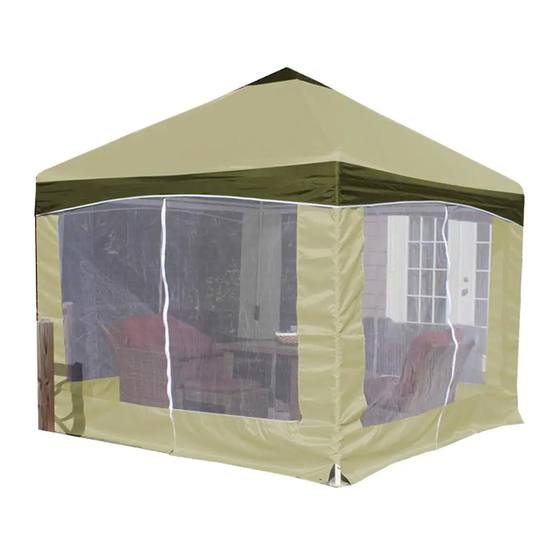
Garden Party
10ft X 10ft
9ft 9in Wide x 9ft 9in Deep x 6ft3in Side Height /
9ft7in Center Height
King Canopy Item #: GP1010
With 4 Legs, Foot Pads, Cover & Screens.
WARNING:
Keep all ame and heat sources
away from this tent fabric. Meets
the ammability requirements of
CPAI-84 Sec 6 and NFPA 701. It is not
Distributed by:
re proof. The fabric will burn if left in
PIC America, LTD.
continuous contact with any ame source.
Advertisement

Subscribe to Our Youtube Channel
Related Manuals for KING CANOPY Garden Party 10ft X 10ft


Summary of Contents for KING CANOPY Garden Party 10ft X 10ft
- Page 1 Garden Party 10ft X 10ft 9ft 9in Wide x 9ft 9in Deep x 6ft3in Side Height / 9ft7in Center Height King Canopy Item #: GP1010 With 4 Legs, Foot Pads, Cover & Screens. WARNING: Keep all ame and heat sources away from this tent fabric.
-
Page 2: Parts List
PARTS LIST TOP4WPC GPT10SCREENS STAKE 4WCPC GPT10 3X2PC 6X6PC FOOTPC 6X6PC 12 pc 78” Pipe 1 3/8” 3X2PC 4 pc 38” Swedge Pipe 1 3/8” 4WCPC 4 pc 4-Way Fittings 1 3/8” FOOTPC 4 pc Metal Foot Pads 1 3/8” TOP4WPC 1 pc 1 Piece 4-Way Fitting 1 3/8”... -
Page 3: Frame Assembly
FRAME ASSEMBLY 1. Arrange all pipes and ttings on the ground as in Figure #1 below. Figure #1 3X2PC 6X6PC 4WCPC 4WCPC 3X2PC 6X6PC 6X6PC 6X6PC TOP4WPC 6X6PC 3X2PC 6X6PC 6X6PC 3X2PC 6X6PC 4WCPC 4WCPC Figure #3 4WCPC 6X6PC 6X6PC TOP4WPC 3X2PC 6X6PC... - Page 4 LEG & SCREEN ASSEMBLY the step for the opposite side. Now go ahead and securely tie the straps at the corners of the cover as shown in gure #7. You are now able to use the canopy if you do not want to attach screens at this time 6.
-
Page 5: Screen Assembly
SCREEN ASSEMBLY corner of the screen. Gather the center of your screen towards the leg where the strap is and wrap the 9. If leaving you canopy up for an extended period of time please see our anchoring instructions on the next Figure #11 Figure #10 Join Zipper at... - Page 6 SCREEN ASSEMBLY Figure #14 Scallop the Screen. Figure #17 Figure #16 Wrap Band Around Pole and Screens and Attach. Figure #19 Figure #18...
- Page 7 ANCHORING YOUR UNIT properly and securely anchored to the ground. Severe winds will cause the frame to twist and unanchored legs will fall, thereby collapsing the canopy. If severe winds are expected, you must remove the cover from the frame to prevent damage. Step 1 and the eye of each anchor.
- Page 8 IMPORTANT NOTICE: PLEASE READ CAREFULLY We are con dent that you will be completely satis ed with your King Canopy unit. Please take a moment to read the very important information below, and call us with any questions you may have.
- Page 9 Improper Anchoring, Strong Winds, Rain Snow, or Ice King Canopy/PIC America, LTD. does not guarantee these canopies under strong weather conditions. These canopies are designed to protect against damages caused by sun, rain, tree sap, birds, etc. They are not designed to hold roof loads that accompany snow, ice or heavy rains.
Need help?
Do you have a question about the Garden Party 10ft X 10ft and is the answer not in the manual?
Questions and answers