Table of Contents
Advertisement
Quick Links
INTERFACING SOLUTIONS
PRODUCT FEATURES:
- Smart-Play Integration system allows connection of Android and other smartphones to the Audi non-MMI system.
- Made for Android Auto and CarPlay.
- Control Apps using the smartphone's voice control feature or touch panel provided.
Adds front and rear aftermarket camera inputs.
-
NOTES:
Vehicle MUST have a NAV button
on the steering wheel controls.
PARTS INCLUDED:
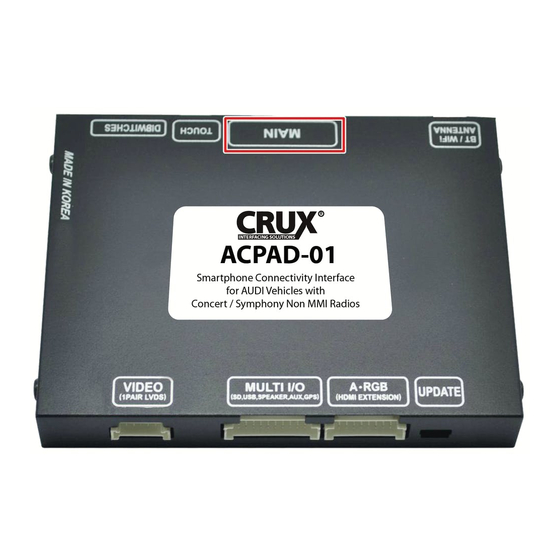
ACPAD-01 Module
Touch Panel
Smart-Play Interface Module
3.5mm Aux Cable
Crux Interfacing Solutions • 21541 Nordhoff St., Unit C, Chatsworth, CA 91311
R
Power/Video Harness
phone: (818) 609-9299 • fax: (818) 996-8188 • www.cruxinterfacing.com
Smart-Play Smartphone Connectivity Interface for
Audi Vehicles with Concert / Symphony Non MMI Radios
Vehicle MUST have the MMI
controls on the radio.
AMI to 3.5mm Aux Adapter Cable
Microphone
4K HDMI Cable
1 of 9
ACPAD-01
LVDS In/Out Cable
OSD Controller
Smart-Play Module Power Harness
rev.052820
Advertisement
Table of Contents

Subscribe to Our Youtube Channel
Related Manuals for Crux ACPAD-01


Summary of Contents for Crux ACPAD-01
- Page 1 OSD Controller Smart-Play Interface Module Microphone 3.5mm Aux Cable 4K HDMI Cable Smart-Play Module Power Harness 1 of 9 rev.052820 Crux Interfacing Solutions • 21541 Nordhoff St., Unit C, Chatsworth, CA 91311 phone: (818) 609-9299 • fax: (818) 996-8188 • www.cruxinterfacing.com...
-
Page 2: Installation Diagram
SETTING SCREEN SIZE VEHICLE 1 to 8 ALL OFF 7” A4, S4, A5, S5, Q5 2 of 9 rev.052820 Crux Interfacing Solutions • 21541 Nordhoff St., Unit C, Chatsworth, CA 91311 phone: (818) 609-9299 • fax: (818) 996-8188 • www.cruxinterfacing.com... -
Page 3: Installation Instructions
4 T-20 torx screws on each corner. 3 of 9 rev.052820 Crux Interfacing Solutions • 21541 Nordhoff St., Unit C, Chatsworth, CA 91311 phone: (818) 609-9299 • fax: (818) 996-8188 • www.cruxinterfacing.com... - Page 4 (if applicable) and power using the module port next to the HDMI port. power wires provided. rev.052820 4 of 9 Crux Interfacing Solutions • 21541 Nordhoff St., Unit C, Chatsworth, CA 91311 phone: (818) 609-9299 • fax: (818) 996-8188 • www.cruxinterfacing.com...
- Page 5 Run the cable towards the Smart-Play module location and plug it into the Mic port. Mic In 5 of 9 rev.052820 Crux Interfacing Solutions • 21541 Nordhoff St., Unit C, Chatsworth, CA 91311 phone: (818) 609-9299 • fax: (818) 996-8188 • www.cruxinterfacing.com...
-
Page 6: Operation
Unplug the OSD Control Pad after setting the cameras and keep it in a secure location in case it is needed to change the settings. 6 of 9 rev.052820 Crux Interfacing Solutions • 21541 Nordhoff St., Unit C, Chatsworth, CA 91311 phone: (818) 609-9299 • fax: (818) 996-8188 • www.cruxinterfacing.com... - Page 7 ON. Push RIGHT button to go Save&Reboot then Run. to the next menu. REAR AND FRONT CAMERA SETTING 7 of 9 rev.052820 Crux Interfacing Solutions • 21541 Nordhoff St., Unit C, Chatsworth, CA 91311 phone: (818) 609-9299 • fax: (818) 996-8188 • www.cruxinterfacing.com...
- Page 8 The ACPAD-01 will calibrate automatically. FRONT CAMERA SETTING The front Camera will automatically show on the screen when the gear is put to Drive from Reverse.
-
Page 9: Vehicle Applications
Audi 2009 - 2016 A4, S4, A5, S5, Q5 COMPATIBLE RADIOS: Symphony Radio Concert Radio 9 of 9 rev.052820 Crux Interfacing Solutions • 21541 Nordhoff St., Unit C, Chatsworth, CA 91311 phone: (818) 609-9299 • fax: (818) 996-8188 • www.cruxinterfacing.com...
Need help?
Do you have a question about the ACPAD-01 and is the answer not in the manual?
Questions and answers