Table of Contents
Advertisement
Quick Links
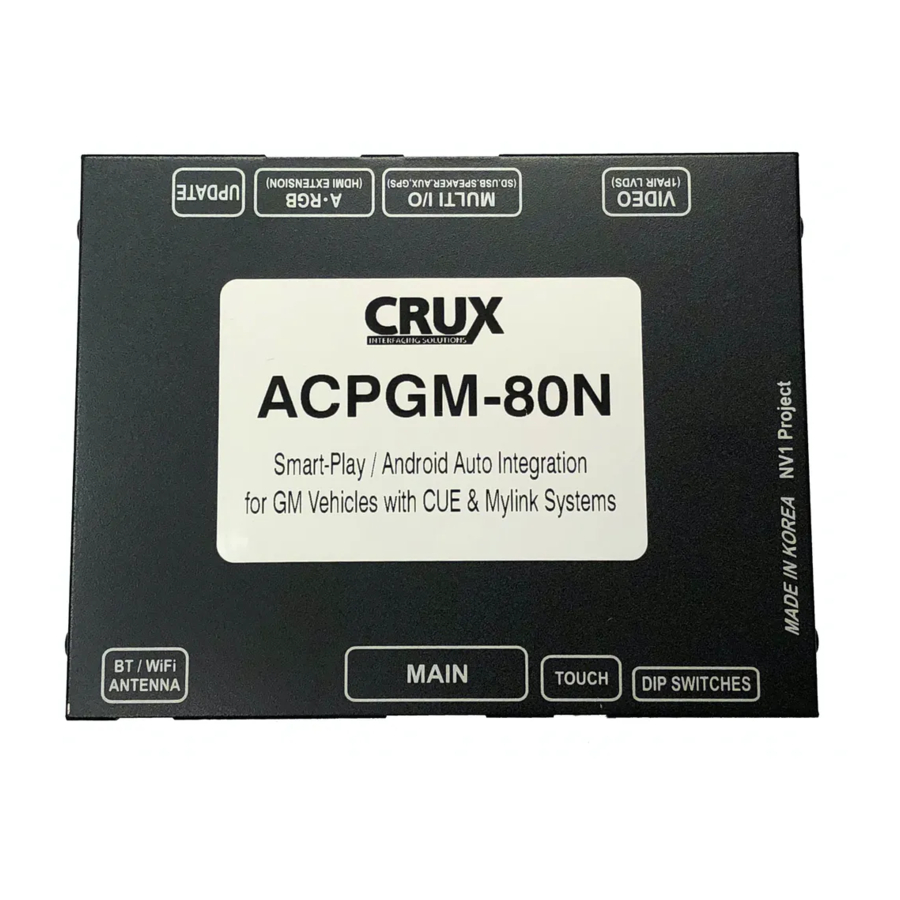
ACPGM-80N
Sightline
R
Multi View Integration
Smart-Play Integration with Multi Camera Inputs
INTERFACING SOLUTIONS
for Select 2013-2018 GM Vehicles with CUE & MyLink Systems
PRODUCT FEATURES:
-
Smart-Play Integration system allows connection of Android and other phones to the GM infotainment system.
- Made for Android Auto and CarPlay.
- Adds front and rear aftermarket camera inputs.
- Retains functionality of the OEM backup camera if present.
- Front camera automatically shows on the screen after changing the gear from reverse to drive.
- Forced view function for front and aftermarket rear camera.
PARTS INCLUDED:
ACPGM-80N Module
Power Harnesses
Smartphone Interface Module
USB Extension Cable
4K HDMI Cable
Microphone
LVDS Video Cable
3.5mm Aux Cable
Smart-Play Module Power Harness
OSD Controller
1 of 9
rev.111220
Crux Interfacing Solutions • Chatsworth, CA 91311
phone: (818) 609-9299 • fax: (818) 996-8188 • www.cruxinterfacing.com
Advertisement
Table of Contents

Related Manuals for Crux ACPGM-80N


Summary of Contents for Crux ACPGM-80N
- Page 1 Smartphone Interface Module USB Extension Cable 4K HDMI Cable Microphone LVDS Video Cable 3.5mm Aux Cable Smart-Play Module Power Harness OSD Controller 1 of 9 rev.111220 Crux Interfacing Solutions • Chatsworth, CA 91311 phone: (818) 609-9299 • fax: (818) 996-8188 • www.cruxinterfacing.com...
-
Page 2: Wiring Diagram
1 & 5 DOWN Colorado 2 & 5 DOWN Escalade, CTS, CTS-V (with no OEM front camera) RSE = Rear Seat Entertainment 2 of 9 rev.111220 Crux Interfacing Solutions • Chatsworth, CA 91311 phone: (818) 609-9299 • fax: (818) 996-8188 • www.cruxinterfacing.com... -
Page 3: Installation Instructions
LVDS cable is plugged in at the the HMI module. HMI module (usually found behind the glove box). 3 of 9 rev.111220 Crux Interfacing Solutions • Chatsworth, CA 91311 phone: (818) 609-9299 • fax: (818) 996-8188 • www.cruxinterfacing.com... - Page 4 ACPGM-80N Cable LVDS OUT Cadillac and Corvette C7 with 10 pin Connector at headunit For Cadillac and Corvette C7 installations, you must cut the ACPGM-80N 10 pin connectors and hardwire it to the OEM connector wires. ACPGM-80N POWER HARNESS White...
- Page 5 PIN 3 = CAN connect to CAN High (White/Brown) wire factory connector and connect the LIN (blue PIN 8 = LIN (see connection diagram above) wire) and MMI (white wire) of the ACPGM-80N PIN 10 = Ground connect to Black wire harness following the diagram above.
-
Page 6: On Screen Display (Osd) Settings
Unplug the OSD Control Pad after setting the cameras and keep it in a secure location in case it is needed to change the settings. 6 of 9 rev.111220 Crux Interfacing Solutions • Chatsworth, CA 91311 phone: (818) 609-9299 • fax: (818) 996-8188 • www.cruxinterfacing.com... - Page 7 ON. Push RIGHT button to go Save&Reboot then Run. to the next menu. REAR AND FRONT CAMERA SETTING 7 of 9 rev.111220 Crux Interfacing Solutions • Chatsworth, CA 91311 phone: (818) 609-9299 • fax: (818) 996-8188 • www.cruxinterfacing.com...
- Page 8 Set the parking brake on, start the car, put the gear in reverse, turn the steering wheel all the way to the left and all the way to right then put it in the center. The ACPGM-80N will calibrate automatically.
-
Page 9: Operation
CTS Coupe 2014-2018 2015-2018 Malibu 2014-2018 2014-2018 Silverado CTS-V 2014-2018 2015-2018 Suburban Escalade 2015-2018 2015-2018 Tahoe 2013-2018 2013-2018 2016-2018 8” Screen 9 of 9 rev.111220 Crux Interfacing Solutions • Chatsworth, CA 91311 phone: (818) 609-9299 • fax: (818) 996-8188 • www.cruxinterfacing.com...
Need help?
Do you have a question about the ACPGM-80N and is the answer not in the manual?
Questions and answers