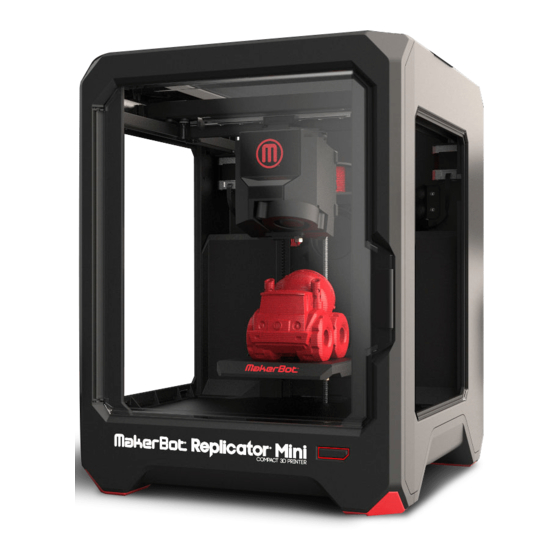
Summary of Contents for MakerBot Replicator Mini
- Page 1 MakerBot Replicator Mini Teardown Guide Tools Needed: 1.3mm Hex Driver 1.5mm Hex Driver 2.0mm Hex Driver 1 Pair of thin Tweezers 2.5mm Hex Driver Small Wire Cutters Phillips Screw Driver Small Container for Screws T10 - T20 Torx Driver MakerBot...
- Page 2 MakerBot Replicator Step 1 - Remove the Door, Windows and Filament Guide • To remove the Door, pull from top downward and away from the Minis body. • To remove side Windows, from the inside of the printer, apply pressure to pop out of the slot.
- Page 3 MakerBot Replicator Step 2 - Removing the Floor Plate • Manually rotate the threaded z-axis threaded rod clockwise to raise the Build Plate Holder half way from the Floor Plate. Pull the Build Plate forward to remove from the Build Plate Holder.
- Page 4 MakerBot Replicator Mini Step 5 - Remove the Housing (optional) • Remove the following Screws: • eight (8) flathead bolts using a 2.5mm hex driver from the edges of the Back Panel • one (1) tension bolt by using a 2.5mm hex driver from the Back...
- Page 5 MakerBot Replicator Mini Step 5 - Remove the Housing continued • Remove the two (2) Torx bolts using a T10 driver located on the Extruder Carriage Assembly. • Pull the rear panel of the Housing Assembly upwards to remove (using a small driver wedged between the Back Panel and Frame allows easier removal).


Need help?
Do you have a question about the Replicator Mini and is the answer not in the manual?
Questions and answers