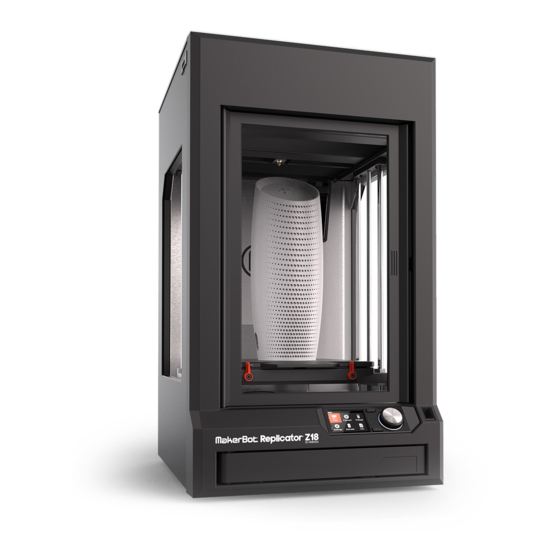
MakerBot Replicator Z18 Teardown Manual
Hide thumbs
Also See for Replicator Z18:
- User manual (66 pages) ,
- Quick start manual (4 pages) ,
- Instructions (2 pages)
Table of Contents
Advertisement
Quick Links
Advertisement
Table of Contents

Summary of Contents for MakerBot Replicator Z18
- Page 1 MakerBot Replicator Z18 Teardown Guide Tools Needed: 1.3mm Hex Driver 1.5mm Hex Driver 2.0mm Hex Driver 1 Pair of thin Tweezers 2.5mm Hex Driver Phillips Screw Driver Small Wire Cutters T10 - T20 Torx Driver Small Container for Screws T10 Security Torx Drive...
- Page 2 MakerBot Replicator Z18 MakerBot Replicator Step 1 - Remove the Outer Panel Assembly • Remove the following screws: from the Outer Panel Assembly • four (4) flat head screws using a 2.5mm hex driver • Once the screws are removed...
- Page 3 MakerBot Replicator MakerBot Replicator Z18 Step 3 - Remove Front Panel • Remove five (5) hex socket cap screw using a 2.5mm hex driver • Open Filament Drawer, ensure guide tube is disconnected from the Y-Split • Simultaneously, pull and wiggle to remove Front Panel (be mindful of the floor trip –...
- Page 4 MakerBot Replicator Z18 MakerBot Replicator Step 5 - Remove the Filament Drawer Assembly • Remove three (3) button heads screws by using a 2.5mm hex screwdriver • Push the Drawer back and swing around to unhook and remove the Drawer •...
- Page 5 MakerBot Replicator MakerBot Replicator Z18 Step 7 -Remove the Gantry Assembly • Remove two (2) tensioning bolts from the front of the Gantry Assembly using a 5mm hex driver • Unplug the Flat Flex Cable from the Rickers PCB, located at the right top of the Rear Right Upright.
- Page 6 MakerBot Replicator Z18 MakerBot Replicator Step 8 - Remove the four (4) Uprights • Detach wires from plastic clips • Detach FFC and power cable from the Rikers PCB located on the rear Right Upright • Detach the Interlock Door Cable from the Red Hook PCB located on the front Left Upright.
- Page 7 MakerBot Replicator MakerBot Replicator Z18 Step 9 - Remove Z-Stage Continued • Unplug the Heating Coil Thermistor attached to the Heating Coil Assembly. Lift up the Inner and Bottom Panels over the threaded rods. Step 9 - Removing the Drawer Bay Cover •...
- Page 8 MakerBot Replicator Z18 MakerBot Replicator Step 10-Remove the power supply • Remove the four (4) button head security screws located at the rear of the Drawer Bay Assembly by using a T10 security screwdriver. • Cut off the three (3) zip ties that secure the Power Supply Wires.


Need help?
Do you have a question about the Replicator Z18 and is the answer not in the manual?
Questions and answers