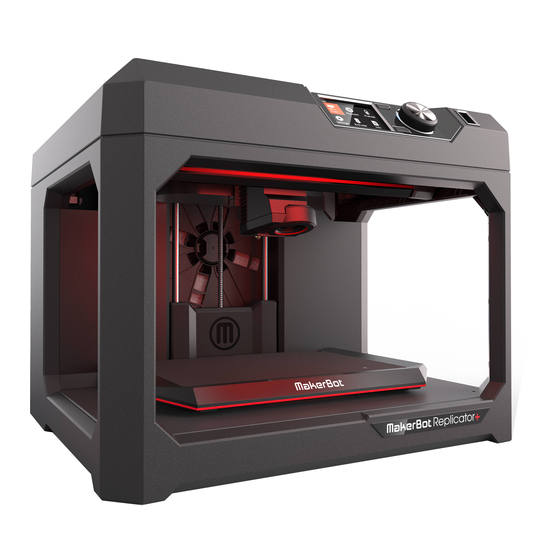
MakerBot Replicator+ Maintenance
Hide thumbs
Also See for Replicator+:
- Reference manual (48 pages) ,
- Quick start manual (14 pages) ,
- Disassembly manual (11 pages)
Advertisement
Printer Maintenance
How to Power Cycle Your MakerBot
When to Power Cycle
If you are expiring issues with your MakerBot Replicator+, it can sometimes help to
do a power cycle. Power cycling can reset a device with a minor problem like a false
error message or a control panel glitch. You will also need to power cycle your
MakerBot Replicator+ for certain firmware changes to take effect.
How to Power Cycle
To power cycle your MakerBot Replicator+, allow the Smart Extruder+ to cool to at
least 50 C and then turn off your 3D printer. Wait for at least 30 seconds to allow the
electronics in your MakerBot Replicator+ to fully power down. Then turn it back on.
Resetting to Factory Settings
You may occasionally need to rest your MakerBot Replicator+ to factory settings in
order to deal with issues such as missing example files, problems with firmware
updates, or Wi-Fi connectivity issues.
To restore factory settings, use the control panel to navigate to Settings > Reset to
Factory Settings.
Printer Tips
Calibrating the Z Offset
Z Calibration allows you to improve the quality of prints if your prints are printing
poorly. You can recalibrate the Z Offset directly on the printer by going to the
printer's main menu and selecting Info > Calibration > Calibrate Z Offset. You can
also do this through MakerBot Print.
1. Navigate to the Printer Panel and select the printer whose Z Offset you wish to
recalibrate.
2. Select Utilities.
3. Select Calibration.
Each time you attach a new Smart Extruder+, you will need to run the Z-Axis
Calibration routine. This process will make sure the build plate is positioned at the
Advertisement
Table of Contents

Related Manuals for MakerBot Replicator+


Summary of Contents for MakerBot Replicator+
- Page 1 You will also need to power cycle your MakerBot Replicator+ for certain firmware changes to take effect. How to Power Cycle To power cycle your MakerBot Replicator+, allow the Smart Extruder+ to cool to at least 50 C and then turn off your 3D printer. Wait for at least 30 seconds to allow the electronics in your MakerBot Replicator+ to fully power down. Then turn it back on. Resetting to Factory Settings You may occasionally need to rest your MakerBot Replicator+ to factory settings in order to deal with issues such as missing example files, problems with firmware updates, or Wi-Fi connectivity issues. To restore factory settings, use the control panel to navigate to Settings > Reset to Factory Settings. Printer Tips Calibrating the Z Offset Z Calibration allows you to improve the quality of prints if your prints are printing poorly. You can recalibrate the Z Offset directly on the printer by going to the...
- Page 2 Smart Extruder+ when you begin a print. To run the calibration routine, select Z Calibration and then select Run Home Calibration. Manually Adjusting the Z-Axis Offset If your rafts and first layers are printing poorly or if your filament isn’t sticking to your build plate, the Smart Extruder+ is probably printing a little too far from the build plate. Similarly, if no filament is coming out of the nozzle, or you’re hearing a clicking noise when your MakerBot Replicator+ starts a print, your extruder may be a little too close to the build plate. To adjust the Z-axis Offset, you will need to have your printer connected to MakerBot Print: 1. Navigate to the Printer Panel and select the printer whose Z Offset you wish to manually adjust.
- Page 3 • If no filament is coming out of the nozzle, or if you’re hearing a clicking noise when your MakerBot 3D printer starts a print, your extruder may be a little too close to the build plate. This can cause plastic to back up into the extruder and cause clogs. • Printing in a warm or humid environment can contribute to frequent nozzle clogs. Try to print in a cool, dry environment. • Keeping your software and firmware up to date will help ensure that your MakerBot 3D printer and MakerBot Print run as smoothly as possible. What Temperature is my Extruder Print Temperature During printing, your Smart Extruder+ will be heated to about 215°C. You can see the exact temperature by selecting the Extruder icon on the control panel or by opening the MakerBot Print’s print monitor panel during a print. Allowing the Extruder to Cool Always allow the extruder to cool to a temperature of 50°C before removing it from the MakerBot Replicator+ or before the MakerBot Replicator+ is turned off. Allowing the extruder to cool helps to prevent extruder clogs.
Need help?
Do you have a question about the Replicator+ and is the answer not in the manual?
Questions and answers