MakerBot Replicator Manual
Hide thumbs
Also See for Replicator:
- User manual ,
- Reference manual (17 pages) ,
- Setup manual (12 pages)
Advertisement
Quick Links
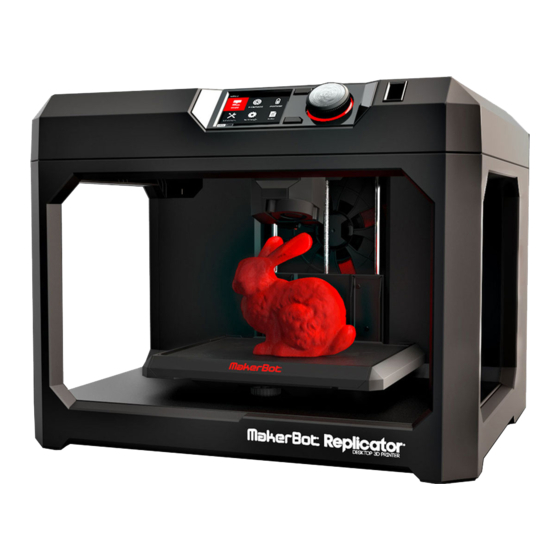
MakerBot Replicator 5th Generation Teardown Guide
Tools Needed:
MakerBot
1.3mm Hex Driver
1.5mm Hex Driver
2.0mm Hex Driver
2.5mm Hex Driver
Phillips Screw Driver
T10 - T20 Torx Driver
T10 Security Torx Drive
1 Pair of thin Tweezers
Small Wire Cutters
Small Container for Screws
1
Advertisement

Related Manuals for MakerBot Replicator


Summary of Contents for MakerBot Replicator
- Page 1 MakerBot Replicator 5th Generation Teardown Guide Tools Needed: 1.3mm Hex Driver 1.5mm Hex Driver 2.0mm Hex Driver 1 Pair of thin Tweezers 2.5mm Hex Driver Phillips Screw Driver Small Wire Cutters T10 - T20 Torx Driver Small Container for Screws...
- Page 2 • Gently lift the Top Cover about 2 inches in order to give enough clearance for the Filament Spool Drawer Stop to pass through. Gently lift the Filament Spool Drawer upward to remove from the body of the Replicator. MakerBot...
- Page 3 Using a medium length screwdriver, from the front side of the Replicator pry the Top cover from the Font Panel snap brackets located at each corner. Unplug the motor wires and HDMI cable, then lift and remove the Top Cover and set aside.
- Page 4 MakerBot Replicator Step 5 - Disassemble the UI (Optional) • Note: This step only necessary if you troubleshooting the LCD screen or Hoboken PCB To disconnect the LCD Screen lift the brown tab on the back of the Hoboken PCB and gently pull out the LCD Screens’...
- Page 5 Carriage Motor and Bronx PCB. Step 8 - Remove Gantry Assembly • Remove six (6) Torx button heads that attach the Gantry Assembly to the body of the Replicator. Unplug both Gantry Motors (Left and Right). MakerBot...
- Page 6 MakerBot Replicator MakerBot Replicator Step 9 - Remove Belt and Belt Clip • Loosen the two (2) button head screws holding down the Tensioned Pulley Bracket using a 1.5mm hex driver located on the front left. Next using a T15 or...
- Page 7 Remove the six (6) Torx button heads that hold the Spool Drawer Alignment Brackets to the Z-Case. Pull Alignment Brackets away from the body of the Replicator. Step 11 -Remove Brooklyn PCB • Unplug the HDMI Cable and remove the Electrostatic Discharge Cover (ESD) by removing the two (2) Torx button heads using a T20.
- Page 8 Z-Back to the Floor Plate. Pull Z-back back towards you away from the body of the Replicator and set aside. To remove Z-Stage Assembly remove the four (4) Torx button head screws using a T15 To remove Z-Stage Assembly...
- Page 9 Base Plate (inside the Replicator) using a T15 Pull the Floor Plate away from the front of the Replicator to remove. Remove the seven (7) Torx self tapping screws that attach the Left and Right Panel to the Base...
- Page 10 MakerBot Replicator MakerBot Replicator Step 14 - Remove the Camera • Remove the Camera by pushing on the Camera Mount Clip that holds it on to the Left Panel. MakerBot MakerBot...
Need help?
Do you have a question about the Replicator and is the answer not in the manual?
Questions and answers