Advertisement
Quick Links
To Connect to AC Power Supply
This oscilloscope can accept 100-240 V, 45-440 Hz AC power supply. Please use the power cord supplied with
the accessories to connect the oscilloscope to the power source as shown in the figure below.
Power-on
When the oscilloscope is energized, press the power key at the lower-left corner of the front panel to turn on the
oscilloscope.
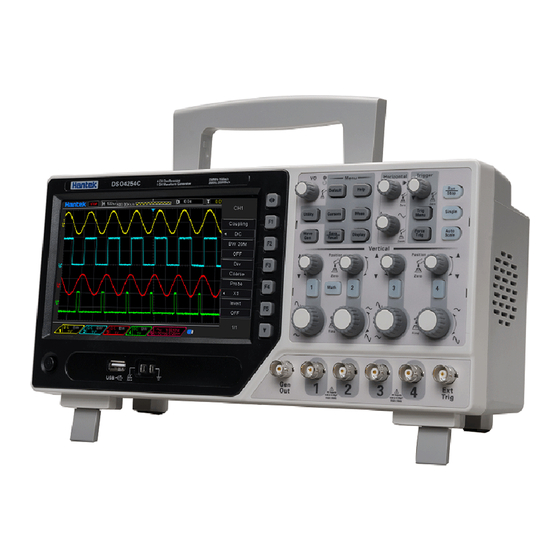
User's Interface
1. Hantek logo
3. Readout shows main time base setting
5. Main Time Base Window
7. Trigger level, Readout tells trigger level.
8. Operating Menu shows different information for respective function keys.
2. Trigger Status
4. Sample rate
6. Tigger time
9. If this icon lights up/active, it means the USB disk has been connected.
10. If this icon lights up/active, it means the wave generator works
11. The information of coupling, Bandwidth and volt/div of CH1~CH4.
12. Channel Marker
13. Window displays waveform.
Install Software
Caution: You must install the software before using the oscilloscope on PC.
1. While in Windows, insert the installation CD into the CD-ROM drive.
2. The installation should start up automatically. Otherwise in Windows Explorer, switch to the CD-ROM drive and
run Setup.exe. According to the installation information, please install it step by step.
Download and install IO libraries suite.
Please download latest IO Libraries Suite from the website:
http://www.keysight.com/main/software.jspx?ckey=2175637&lc=chi&cc=CN&nid=-11143.0.00&id=217563
7
Also you can install the software named IOLibSuite in the CD.
Double click IO Libraries Suite program and install it. According to the installation information, please install it step
by step. The installation maybe takes several minutes.
After installation, you can see it in bottom right corner.
1
Advertisement

Subscribe to Our Youtube Channel
Related Manuals for Hantek DSO4004C Series


Summary of Contents for Hantek DSO4004C Series
- Page 1 Double click IO Libraries Suite program and install it. According to the installation information, please install it step by step. The installation maybe takes several minutes. After installation, you can see it in bottom right corner. 1. Hantek logo 2. Trigger Status 3. Readout shows main time base setting 4.
- Page 2 User’s Interface of PC 1. Power on. Connect DSO scope to PC via USB cable. The driver will install by itself. When the driver is installed successfully, there will have a prompt as follows: Click the software icon on the desk after you finished the software setting and equipment connecting. Then a user interface will be showed as follows: 2.
- Page 3 Check the instrument: 12. Menu Button In case there is any mechanical damage or defect, or the instrument does not operate properly or fails 13. Probe Compensation terminal performance tests, please notify the franchiser. 14. USB Port www.hantek.com 15. Power Button...
Need help?
Do you have a question about the DSO4004C Series and is the answer not in the manual?
Questions and answers