
Related Manuals for ALTAI CX200


Summary of Contents for ALTAI CX200
- Page 1 Quick Setup Guide Altai CX200 Outdoor 2x2 8 0 2 . 1 1 a c W a v e 2 A P _________________________________________________ Quick Setup Guide Version 2.0 Altai Technologies Ltd. All rights reserved...
-
Page 2: Package Contents
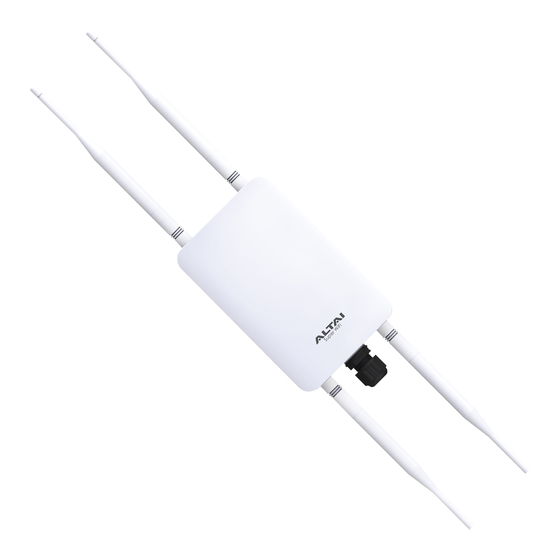
Quick Setup Guide Introduction Thank you for purchasing the Altai CX200 product. This guide provides instructions to install the product and set it up as AP with minimal effort. Package Contents Detachable Antennae - 2.4GHz Antenna CX200 Main Unit - 5GHz Antenna... -
Page 3: Hardware Overview
2. Station mode on but not connected to remote AP; OR 3. Repeater mode on but not connected to remote AP; OR 4. Bridge mode on but not connected to remote peer Flashing Green Data transmitting/receiving Altai Technologies Ltd. All rights reserved... - Page 4 Used to connect to power source (see the Power Options in the later section) and provides 10/100/1000 Mbps network interface for LAN connection. RF Antenna Ports: Used to attach 2.4G and 5G antennae for 2x2 MIMO WiFi access coverage or bridge connection. Altai Technologies Ltd. All rights reserved...
-
Page 5: Setup Preparation
Crimp Ethernet connector with the crimping tool. RJ45 Connector Connect the cable to the Sealing Sleeve Ethernet Port. Sleeve Holder Tighten the cap nut. Cap Nut Altai Technologies Ltd. All rights reserved... -
Page 6: Mounting Options
Thread the open end of the hose clamp through the two slots of the mount base. Determine where the AP is to be placed. Tighten the hose clamp to secure the base to the pole. Option 2: Wall Mount Altai Technologies Ltd. All rights reserved... - Page 7 Align the mounting slots with the screw heads and attach the AP to the wall in place. Power Options and Cable Connection Instructions Follow one of the options below to power up the CX200 for configuration. Option 1: PoE Injector (purchased separately) PoE Injector 1.
-
Page 8: Factory Reset
Option 2: 802.3af-Compliant PoE Switch 802.3at – Compliant PoE Switch 1. Connect the CX200 Ethernet port to an 802.3af-compliant PoE switch with an Ethernet Cable. 2. Connect a computer to the switch. 3. Make sure the Power LED turns into a solid light for AP configuration. - Page 9 For Windows 7/Windows 10 users, 1. Go to Control Panel, click Network and Sharing Center and then choose the Ethernet adapter that is in connection with the CX200 unit. Click it and then click Properties. 2. Under the Networking tab, select Internet Protocol Version 4 (TCP/IPv4) in the list box “This connection uses the following items”, and then click...
- Page 10 1. Open a web browser. Type 192.168.1.222 in the address bar and then hit Enter. 2. Login page will come up and you are required to enter username and password. By default, the credentials are: • Username: admin • Password: admin 3. Click Login. Altai Technologies Ltd. All rights reserved...
- Page 11 2.4G radio configuration only. Same procedures can be applied to 5G radio configuration. 1. Check the box to Enable Radio. Select AP in the Radio Mode field. Then click Submit button. Altai Technologies Ltd. All rights reserved...
- Page 12 4. Click Save & Apply in the top right corner to have all changes take effect. 5. Hook up the CX200 as in the Network Scenario. The SSID should now be broadcast from it and be seen in the computer for wireless connection.
- Page 13 APs anywhere, anytime. Follow the steps below to join your AP to the system. 1. Go to Configuration > Network > General. Select Switch Mode for Network Setting. Make sure the CX200 can reach Internet and communicate with AltaiCare by giving valid IP settings either via DHCP or with Static IP configuration.
- Page 14 5. Follow AltaiCare Quick Start Guide to register the CX200 in the cloud system. 6. The CX200 will come up online in AltaiCare if the connection is successful.
- Page 15 36cm between the radiator & your body. European Conformity (CE) – EU This is a Class B product. In a domestic environment, this product may cause radio interference, in which case the user may be required to take adequate measures. Altai Technologies Ltd. All rights reserved...
- Page 16 Warning CX200 may require professional installation depending on the deployment scenario. Only use the power adaptor supplied with CX200. Using a different power adaptor might damage the device. Disclaimer All specifications are subject to change without prior notice. Altai Technologies assumes no responsibilities for any inaccuracies in this document or for any obligation to update information in this document.
Need help?
Do you have a question about the CX200 and is the answer not in the manual?
Questions and answers