Advertisement
Quick Links
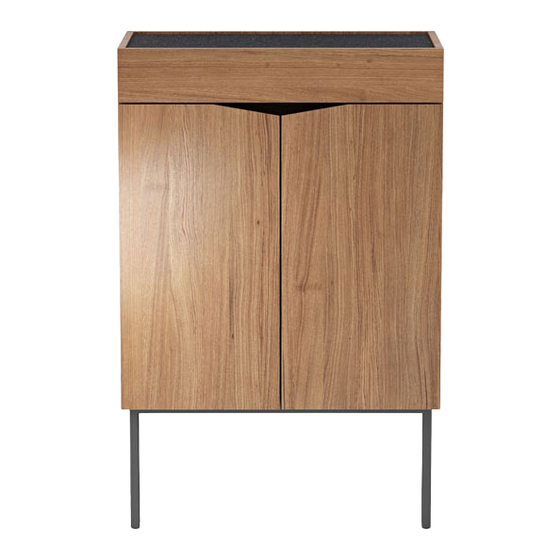
Component List
Designed by Matthew Weatherly.
These distinctive product configurations are protected by US and
international patents, trade dress, and/or copyright laws.
BDI are trademarks of Becker Designed, Inc.
All Rights reserved. ©2015, BDI
Made in China. 1170REV10202015v1
ciao
1170
console
A - Phillips Screwdriver
x 1
B - Wall Template
x 1
C - Toggle Bolt package
x 1 Package
(2 toggles and screws
with each package)
D - Dry wall anchor
x 2
E - Wall Cleat
x 1
F - Screw
x 4
G - Leg
x 1
H - Console
x 1
I - Screw
x 2
J - Washer
x 4
K - Composite Glass Top
x 1
a s s e m b l y i n s t r u c t i o n s
bdiusa.com
Ciao is engineered for easy assembly. Carefully follow this
procedure to prevent any damage.
Placement and Maintenance
Ciao is designed for indoor use on level floors. Clean wood veneer
with a moist cloth.
Step 1
Unpack and identify the components at left. The assembly
workspace should be a non-marring surface such as carpet. For
missing hardware pieces, please contact BDI Customer Service
at customerservice@bdiusa.com. For all other concerns, please
contact your BDI Retailer.
Step 2
Position the Wall Template (B) in the desired console
location. Using a pencil, mark the wall as shown in
the diagram above, tracing the two slot locations near
top of template and the left & right hole locations near
bottom. Mark a hole location at center of each traced
slot.
1
customerservice@bdiusa.com
Advertisement

Related Manuals for BDI ciao 1170


Summary of Contents for BDI ciao 1170
- Page 1 Step 1 Unpack and identify the components at left. The assembly workspace should be a non-marring surface such as carpet. For missing hardware pieces, please contact BDI Customer Service at customerservice@bdiusa.com. For all other concerns, please C - Toggle Bolt package contact your BDI Retailer.
- Page 2 C x 2 D x 2 Step 3 Install Toggle Bolts (C) and Dry Wall Anchors (D) as shown. Step 4 Step 5 Step 6 Using a 1/2" drill bit, drill both Position the metal end of the Pull toggle anchor back to marked holes.
- Page 3 Step 11 Step 10 Using Screws from Toggle Bolt (C) package and The toggle anchor is set. Washers (J), secure Wall Cleat (E) into installed Toggle Bolts (C). Step 12 (optional) Using Screw (F), attach Metal Leg (G), to Console (H) with Phillips Screwdriver (A).
- Page 4 Step 13A (with legs) or Step 13B (without legs) With the help from another person, position the cabinet upright and place Console (H) onto Wall Cleat (E). Step 14 Step 15 Secure Console (H) to wall using Screw (I), Place Glass Top (K) on top of console. Washer (J) and Phillips Screwdriver (A).
-
Page 5: Component List
C - Mirror Frame BDI Customer Service at customerservice@bdiusa.com. For all other concerns, please contact your BDI Retailer. If you are installing the Ciao mirror with the Ciao console proceed to Step 2. If you are installing the Ciao mirror by itself, skip to Step 13. - Page 6 A x 2 Step 3 Install Toggle Bolts (C) and Dry Wall Anchors (D) as shown. Step 4 Step 5 Step 6 Using a 1/2" drill bit, drill both Position the metal end of the Pull toggle anchor back to marked holes.
- Page 7 Step 10 The toggle anchor is set. Step 11 Step 12 Using Screws from Toggle Bolt (A) package and Align cleat on back of Mirror (G) with cleat on Washer (F), attach Mirror Frame (C) to Wall with a Mirror Frame (C). Phillips Screwdriver.
- Page 8 A x 2 Step 13 Step 14 Installation without Ciao 1170 To Install Toggle Bolts (A) refer to steps 4-10. Position the Mirror Frame (C) on the wall in the Install Dry Wall Anchor (B) according to the desired height and position. Confirm placement package directions.
Need help?
Do you have a question about the ciao 1170 and is the answer not in the manual?
Questions and answers