HME DX100 Instructions
Hide thumbs
Also See for DX100:
- Operating instructions manual (35 pages) ,
- Operating instructions manual (31 pages) ,
- Operating instructions manual (36 pages)
Table of Contents
Advertisement
Quick Links
If two or more base stations are used, each one must be properly initialized according to the following
procedure, before performing any other setups. After initializing each base station, register each
Beltpac or WH200 Headset that will be used with that base, as instructed in section 4.
One base station must be designated as "primary" and all others must be designated as "secondary".
You can have only one primary and up to 3 secondary base stations. Secondary base stations are
assigned numbers 1, 2, or 3.
•
Label the base stations as "Primary," "1," "2" and "3."
Start with every base station and Beltpac/Headset power off.
1. Set DIP Switches
Open each secondary base station and set
DIP switch #4 as follows.
•
Using a T9 torque wrench, remove the
six screws from the front panel of each
secondary base station, as shown in
Figure 1. Lift the front panel carefully
and set it face down.
•
Locate the DIP switch on the transceiver
circuit board inside the base station front
panel, as shown in Figure 2.
Set DIP switch #4 to the ON position.
Leave all others in the OFF position.
Figure 2. Set DIP switch #4 in secondary base stations to ON position
•
Replace the front panel and screws on the secondary base stations.
2. Register Beltpacs/Headsets to Primary Base Station
•
Turn the primary base station power on by pressing the PWR button.
•
Register each Beltpac/Headset that will be used with the primary base station, as
instructed in section 4. Turn each Beltpac/Headset off after registering it.
•
Leave the primary base station power on.
HM ELECTRONICS, INC.
INITIALIZATION INSTRUCTIONS
DIP switch inside
secondary
base station
14110 Stowe Drive, Poway, CA 92064 USA • Phone: 1-800-848-4468 Fax: (858) 552-0172
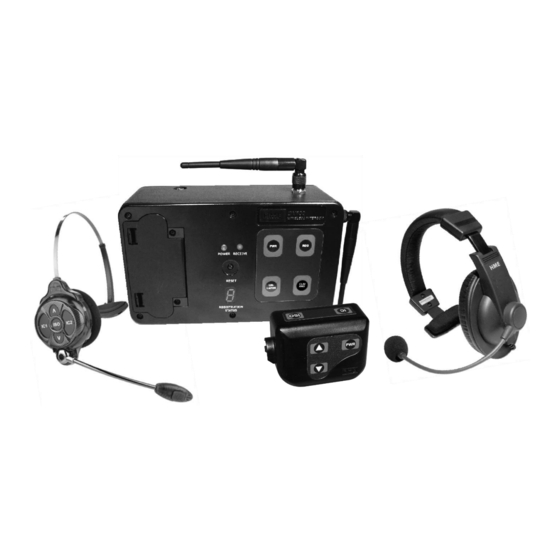
Wireless Intercom
2
1
4
5
Figure 1. Remove six screws from
each secondary base station
DX100
3
6
HME# 400G590
Rev A
11/17/06
Advertisement
Table of Contents

Related Manuals for HME DX100


Summary of Contents for HME DX100
-
Page 1: Wireless Intercom
DX100 Wireless Intercom INITIALIZATION INSTRUCTIONS If two or more base stations are used, each one must be properly initialized according to the following procedure, before performing any other setups. After initializing each base station, register each Beltpac or WH200 Headset that will be used with that base, as instructed in section 4. - Page 2 3. Initialize Secondary Base Stations • Turn one secondary base station power on by pressing the PWR button. The ID display will show a double bar, indicating the secondary base is ready to be initialized. • Press the REG button on the primary base. The ID display will show a small “o.” Double Small “o”...
- Page 3 Proceed with normal system configuration, setting functions and levels as desired. If it becomes necessary to replace a secondary base station, follow the instructions in section 3 to initialize the new secondary with the same number as the old secondary. After initialization you will have to register any Beltpacs/Headsets associated with the old secondary to the new secondary.
- Page 4 The European Union (EU) WEEE Directive (2002/96/EC) places an obligation on producers (manufacturers, distributors and/or retailers) to take-back electronic products at the end of their useful life. The WEEE Directive covers most HME products being sold into the EU as of August 13, 2005. Manufacturers, distributors and retailers are obliged to finance the costs of recovery from municipal collection points, reuse, and recycling of specified percentages per the WEEE requirements.
Need help?
Do you have a question about the DX100 and is the answer not in the manual?
Questions and answers