Table of Contents
Advertisement
Quick Links
Advertisement
Table of Contents

Related Manuals for CLIMASTAR SILICIUM SLIM Series


Summary of Contents for CLIMASTAR SILICIUM SLIM Series
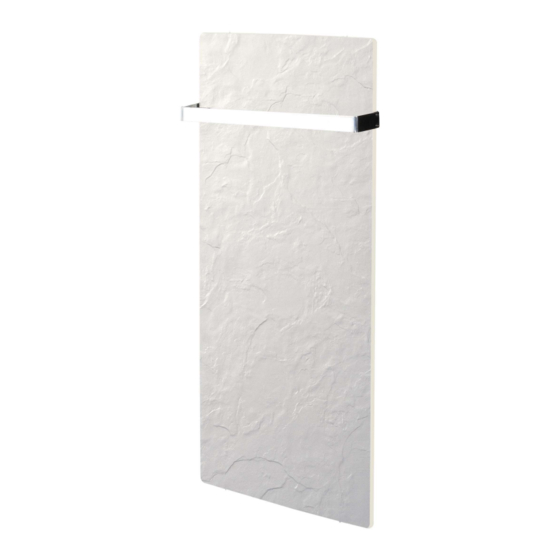
- Page 1 USER’S GUIDE SILICIUM SLIM TOWEL RADIATORS...
-
Page 3: Table Of Contents
INDEX 1. INTRODUCTION ..................4 2. WALL SUPPORT ................... 5 SLIM 250 W - 500 W ................6 2.2 SLIM 800 W ....................8 3. STARTING AND SETTING UP ..............9 3.1 DISPLAY ....................10 3.2 REGULATION WITHOUT CONTROLLING EXTERNAL TEMPERATURE .................... -
Page 4: Introduction
1. INTRODUCTION Congratulations on your purchase of your SILICIUM SLIM low consumption heater!! The product you have just purchased has undergone numerous tests and inspections to guarantee the highest quality. We hope it will give you entire satisfaction. Please, read carefully this user’s guide before installing your device. -
Page 5: Wall Support
2. WALL SUPPORT - The device includes a mounting kit with the required hardware (plugs, screws and Allen key). - The plugs supplied with the mounting kit cannot be used on dry walls. For this type of wall, special plugs must be used. - When installing the device on the wall, do not hang it on volume 1. -
Page 6: Slim 250 W - 500 W
2.1 SLIM 500 W How to fix the towel bars: Device can be installed both vertically and horizontally... - Page 7 Fix the radiator as indicated below: - Option A: Wall distance 3mm. - Option B: Wall distance 7mm. (To allow power cord to be hidden between the wall and the heater) Check dimensions and levelling before drilling. Dimensions in mm.
-
Page 8: Slim 800 W
2.2 SLIM 800 W How to install the device Check dimensions and levelling before drilling. Dimensions in mm. - Page 9 How to fix the towel bars...
-
Page 10: Starting And Setting Up
3. STARTING AND SETTING UP 3.1 DISPLAY TIME CONTROLLER TEMPERATURE CONTROLLER SWITCH The device can heat without controlling the ambient temperature or controlling the ambient temperature. REGULATION WITHOUT CONTROLLING AMBIENT TEMPERATURE The device heats continuously regardless the temperature of the room. -
Page 11: Regulation Controlling External Temperature
3.3 REGULATION CONTROLLING THE AMBIENT TEMPERATURE The user can set the room temperature. To turn on the device, plug in the power cord to a mains power outlet, and click the switch on the side. The switch led flashes, the device is working. -
Page 12: Timer Mode
3.4 TIMER MODE The device will work as long as the user sets up the time. Press to select the operating time. By pressing repeatedly, operating working minutes are selected. Once programmed time has elapsed, the device stops heating. Eg. -
Page 13: Faqs
5. FAQs PROBLEM PROBABLE CAUSE SOLUTION The device Timer mode is Switch off the main does not activated and light switch and connect it heat up is on again. Switch off the main Timer mode is switch and connect it activated again. -
Page 14: Guarantee
6. GUARANTEE CLIMASTAR guarantees that in the moment of its purchase the product is free of any defect in the materials and in the work force (limited guarantee). CLIMASTAR offers a commercial and voluntary guarantee; conditions included are similar to those of the legal guarantee, being CLIMASTAR responsible for the non- conformities arisen in the terms and conditions mentioned below. - Page 16 CLIMASTAR GLOBAL COMPANY S.L. Carretera AS-266 OVIEDO-PORCEYO/ Km.7 Pruvia 33192 - Llanera (Asturias) Spain Telf: +34 985 66 80 80 / Fax: +34 985 264 751 www.climastar.es SLIM V2Rev. 270220...
Need help?
Do you have a question about the SILICIUM SLIM Series and is the answer not in the manual?
Questions and answers