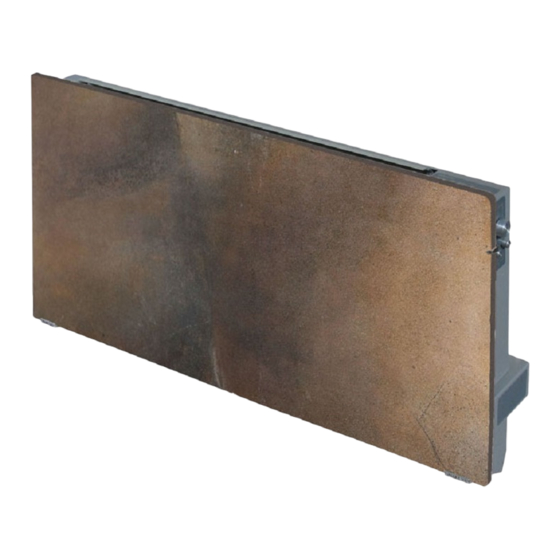
Summary of Contents for CLIMASTAR Smart EASY TECH
- Page 1 INSTALLATION AND USER'S GUIDE CLIMASTAR ® Smart EASY TECH version Smart TOUCH version SMART INTERTIA RADIATORS...
-
Page 2: Table Of Contents
3.7 Key Block Function....................... 7 3.8 Sound Function ........................7 3.9 Other Information ........................7 4. USING THE INERTIA RADIATOR, SMART EASY TECH RANGES .......... 8 4.1 Starting the Smart Easy Tech Radiator ................8 4.2 Set Up Temperature ......................8 4.3 Selecting the Operating Mode ..................... -
Page 3: Introduction
1. Introduction • The warranty of the heater will not cover any damage caused by non observance of any of these instructions. • This guide must be kept and given to any new owner. • IMPORTANT SAFETY ADVISE: When using electrical appliances, basic precautions should always be followed to reduce the risk of fire, electrical shock, and injury to persons, including the following: •... -
Page 4: Installation Instructions
2. Installation Instructions Open the package and check that it is the correct model and it is in good condition. To obtain optimum performance it is necessary to maintain a minimum clearance of 15 cm between the radiator and any inflammable material as furniture, curtains etc. -
Page 5: Using The Inertia Radiator, Smart Touch Ranges
Once the heater is on the wall support, proceed to screw the support to the lower part of the heater. 3. Using the Smart TOUCH Inertia Radiators 1. “POWER /esc” button: Turn on and off the device / allows moving back from any menu. -
Page 6: Manual Mode
3.3 MANUAL MODE In this mode, the device works using factory settings. All you have to do is press to select the desired temperature. The set temperature can be modified from 15º C to 28º C in intervals of 0.5º C. How to select the manual mode. -
Page 7: Pilot Wiring Mode
3.4 AUTOMATIC MODE (continued) How to select and carry out custom programming. a) Press the 'OK/mode' button. b) Select the auto mode by pressing the button until (Automatic Mode) is displayed and press the 'OK/mode' button to confirm. c) The display will now show the set temperature together with a red dot that indicates the unit is working in automatic mode. -
Page 8: Key Block Function
3.7 KEY BLOCK FUCTION This function enables to block the controls. To set this function, do as follows: a) Press the 'OK/mode' button for a few seconds until (Configure Time) is displayed. b) Repeatedly press the button until is displayed and then press the 'OK/mode' button. c) Press the button until is displayed and then press the 'OK/mode' button. -
Page 9: Using The Inertia Radiator, Smart Easy Tech Ranges
4. Using the Smart EASY TECH Inertia Radiators 4.1 STARTING THE DEVICE After connecting the power cable to a mains power outlet, click the switch on the right. Press the ' ' button to turn on the radiator, ECO light turns on. -
Page 10: Cleaning And Maintenance
Timer Mode(continued) Setting the heater to stay OFF for a set amount of time(1h,4h,5h,8h,9h,12h,13h): The device will stay off as per the user’s configuration and then turn on to the set temperature. a) On starting the device again, press the ' ' button to select the temperature to reach. -
Page 11: Technical Specifications
6. Technical Specifications SMART EASY TECH and SMART TOUCH Power: (W) 1000 1500 2000 Dimensions: (mm) H.500 x W.500 x D.70 H.500 x W.1000 x D.70 Weight: (Kg) Voltage: 230v ~AC Frequency: 50 Hz Ceramic component: DUAL KHERR External Housing:... -
Page 12: Faqs
7. FAQs PROBLEM PROBABLE CAUSE SOLUTION Incorrect setting of the set Check the set temperature on the display to verify it is the temperature. desired temperature. Improper sizing, the heater The power rating of the heater is not adequate for the is too small for the room. -
Page 13: Warranty Terms And Conditions
Warranty claim and the rights conferred by the Warranty are conditional upon the payment of such charge. The charge may be made at Climastar UK´s discretion, either before or after the inspection and testing of the product. In the event that it is established to Climastar... - Page 14 CLIMASTAR ® Climastar UK Unit 3, East Bond Street Leigh, Lancashire WN7 1BP Tel. 01942 670158 Fax. 01942 262221 www.climastar.co.uk...


Need help?
Do you have a question about the Smart EASY TECH and is the answer not in the manual?
Questions and answers