
Related Manuals for Televes OSSGT


Summary of Contents for Televes OSSGT
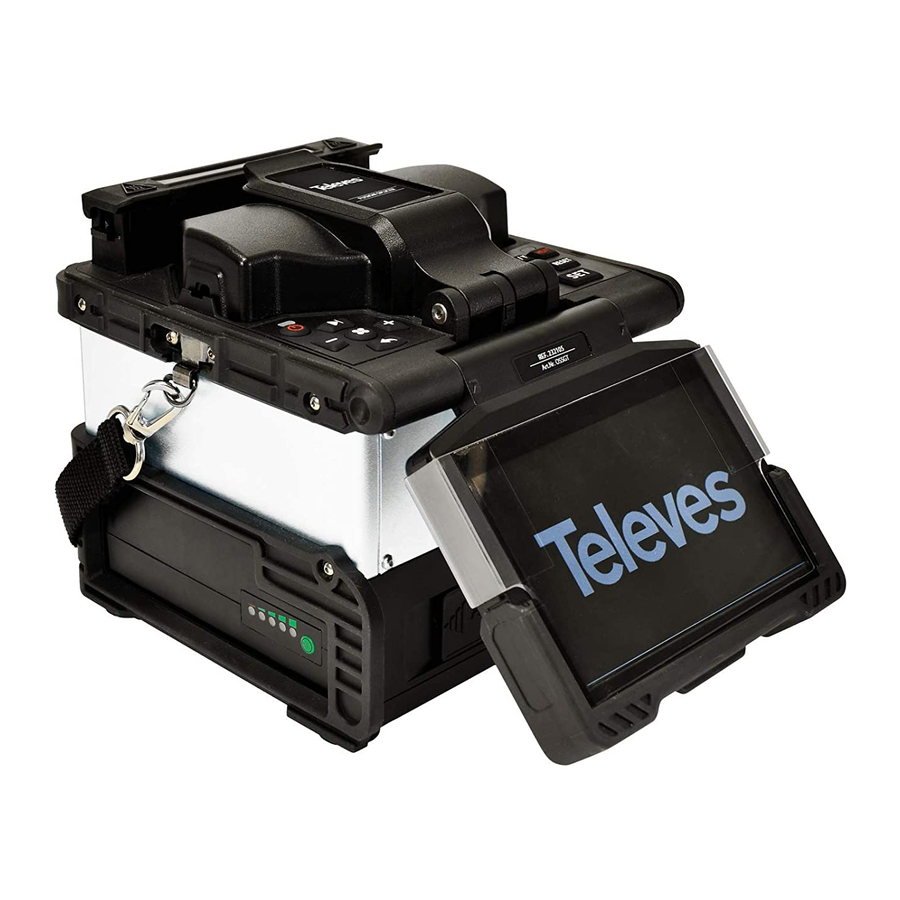
- Page 1 Ref. 232105 Ref. 23 OSSGT Operating instructions Electric-arc fusion splicer w w w . t e l e v e s . c o m...
-
Page 3: Table Of Contents
Table of contents 1. General Information ..............2. -
Page 4: Important Safety Instructions
ELECTRIC-ARC FUSION SPLICER Important safety instructions Any errors in the equipment’s external maintenance could damage the fusion splicer or result in injury to the operator (carefully follow the maintenance instructions). General conditions for installation Never use the fusion splicer in the presence of fl ammable 1 . -
Page 5: General Information
1. General Information Accessories included with the fusion splicer Carrying case. This professional fusion splicer includes 6 alignment Handle for the fusion splicer and carrying strap for the engines to work on the diff erent axes (X, Y, Z), and thus case. -
Page 6: Fusion Splicer
ELECTRIC-ARC FUSION SPLICER 2. Splicer: Front view Camara (lens) x2 Fiber clamps Infrared LED Electrode x2 V-Groove x2 Keyboard 2 Heater Keyboard 1 LCD screen Led Light x2 Side views Lashing eyelet Lashing eyelet Power supply connector Battery indicator and USB port push-button... -
Page 7: Keyboard
3. Keyboard Options Description Function Fast adjustments related with the use of the The keyboard operation will depend on the current Setting device. working mode. See the table below: Allows the selection of the fi ber type and the Splice Mode work mode. -
Page 8: Splice Mode
ELECTRIC-ARC FUSION SPLICER 4.2 Splice Mode Method used by the splicer to align the Align mode fi bers (core or cladding). Always should be In this mode, all the parameters related to the splicing confi gured by “Core” mode. process can be modifi ed: If this option is activated, the splicer will Quick splice perform a splice in less time. -
Page 9: History Records
Parameter Description Displays the images of the 20 last splices that the device has performed, as long as the Heating mode Program selected to perform the heating Query image saving picture option is activated ( see section Nº process. 4.1) Length of the heat-shrink protector for Erases all the images present in the memory Sleeve type... -
Page 10: Replace Electrode
ELECTRIC-ARC FUSION SPLICER displayed on the screen: 4.5.2 Clean electrodes Press the “Menu” key and follow the steps displayed on the device: The PC will show a new disc unit containing the folders below: 4.5.3 Replace electrodes Press the “Menu” key and follow the steps displayed on the device: For downloading the records, you must access the folder “RECORD”, within the same, “SPLICE.TXT”... -
Page 11: Eco Mode
shape. Should you fi nd any impurities, take them away with a wipe/swab dampened with isopropyl alcohol . 5.2 Fiber preparation - Strip the fi ber with the help of a stripper. The stripped length should be 30 mm to 40 mm. With isopropyl Parameter Description alcohol, clean any protection residues that may have... -
Page 12: Fiber Type
ELECTRIC-ARC FUSION SPLICER - Lower the fi ber clamps and the protective cover; the equipment will start the splicing process*. * If the option “automatic start” is disabled, you will have to press the “SET” key . Either way, you should have previously entered the “Start”... -
Page 13: Maintenance
protection along the fi ber until it fully covers the splice lenses and clean them if necessary, by following the steps area. The process fi nal step will be to introduce this heat- below: shrink protector into the “HEATER” of the equipment by pressing the “HEAT”... -
Page 14: Adjusting The Cleaver's Cutting Blade Height
ELECTRIC-ARC FUSION SPLICER Replace the cutting blade and re-assemble, following the steps descrived above in reverse order. Rotate the cutting blade around its axis. To do this: - Loose the screw indicated in the picture below. - Turn the blade by pushing it from the side (not from the 6.6 Stripper edge) using a tool to avoid getting hurt. -
Page 15: Technical Specifi Cations
1.5 Kg w/o battery & 2 Kg with battery Weight (6.5Kg with case & accessories) . DECLARACIÓN DE CONFORMIDAD DECLARATION OF CONFORMITY DECLARAÇÃO DE CONFORMIDADE DECLARATION DE CONFORMITE DICHIARAZIONE DI CONFORMITÀ DEKLARACJA ZGODNOŚCI KONFORMITÄTSERKLÄRUNG ΠΙΣΤΟΠΟΙΗΤΙΚΟ ΣΥΜΜΟΡΦΩΣΗΣ FÖRSÄKRAN https://doc.televes.com OM ÖVERENSSTÄMMELSE ДЕКЛАРАЦИЯ СООТВЕТСТВИЯ ةقباطملا نايب... - Page 16 www.televes.com...
Need help?
Do you have a question about the OSSGT and is the answer not in the manual?
Questions and answers