
Related Manuals for PB TEEN Stuff-Your-Stuff


Summary of Contents for PB TEEN Stuff-Your-Stuff
- Page 1 Stuff-Your-Stuff Bed (Queen) Tools Required: Phillips head screwdriver (not included) Parts Included: • • (1) Headboard – AA (1) Footboard – BB • • (2) Side Rails – CC (1) Slat Roll – DD • (1) Slat Support Rail – EE (3) Leg Support –...
- Page 2 Hardware Included: • (34) Wood Screws (8 mm x 1”) – a Assembly Instructions: 1. Attach each side rail (CC) to the headboard (AA) and footboard (BB) by locking the teeth into grooves. 2. Thread 3 leg supports (FF) into the slat support rail (EE) by turning in a clockwise direction. Attach slat support rail (EE) to headboard and footboard using screws (a).
- Page 3 Stuff-Your-Stuff Suspension Shelf (Queen) Pre-Assembly: • Please read all instructions before beginning assembly. • Save all packing materials until assembly is complete to avoid accidentally discarding smaller parts or hardware. Parts Included: A - Bottom Panel – 2 pcs B - Back Panel – 2 pcs...
- Page 4 Fig. 1 Step 1: Attach the Bottom Panel (A) to Back Panel (B) by aligning the exposed wood dowels on Bottom Panel (A) with pre-drilled holes on front side of Back Panel (B). (Back side of this Back Panel (B) has an affixed product- mounting bracket).
- Page 5 Step 4: Secure the two ends of each Wire Fig. 4 Rod (D) with a Flat Washer (E) and a Pan-Head Nut (F) from behind and under the shelf by using a Phillips Head Screwdriver. Continue tightening all the Screws (C).
- Page 6 Simple Mount Hardware Installation: Note: Toggle anchors and toggle screws are meant for dry wall only. 1. Determine the desired location on the wall for the product. Place the Wall Mount Bracket (I) on the wall. Using the bubble level confirm that the bracket is level. Use a pencil to mark (3) wall mount bracket hole positions at left, center and right on the wall.
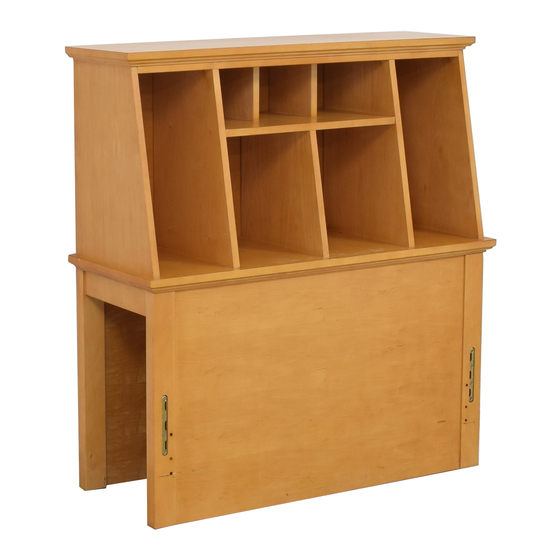
- Page 7 Stuff-Your-Stuff Tower – Top Parts Included: All Tower Top parts and hardware are delivered in one carton. A - Tower Top – 1 pc B - Large Shelf Panel – 2 pcs C - Small Shelf Panel – 1 pc Hardware Included: D - Wood Screw (M 3.5 x 5/8”) –...
- Page 8 Figure 1 Figure 2 Care Instructions: Dust often using a soft, dry cloth. To protect the finish, do not apply abrasives or household cleaners. Furniture Tipping Restraint Young children may be injured by tipping furniture. The use of a tipping restraint is highly recommended. When properly installed, this restraint could provide protection against the unexpected tipping of furniture due to small tremors, bumping or climbing.
- Page 9 1. Locate a wall stud behind your furniture. Position a Bracket (A) on the stud approximately 1” below the top of the furniture. Mark and drill pilot hole into the center of the stud with a 3/32” drill bit. Attach a Bracket (A) to the stud with the Long Screws (B) provided.
- Page 10 Stuff-Your-Stuff Tower - Base Parts Included: All Tower Base parts and hardware are delivered in one carton. A - Tower Base – 1 pc B - Shelf – 1 pc Hardware Included: C - Shelf Pin – 4 pcs Assembly Instructions: 10.
- Page 11 Stuff Your Stuff Desk Pre-Assembly: • Please read all instructions before beginning assembly. • Save all packing materials until assembly is complete to avoid accidentally discarding smaller parts or hardware. Parts Included: A - Desk Top – 1 pc B - Leg – 4 pcs C - Breadboard –...
- Page 12 4. Turn the desk right-side up. Attach the Drawer (D) to the Desk Top (A) by inserting the Drawer’s (D) glide, which is pre-mounted on two sides of the Drawer (D), into the runner, which is pre-assembled on the Desk Top (A).
Need help?
Do you have a question about the Stuff-Your-Stuff and is the answer not in the manual?
Questions and answers