Advertisement
STACK ME UP BOOKCASE – ASYMMETRICAL
PARTS INCLUDED:
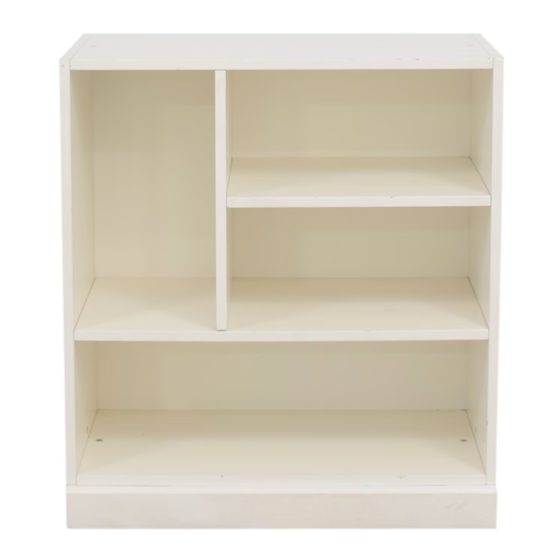
(A) Top Panel – 1pc
(B) Bottom Panel – 1pc
(C) Left Panel – 1pc
(D) Right Panel – 1pc
HARDWARE LIST:
(I) Allen Key – 1x
(L) Spring Washer 1/4" – 8x
(O) Wood Screw 3.5x15mm – 31x
PRE-ASSEMBLY:
•
For your safety and ease, assembly by two adults is recommended.
•
Please read all instructions before beginning assembly. The illustrations provided allow for easier assembly when
used in conjunction with the assembly instructions.
•
Remove all parts and hardware from box and lay out on a carpeted or scratch-free work surface. The shipping box
provides an ideal work surface. Do not dispose of any contents until assembly is completed to avoid accidentally
discarding small parts or hardware.
•
Use the parts and hardware lists to identify and separate each of the pieces included prior to starting assembly.
•
Note: DO not fully tighten the bolts until all parts are in place. Failure to follow these instructions may cause the
bolts to misalign during assembly.
•
Do not use power drill as it may cause cracking.
Date - April 10, 2012
(E) Long Divider – 1pc
(F) Short Divider – 1pc
(G) Short Shelf – 1pc
(H) Back Panel – 1pc
(J) Long Bolt 1/4"x25mm – 10x
(M) Flat Washer 1/4" – 8x
www.pbteen.com
A.
C.
F.
G.
B.
TOOLS REQUIRED:
Philips Screwdriver (Not included)
(K) Short Bolt 1/4"x9mm – 6x
(N) End Cap – 8x
1/3
H.
E.
D.
Advertisement
Table of Contents

Related Manuals for PB TEEN STACK ME UP BOOKCASE


Summary of Contents for PB TEEN STACK ME UP BOOKCASE
- Page 1 STACK ME UP BOOKCASE – ASYMMETRICAL PARTS INCLUDED: (A) Top Panel – 1pc (E) Long Divider – 1pc TOOLS REQUIRED: (B) Bottom Panel – 1pc (F) Short Divider – 1pc Philips Screwdriver (Not included) (C) Left Panel – 1pc (G) Short Shelf – 1pc (D) Right Panel –...
- Page 2 ASSEMBLY INSTRUCTIONS: Remove all furniture parts from box and put them on a soft, scratch free surface such as a carpet or rug. Fit Short Divider (F), Short Shelf (G), Left Panel (C), and Long Divider (E) to each other using the corresponding dowel and hole locations on each part (as shown below).
- Page 3 Attach Back Panel (H) to back side of the assembled piece. Secure the back panel to the frame with (24) Wood Screws (O) and secure the back panel to dividers and short shelf with the remaining (7) Wood Screws (O). Use Short Bolts (K) and End Cap (N) to fill the connecting holes on Top/Bottom and Side Panels.
Need help?
Do you have a question about the STACK ME UP BOOKCASE and is the answer not in the manual?
Questions and answers