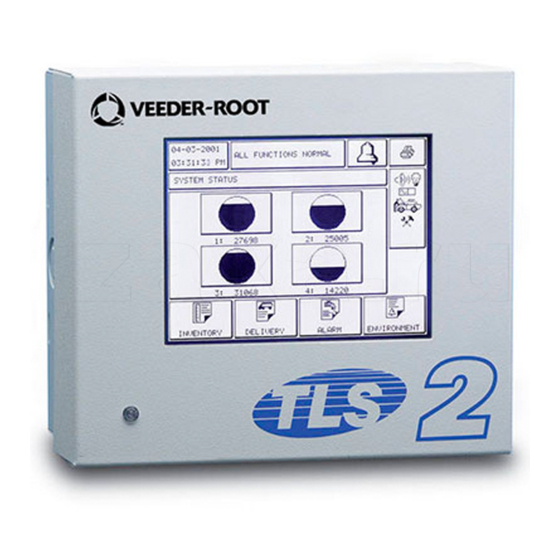
Veeder-Root TLS2 Upgrade Manual
Tls2 to tls2p
Hide thumbs
Also See for TLS2:
- Setup and operation manual (328 pages) ,
- Serial interface manual (165 pages) ,
- Manual (42 pages)
Table of Contents
Advertisement
Quick Links
Advertisement
Table of Contents

Related Manuals for Veeder-Root TLS2


Summary of Contents for Veeder-Root TLS2
- Page 1 ● Manual No: 577013-983 Revision: B TLS2 to TLS2P Upgrade Guide...
- Page 2 Customer Service will work with production facility to have the replacement product shipped as soon as possible. If “lost” equipment is delivered at a later date and is not needed, Veeder-Root will allow a Return to Stock without a restocking fee.
-
Page 3: Table Of Contents
Installation of Upgrade Kit Kit required ........................3 Special tools required (not in kit) ..................3 Procedure ..........................3 Figures Figure 1. Removing TLS2 Console Door ...............3 Figure 2. Disconnecting the display assembly from the CPU board ......4 Figure 3. Removing the display ................5... -
Page 4: Contractor Certification Requirements
This manual contains installation procedures for the TLS2 to TLS2P upgrade. Contractor Certification Requirements Veeder-Root requires the following minimum training certifications for contractors who will install and setup the equipment discussed in this manual: Installer (Level 1) Certification: Contractors holding valid Installer Certification are approved to perform wiring and conduit routing;... -
Page 5: Safety Precautions
Introduction Safety Precautions Safety Precautions The following safety symbols are used in this manual to alert you to important safety hazards and precautions. EXPLOSIVE FLAMMABLE Fuels and their vapors are extremely Fuels and their vapors are extremely explosive if ignited. flammable. -
Page 6: Installation Of Upgrade Kit
Installation of Upgrade Kit This section describes the field upgrade of a TLS2 into a TLS2P Console. KIT REQUIRED • TLS2 TLS2P Upgrade kit - P/N 330020-662 SPECIAL TOOLS REQUIRED (NOT IN KIT) • Torx drive screwdrivers to fit #T-10 and #T-15 screws PROCEDURE 983-1.eps... -
Page 7: Figure 2. Disconnecting The Display Assembly From The Cpu Board
Installation of Upgrade Kit Safety Precautions 983-2.eps Figure 2. Disconnecting the display assembly from the CPU board 1 Remove and retain the four T-10 screws, spacers and washers (items1 and 2 in Figure 2) attaching the display to the CPU board. Retain the two shorter screws (0.5”... -
Page 8: Figure 3. Removing The Display
Installation of Upgrade Kit Safety Precautions 983-3.eps Figure 3. Removing the display 1 Hold the display and pull up the ribbon cable from its 4 Remove and retain the top and bottom T-15 screws connector on the CPU board (item 1 in Figure 3) and and washers (item 1 in Figure 1) from the left side of remove the 2-wire plug (item 2 in Figure 3) at the top the console door. -
Page 9: Figure 4. Attaching The New Cpu Board/Inner Door Assembly To The Console
Installation of Upgrade Kit Safety Precautions 983-4.eps Figure 4. Attaching the new CPU board/inner door assembly to the console 1 Get the new TLS2P CPU board/inner door assembly from the kit. Get the two T-15 torx shoulder screws you removed from the right side of the door earlier. 2 Get the static protecting wrist strap from the kit and slip the looped end around one wrist and connect the other end to side of the console. -
Page 10: Figure 5. Attaching The Display To The Cpu Board
Installation of Upgrade Kit Safety Precautions 983-5.eps Figure 5. Attaching the display to the CPU board 1 Get the four T-10 screws, spacers and washers you saved when removing the display from the old CPU board (items 1 and 2 in Figure 2). 2 Get the display and attach its 2-wire cable plug to the connector on the CPU board (item 1 in Figure 5). -
Page 11: Figure 6. Attaching The New Door To The Tls2P Console
Installation of Upgrade Kit Safety Precautions 983-7.eps Figure 6. Attaching the new door to the TLS2P console 1 Get the two T-15 torx shoulder screws and the new TLS2P door. 2 Position the door over the left holes in the top and bottom of the console and screw in the two shoulder screws (item 1 in Figure 6). -
Page 12: Figure 7. Securing Outer Door Of Tls2P Console
Installation of Upgrade Kit Safety Precautions 983-8.eps Figure 7. Securing outer door of TLS2P console 1 Remove the static preventing grounding strap from the inner door. Remove the two right T-15 torx screws holding on the inner door (item 1 Figure 6), close the new outer door, reinsert the two shoulder screws in the two holes in the door and tighten securely. - Page 13 For technical support, sales or other assistance, please visit: www.veeder.com...
Need help?
Do you have a question about the TLS2 and is the answer not in the manual?
Questions and answers