Sign In
Upload
Download
Table of Contents
Contents
Add to my manuals
Delete from my manuals
Share
URL of this page:
HTML Link:
Bookmark this page
Add
Manual will be automatically added to "My Manuals"
Print this page
×
Bookmark added
×
Added to my manuals
Manuals
Brands
Ecostrad Manuals
Heater
ECO6+
User manual
Ecostrad ECO6+ User Manual
Hide thumbs
1
Table Of Contents
2
3
4
5
6
7
8
9
10
11
12
13
14
15
16
17
18
19
20
page
of
20
Go
/
20
Contents
Table of Contents
Bookmarks
Table of Contents
Table of Contents
1 Safety Notes
2 Introduction for Installation
Important
Safety Measures
Installation on the Wall
Installation of the Feet
3 Operation
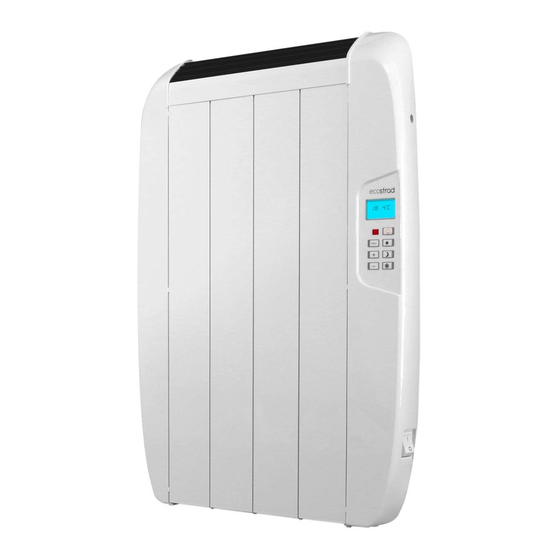
Control Panel
LCD Screen
Operating Modes
Standby
Manual Mode
Comfort Mode
Economy Mode
Anti-Frost Mode
Programming Mode
Time Schedules
To Set the Time
4 Open Windows" Function
5 Lock" Function
6 Power Cuts
7 Maintenance
Advertisement
Quick Links
1
Control Panel
2
Manual Mode
3
Lock" Function
Download this manual
eco+
USER MANUAL
eco+_V1_2018_ecostrad@UK2018
Table of
Contents
Previous
Page
Next
Page
1
2
3
4
5
Advertisement
Table of Contents
Need help?
Do you have a question about the ECO6+ and is the answer not in the manual?
Ask a question
Questions and answers
Related Manuals for Ecostrad ECO6+
Heater Ecostrad Ecowarme Owner's Manual Installation And Operating Instructions
Wall mounted electric radiator (12 pages)
Heater Ecostrad Ecowarme Instruction Manual
Electric radiator (19 pages)
Heater Ecostrad Tuscany EsS-HC-25 Installation & Operating Instructions
Ceiling or wall-mounted infrared heater (5 pages)
Heater Ecostrad ECO+ Series User Manual
(20 pages)
Heater Ecostrad ALLORA Series Instruction Manual
Ecostrad designer electric radiators (6 pages)
Heater Ecostrad ADESSO Series Instruction Manual
Designer electric radiators (6 pages)
Heater Ecostrad Magma HHR Installation Manual
German storage heater (32 pages)
Heater Ecostrad Magma HHR Instruction Manual
German storage heater (28 pages)
Heater Ecostrad Opus Instruction Manual
Infrared heating panel (17 pages)
Heater Ecostrad iQ Series User Manual
Infrared panels, wifi control (15 pages)
Heater Ecostrad iQ Ceramic Instruction Manual
Electric radiator (22 pages)
Heater Ecostrad ASCOLI Instruction Manual
Horizontal (8 pages)
Heater Ecostrad Sunglo Instruction Manual
Infrared heater with remote (12 pages)
Heater Ecostrad ALLORA Instruction Manual
(8 pages)
Heater Ecostrad Thermaglo Instruction Manual
Carbon infrared heater with remote (12 pages)
Heater Ecostrad ALLERTON Instruction Manual
(9 pages)
This manual is also suitable for:
Eco+ series
Eco9+
Eco12+
Eco15+
Eco18+
Table of Contents
Print
Rename the bookmark
Delete bookmark?
Delete from my manuals?
Login
Sign In
OR
Sign in with Facebook
Sign in with Google
Upload manual
Upload from disk
Upload from URL


Need help?
Do you have a question about the ECO6+ and is the answer not in the manual?
Questions and answers