Advertisement
Materials Needed
• Handles and handle plugs
• Flathead screwdriver
• 6-lobe driver
Procedure
Note: This procedure will be easiest if there is
slack on the handle cords during replacement.
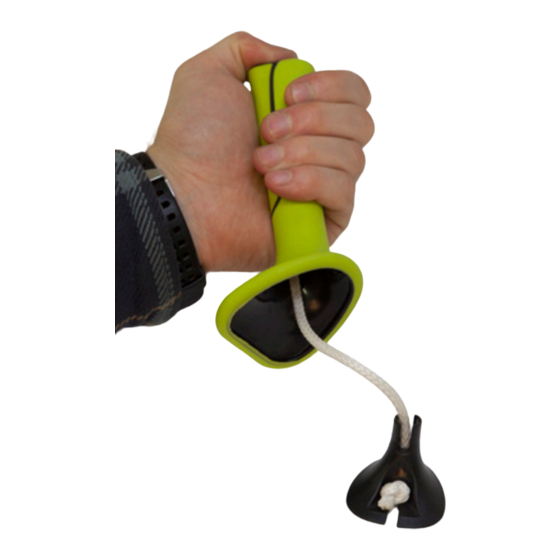
1. Using a flathead screwdriver, pry the handle
plug from the handle.
See photos A and B.
2. Remove the handle cord from the plug and
handle.
See photos C and D.
3. Using the 6-lobe driver from your SkiErg
assembly packet, insert the handle cord into
the replacement handle and push it through
with the driver. Note that the replacement
handles DO NOT have black lines on them.
See photos E and F.
Replacing SkiErg Handles
Procedure Overview
• Remove handle plugs and remove the handle cords
• Insert handle cords in replacement handles
• Attach handle cords to handle plugs and press into handle
Page 1
A
C
E
1014
B
D
F
concept2.com/ski
Advertisement
Table of Contents

Related Manuals for Concept2 SkiErg


Summary of Contents for Concept2 SkiErg
- Page 1 2. Remove the handle cord from the plug and handle. See photos C and D. 3. Using the 6-lobe driver from your SkiErg assembly packet, insert the handle cord into the replacement handle and push it through with the driver. Note that the replacement handles DO NOT have black lines on them.
- Page 2 Replacing SkiErg Handles Procedure 4. Position the knot of the handle cord into the plug and wrap it around the plug as shown in photos G and H. Note: the difference in the new handle plug. See photo I. 5. Install the plug into the bottom of the handle and press into place.
Need help?
Do you have a question about the SkiErg and is the answer not in the manual?
Questions and answers