Table of Contents
Advertisement
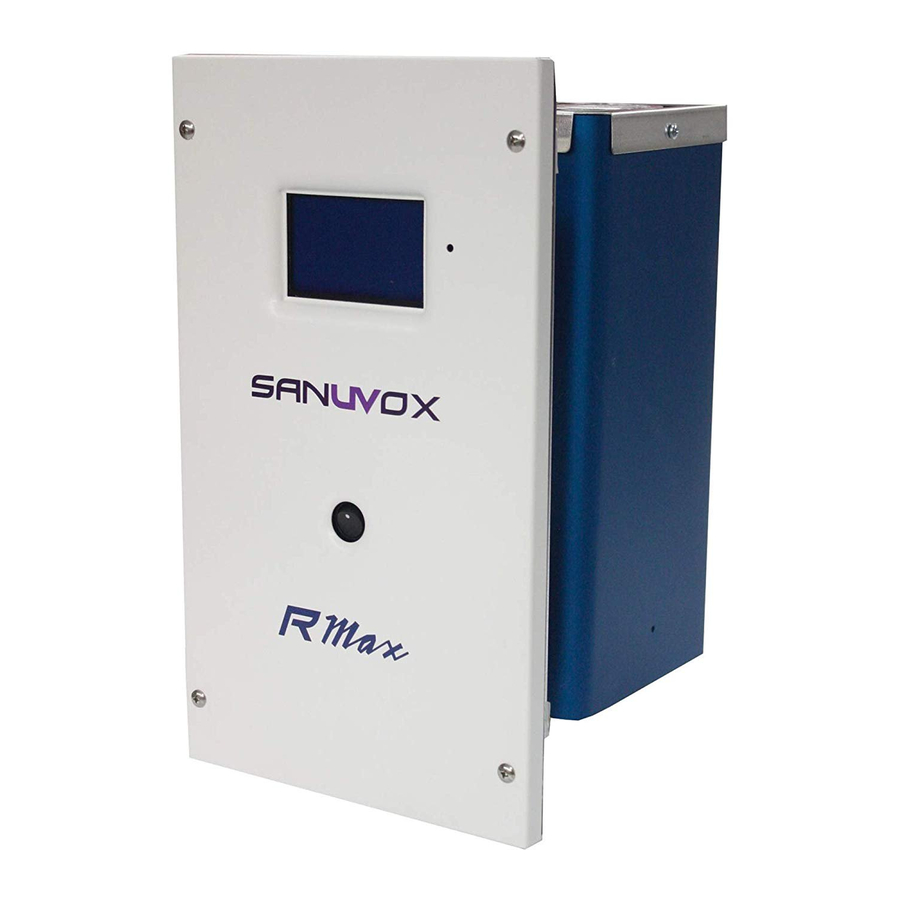
WHOLE HOME UV AIR PURIFIER & ODOR REMOVAL SYSTEM
READ AND SAVE THESE SAFETY INSTRUCTIONS BEFORE USING THIS PRODUCT.
Read and follow all instructions contained in
this manual before using the product. Failure
to comply with these instructions may result
in personal injuries or damage to the unit or
system.
1. Installation and servicing of air conditioning
and related equipment can be hazardous due
to systems pressure and electrical components.
Only trained and qualified service personnel
should install, repair or service equipment.
2. Untrained personnel can perform basic
maintenance functions such as replacing
lamp(s) and/or filter(s). All other operations
should be performed by trained service
personnel.
3. When working on the unit or system, observe
precautions in the literature, tags and labels
attached to the unit or system, and all other
safety precautions considered as best practices
in the HVAC industry.
Installation Date: _______________
Installer Contact Info.: _________________________________________
R MAX
Residential Model
IMPORTANT SAFETY INSTRUCTIONS
4. When
applicable,
comprise more restrictive installation and/or
certification requirements. The afore mentioned
requirements prevail on those of this document
and the installer agrees to conform to these at
his own expense.
5. Follow all the safety instructions outlined in this
document and respect all local and national
codes applicable.
6. Never expose eyes or skin to ultraviolet light
from any source. Therefore, before installing
or performing maintenance on the unit or
system, TURN OFF AND DISCONNECT the
unit or system from all power sources (there
may be more than one switch to disconnect).
CAUTION: Electrical shock may cause
personal injuries or possibly death.
7. UV rays may destroy certain types of filters
(polymer or plastic); please keep the unit or
system light away from shining directly on
plastic.
Sanuvox Technologies Inc, © 2019 All rights reserved. July 2019 EN v.1
local
regulation
may
8. When installing or performing maintenance on
the UV unit or system, it is recommended to
wear safety glasses and gloves. In order to
avoid reduced performance of lamp(s), do not
touch lamp glass without gloves.
9. UV lamps contain a small quantity of mercury:
if a lamp breaks, clean and dispose of with
care. UV lamps can be disposed/recycled after
use, as any other fluorescent lamps. Contact
and follow your local and national authorities'
specific instructions.
10. Use only specified SANUVOX branded
replacement UV lamps with your unit or
system. Use of any other lamps will void your
warranty and can result in damage to the unit,
system and/or lamp(s).
11. Most UV units or systems are not waterproof.
DO
specified otherwise.
Installed by: _________________
Instruction Manual
NOT
INSTALL
OUTDOORS
SAVE THESE INSTRUCTIONS
unless
Advertisement
Table of Contents

Related Manuals for Sanuvox R MAX


Summary of Contents for Sanuvox R MAX
-
Page 1: Important Safety Instructions
SAVE THESE INSTRUCTIONS in the HVAC industry. plastic. Installation Date: _______________ Installed by: _________________ Installer Contact Info.: _________________________________________ Sanuvox Technologies Inc, © 2019 All rights reserved. July 2019 EN v.1... -
Page 2: Table Of Contents
What you will need Internal Components Problems & Solutions Table A. Step by Step R Max Ballast Box Opening B. Step by Step UV Lamp Continuity Test C. Step by Step LCD Screen Circuit Board Bypass (Ballast or Circuit Board Validation) D. -
Page 3: About The Product
How it Works Contaminated air enters the R Max parallel to the UV ‘J’ Lamp, thus increasing contact time with the UV energy. The Turbulator spins and mixes the air around the UV ‘J’ Lamp. First, the UVV oxidizing section of the lamp, boosted by Cobalt, destroys chemicals and odors. -
Page 4: Setup & Installation
CAUTION: Handle your product with care to avoid breaking parts. Make sure you have a free and safe space to unpack, install and setup your product. Confirm you have access to the necessary power source for the product requirements (see unit or system label). If you have any questions regarding the installation instructions, call SANUVOX at 1-888-726-8869. What’s included The R Max, a UV lamp and a basic installation kit. - Page 5 Instruction Manual for R Max STEP 3 3. While holding the porcelain end-cap (with 4 pins), carefully push the white connector onto the four pins. The connector will fit into position. NOTE: Too much force applied from the opposite end-cap may break the lamp.
- Page 6 An extension cord may be used if there is not a power outlet close to where the R Max is installed. Then wait for one minute before turning on the unit.
-
Page 7: Operation
How to Operate your Product The R Max is an automatic unit: once it’s installed and plugged in, simply press the power switch to turn it ON. Wait approximately 40 seconds for the startup phase to be done and enjoy clean air in your home! CAUTION: The suggested operating temperature range is 10 to 50°C (50 to 122°F). -
Page 8: How To Activate "Airflow Detection" Function (Optional)
How to Activate “Airflow Detection” Function (Optional) In the R Max default factory mode, when the unit is plugged in and the power switch is ON, the lamp will stay lit at all times. In order to reduce the cycling strain on the lamp and improve its life, it is possible to activate the airflow detection if required. -
Page 9: How To Reset Your Product And Its Lamp Timer
Instruction Manual for R Max How to Reset your Product and its Lamp Timer After installing the lamp, make sure the timer function is reset. Step by Step Product and Lamp Timer Reset STEP 1 1. To reset the lamp timer the unit needs to be powered and turned ON. -
Page 10: Maintenance
How to Replace Lamp(s) Replacing lamps on the R Max is quick and easy. Simply turn off the power source, remove unit from duct, remove and dispose of old lamp, replace with new Sanuvox branded UV lamp, replace unit in duct and turn power source back on. See below for detailed step by step instructions. - Page 11 8. Once the UV lamp is inserted, release the clamp to fix the lamp in place. STEP 9 9. Once the new UV lamp is installed, replace the turbulator on top of the reflecting chamber, and replace R Max into duct. Then, reset your product and its lamp timer (see page 9). www.sanuvox.com...
-
Page 12: How To Clean Your Product
ULTRAVIOLETS: UVV & UVC The UVC (254 nm) and UVV (185 nm) light produced by Sanuvox UV units and systems are the same two UV wavelengths produced by the Sun. The UVC wavelength attacks the micro-organisms on a molecular level deactivating and destroying the contaminants, while the UVV wavelength degrades the chemicals and odors. -
Page 13: Problems & Solutions Table
Instruction Manual for R Max Problem Possible Cause Solution Screen doesn’t turn ON. - There is no power to the electrical - Test the outlet to make sure there is outlet. power by plugging in another electrical - The On/Off switch is not ON. -
Page 14: Step By Step R Max Ballast Box Opening
(4 corners) that hold it to the frame. STEP 2 2. Place the R Max face down on a flat surface and remove the 4 screws (2 top and 2 bottom) that attach the cover to the ballast box. -
Page 15: Step By Step Lcd Screen Circuit Board Bypass (Ballast Or Circuit Board Validation)
C. Step by Step LCD Screen Circuit Board Bypass (Ballast or Circuit Board Validation) 1. Open the R Max ballast box : see step by step instructions of the Ballast Box Opening on page 14 (A). STEP 2 2. Locate the power input to the circuit board (N,L) as well as the ballast input (B-N,B-L). -
Page 16: Step By Step Thermistor Bypass
Instruction Manual for R Max D. Step by Step Thermistor Bypass 1. Open the R Max ballast box : see step by step instructions of the Ballast Box Opening on page 14 (A). STEP 2 2. Plug in the R Max to a power source and turn the switch to the ON position.
Need help?
Do you have a question about the R MAX and is the answer not in the manual?
Questions and answers