EXTREME SWITCHING ERS 3600 Series Manual
Installation job aid for ethernet routing switch
Hide thumbs
Also See for ERS 3600 Series:
- Quick start configuration (49 pages) ,
- Installing manual (46 pages)
Table of Contents
Advertisement
Quick Links
Installation Job Aid for Ethernet Routing
Switch 3600 Series
Notices
Notice paragraphs alert you about issues that require your attention.
Following are descriptions of the types of notices used in this document.
Note:
Notes provide tips and useful information regarding the installation and operation of products.
Electrostatic alert:
ESD notices provide information about how to avoid discharge of static electricity and
subsequent damage to products.
Caution:
Caution notices provide information about how to avoid possible service disruption or damage to
products.
Warning:
Warning notices provide information about how to avoid personal injury when working with
products.
Voltage:
Danger—High Voltage notices provide information about how to avoid a situation or condition
that can cause serious personal injury or death from high voltage or electric shock.
Danger:
Danger notices provide information about how to avoid a situation or condition that can cause
serious personal injury or death.
©
2018, Extreme Networks, Inc.
All Rights Reserved.
9035520
May 2018
1
Advertisement
Table of Contents

Related Manuals for EXTREME SWITCHING ERS 3600 Series


Summary of Contents for EXTREME SWITCHING ERS 3600 Series
- Page 1 Installation Job Aid for Ethernet Routing Switch 3600 Series 9035520 May 2018 Notices Notice paragraphs alert you about issues that require your attention. Following are descriptions of the types of notices used in this document. Note: Notes provide tips and useful information regarding the installation and operation of products. Electrostatic alert: ESD notices provide information about how to avoid discharge of static electricity and subsequent damage to products.
-
Page 2: Safety Messages
Safety messages Safety messages are an important part of the technical documentation. The messages alert you to hazards to personnel and equipment and provide guidance for the safe operation of your equipment. Failure to comply with the safety messages could result in equipment damage and personal injury. Following are the most common types of safety messages. -
Page 3: Ac Power Cord Specifications
AC power cord specifications The following section outlines the AC power cord specifications for various countries. Ensure that you use the correct cord for your location. Table 1: International power cord specifications Country and plug description Specifications Typical plug Continental Europe 220 or 230 VAC •... -
Page 4: Before You Begin
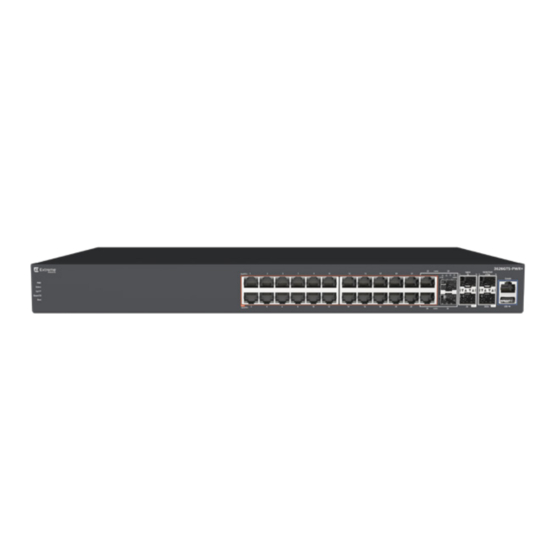
For information about technical specifications for the individual switches, see Installing Ethernet Routing Switch 3600 Series. Installing the switch The following procedures describe how to install an ERS 3600 Series on a table or shelf, or in an equipment rack. May 2018... - Page 5 Installing an ERS 3626GTS-PWR+ on a table or shelf You can install the switch model ERS 3626GTS-PWR+ on a flat surface such as a table or shelf. The surface must be able to support the combined weight of the switch and attached cables. An ERS 3626GTS-PWR+ weights 4.75kg (10.47lb).
- Page 6 2. Set the switch on a table or shelf. May 2018 Installation Job Aid for Ethernet Routing Switch 3600 Series...
- Page 7 Installing an ERS 3600 Series in an equipment rack Before you begin Tool requirements: • Phillips screwdriver to attach brackets to the switch and the switch to the rack. Rack requirements • Space of 2.8 inches (7.1 centimeters) for each switch in an E1A or 1EC standard 19 inch (48.2 centimeter) equipment rack and T1A 23 inch (58.5 cm) equipment rack.
-
Page 8: Connecting Ac Power
1. Connect the AC power cord to the back of the switch, and then connect the cord to a power outlet. Note: ERS 3600 Series does not have a power switch. When you connect the AC power cord to a suitable AC power outlet, the switch powers up immediately. May 2018... - Page 9 2. Check the front-panel LEDs as the device is powered on to be sure the PWR LED is lit. If not, check that the power cable is correctly plugged in. Connect the AC power cord to the back of the switch, and then connect the cord to a power outlet.
Need help?
Do you have a question about the ERS 3600 Series and is the answer not in the manual?
Questions and answers