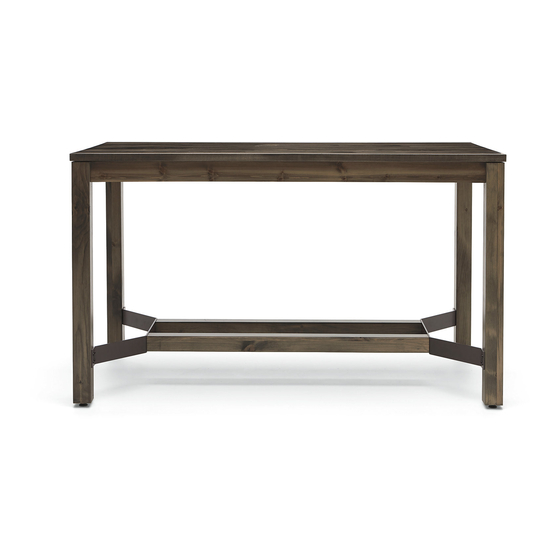
Summary of Contents for Allsteel Harvest
-
Page 1: Installation Instructions
Harvest Metal Table Installation Instructions Standing Height Table Seated Height Table Pour des instructions en francias, appelar le 800-822-7653 Para instrucciones en enspanol, llame al 800-822-7653 03/22/2019 3430391900... - Page 2 Harvest Metal Table Installation Packet Hardware - Total Quantities Shown x100 1/4”-20 X 3/4” 3/4” wide galvanized steel #12 x 1” Wood Screw #10 x 1 Hex head 5/16” - 18 X 7/8” Truss head machine screw Loop clamp Self drilling screw...
-
Page 3: Leg Assembly
Harvest Metal Table Installation Packet Build Staging 1. Protect worksurface by clearing the build area of any debris that can cause damage. 2. Place worksurafce upside down (as shown) on packing blankets or equivalent to protect upward facing show surface during the installation process. - Page 4 Harvest Metal Table Installation Packet Staging Electrical 1. Place all electrical components as shown below. Allow wiring to run through cord slots prior to center support channel being installed. 2. Power will run down one leg. Place cord/conduit through cord slots closest to preferred leg with plug/conduit hanging on the corner brace.
- Page 5 Harvest Metal Table Installation Packet Anti-Bow Brackets 1. Mount anti-bow bracket into cavity of center support channels, and 6” away from each end. 2. Fasten each bracket to worksurface with (1) #12 x 1” wood screw. Repeat on both sides.
- Page 6 Harvest Metal Table Installation Packet Corner Electrical 1. With electrical box slid towards Center Support Channel, attach corner electrical bracket with (1) #12x1” wood screw into the front location circled below. Hardware: 2. Slide electrical box forward and install (2) #12x1” remaining rear wood screws.
- Page 7 Harvest Metal Table Installation Packet Center Electrical 1. Align center electrical shroud with pilot holes in the center of the table. Attach using (2) #12 x 1” wood screws as shown below. 2. Mount center electrical box into shroud until fully seated. Attach module with (2) #8 x 1/2”...
- Page 8 Harvest Metal Table Installation Packet Center Electrical Junction Box - Corded 1. Align junction box on the center of the worksurface, between the cord slots as shown below. Attach junction box with (2) #12 x 1” wood screws. Hardware: Center...
- Page 9 Harvest Metal Table Installation Packet External Stiffeners 1. Place first stiffener along row of anti-bow brackets, with one end 2-5/8“ from the surface edge. Attach stiffener to surface with (2) #10 x 7/8 Hex head screws into outer-most holes of stiffener.
- Page 10 Harvest Metal Table Installation Packet External Siffeners - 36” Wide Variant Note - The external stiffeners on 36” wide Harvest Tables differ from the standard mounting method. Place smallest stiffeners centered on the surface, 2 5/8” from each edge. 5 / 8 Place largest stiffeners over top of Anti-bow Brackets.
- Page 11 Harvest Metal Table Installation Packet Shelves 1. Mount shelves into place over electrical and support channels. Route cord/conduit out of clearance notch of shelf next to chosen leg. 2. Align pilot holes in shelves with holes on the left and right hand corner electrical plates, as well as corner brace holes.
- Page 12 Harvest Metal Table Installation Packet Aprons 1. Mount apron over shelves, install (2) #10 X 16 X 1” self-drilling screws into support channels. 2. Install (8) #8-18 x 1/2” PHL waferhead screws into shelves. 3. Repeat for opposite end. Hardware: Apron Foot Rest &...
- Page 13 Harvest Metal Table Installation Packet Flip Table Upright 1. Once fully assembled, lift and rotate the table to the upright position. 2. Check legs to make sure that they are perpendicular to the floor. 3. Level table. Build view Stand view *Important* Table should be rolled by at least two installers.
-
Page 14: Exploded View
Harvest Metal Table Installation Packet Exploded View Final Assembled Table Page 14 of 14 3430391900...


Need help?
Do you have a question about the Harvest and is the answer not in the manual?
Questions and answers