Advertisement
Advertisement

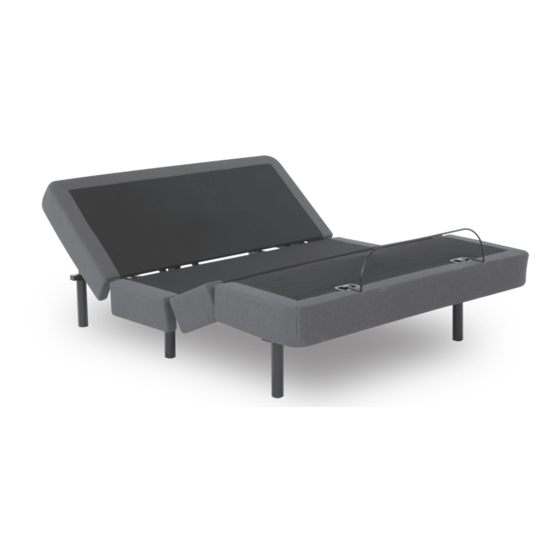
Related Manuals for Leggett & Platt Plymouth K-132


Summary of Contents for Leggett & Platt Plymouth K-132
- Page 1 Plymouth owners manual K-132...
-
Page 2: Table Of Contents
CONTENTS Advisory ........................3 Assembly ........................5 Remote Control Function ....................9 Remote Control Programming ..................10 Power Down Operation ....................12 Troubleshooting ......................13 Warranty ........................14 READ ALL INSTRUCTIONS BEFORE USING If adjustable base does not operate or if parts are missing, call: 1-800-888-3078... -
Page 3: Advisory
ADVISORY IMPORTANT INFORMATION READ THE FOLLOWING INFORMATION CAREFULLY BEFORE USING THIS PRODUCT PRODUCT RATINGS WARNING The base lift motors are not designed for continuous use. Reliable operation and full life expectancy will be realized FOR OPTIMUM ADJUSTABLE BASE as long as the lift motor operation does not exceed two (2) minutes over a twenty (20) minute period, or OPERATION, USE A GROUNDED, ELECTRICAL approximately 10% duty cycle. - Page 4 ADVISORY IMPORTANT INFORMATION READ THE FOLLOWING INFORMATION CAREFULLY BEFORE USING THIS PRODUCT SMALL CHILDREN / PETS WARNING FCC COMPLIANCE After the base is unboxed, immediately dispose of packaging The equipment has been tested and found to comply with material as it can smother small children and pets. To avoid the limits for a Class B digital device, pursuant to Part injury, children or pets should not be allowed to play under 15 of the FCC Rules.
-
Page 5: Assembly
ASSEMBLY To assemble adjustable base, complete the following procedure: STEP 1 WARNING Place adjustable base shipping container on solid, level surface. Remove top section of shipping container. Remove DUE TO RISK OF INJURY, TWO ADULTS packing material. Carefully, lift adjustable base out of ARE REQUIRED TO HANDLE AND MOVE bottom section of shipping container and place on clean ADJUSTABLE BASE. - Page 6 ASSEMBLY STEP 2 Cut and remove (2) WHITE zip-ties at head end of base (one on each side) (FIGURE 1). Note: DO NOT cut red zip-ties yet. FIGURE 1 CUT AND REMOVE WHITE ZIP-TIES STEP 3 WARNING Plug electrical power cord into power brick. Plug brick power cord into base motor cable.
- Page 7 ASSEMBLY STEP 4 Screw the (6) legs into the leg plates on the base frame (FIGURE 3). Tighten securely. Use push pin to adjust leg height (7 to 10 inches). Note: Leg height must be at least 7 inches. DO NOT use the first pin hole (FIGURE 3). FIGURE 3 DO NOT USE FIRST PIN HOLE.
- Page 8 ASSEMBLY STEP 7 Install 2-AAA batteries in the remote control. Operate remote control to verify base functions properly. If base does not operate, see the Troubleshooting section. Note: Refer to Remote Control User Guide for programming instructions. STEP 8 Lower base to flat position. STEP 9 Install the mattress retainer.
-
Page 9: Remote Control Function
REMOTE CONTROL FUNCTION FLAT BUTTON FLASH LIGHT BUTTON Press to lower the base to the level Press and hold to turn the flash light position. This button also turns off ON. Release the button to turn the flash massagers. light OFF. LIFT UP BUTTON UNDERBED LIGHT BUTTON Press and hold to raise base on an incline. -
Page 10: Remote Control Programming
REMOTE CONTROL PROGRAMMING - 1 REMOTE TO OPERATE 1 BASE STEP 1 Plug base into power outlet. STEP 2 Simultaneously press and hold both the HEAD DOWN and FOOT UP buttons on the remote control (FIGURE 7). While holding these buttons, press and hold the LEARN button on the control box (FIGURE 8) or the PAIR button on the in-line switch (FIGURE FIGURE 9... - Page 11 REMOTE CONTROL PROGRAMMING - 1 OR 2 REMOTES TO OPERATE 2 BASES Before beginning procedure, both bases must be reset to factory default position. STEP 1 BASE 1 Plug both bases into power outlet. Operate each base with its respective remote control to verify the base functions properly.
-
Page 12: Power Down Operation
POWER DOWN OPERATION Use this procedure to lower the base to flat during a power outage. Do NOT put batteries in power down device until necessary for use. Note: Power down device uses 9-volt alkaline batteries, which are not included. STEP 1 Insert (2) 9-volt alkaline batteries into the power brick (FIGURE 12). -
Page 13: Troubleshooting
TROUBLESHOOTING If the adjustable base fails to operate, investigate the symptoms and possible solutions provided in the chart below: SOLUTION SYMPTOM • Program the remote control (see Remote Control User Guide for programming procedures). • Unplug power cord, wait 30 seconds and plug in to reset electronic components. -
Page 14: Warranty
1 YEAR, 3 YEAR AND 10 YEAR LIMITED WARRANTY In this warranty: “Adjustable base” means the adjustable bed foundation sold by L&P to the dealer. The “adjustable base” does not include the mattress. “L&P” means Leggett & Platt, Incorporated. “Purchaser” and “You” both mean the consumer who is the original purchaser of this adjustable base made by L&P. - Page 15 1 YEAR, 3 YEAR AND 10 YEAR LIMITED WARRANTY Repair or replacement shall be the sole remedy of the L&P makes no other warranty whatever, express or Purchaser. There shall be no liability on the part of L&P implied, and all implied warranties of merchantability and for any special, indirect, incidental, or consequential fitness for a particular purpose are disclaimed by L&P and damages or for any other damage, claim, or loss not...
- Page 16 290-0103-d EDR14780 7/18 NATIONWIDE CUSTOMER SERVICE (800) 888-3078 toll free: © 2018 Leggett & Platt, Inc. Consumer Products...
Need help?
Do you have a question about the Plymouth K-132 and is the answer not in the manual?
Questions and answers