
Related Manuals for Leggett & Platt Adjustable Base


Summary of Contents for Leggett & Platt Adjustable Base
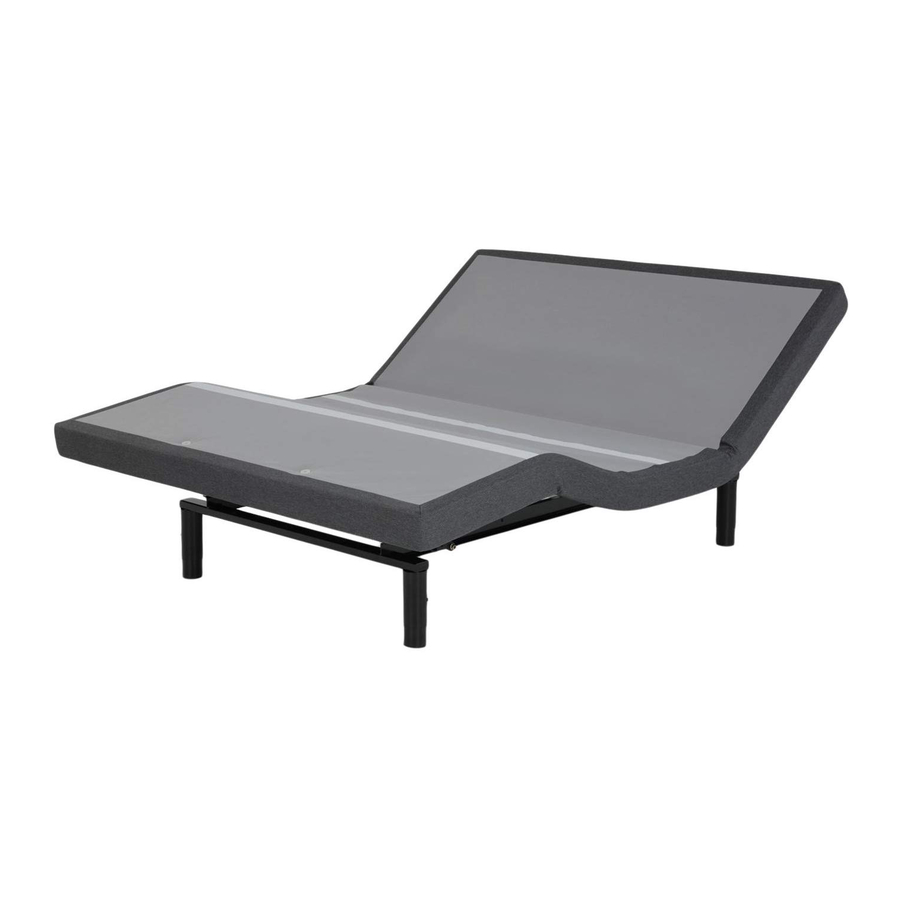
- Page 1 Adjustable Base setup guide Foldable Base CUSTOMER SERVICE (800) 888-3078 toll free: 291-0091-A EDR 15923 12/20 © 2020 Leggett & Platt, Inc. Adjustable Bed Group...
- Page 2 DUE TO RISK OF INJURY, TWO ADULTS ARE REQUIRED TO HANDLE AND MOVE ADJUSTABLE BASE. STEP 1 WARNING Open the shipping carton. Carefully, lift adjustable base out of shipping carton and place on clean surface. PINCH POINT WARNING! KEEP HANDS AND FINGERS CLEAR WHEN STEP 2 UNFOLDING BASE.
- Page 3 SETUP STEP 3 CAUTION Cut all orange zip-ties (FIGURE 2). Set mattress retainer (see FIGURE 2) aside. BE CAREFUL USING SHARP INSTRUMENTS. INJURY IS POSSIBLE IF TOOLS ARE NOT USED PROPERLY. FIGURE 2...
- Page 4 SETUP STEP 4 Verify contents; inspect for damage. x6 - Legs (leg type x1 - Remote Control may vary) (Varies according to base type. Image may not match actual remote control.) x4 - Thumb Screws x1 - Mattress Retainer AAA Batteries* x2 - Bed Latch Plates (quantity &...
- Page 5 SETUP STEP 5 A. Unscrew the two thumb screws located on each side of the base. B. Slide bed latch plates over to connect base sections. Align latch plates to holes in base boards. C. Insert thumb screws into the latch plate holes (FIGURE 3). D.
- Page 6 Extend power cord out head end of base. Remove protective covering from power cord plug. STEP 8 Rotate base over onto its legs. CAUTION WARNING HANDLE BASE BY FRAME ONLY. DO NOT DUE TO RISK OF INJURY, TWO ADULTS GRAB FABRIC. ARE REQUIRED TO HANDLE AND MOVE ADJUSTABLE BASE.
- Page 7 SETUP STEP 9 Install batteries in remote control, if applicable. REMOTE USER GUIDE Plug power cord into power outlet. Note: An electrical surge protection device is recommended (not included). Operate remote control to test base functions. See Remote Control User Guide for programming instructions (FIGURE 5).
- Page 8 SETUP STEP 11b (OPTIONAL) Insert the mattress retainer into the holes at the foot end of the base (FIGURE 7). FIGURE 7 STEP 12 Place mattress on base to complete assembly. USB PORTS Your base may be equipped with USB ports on each side of the base (at the head end).
Need help?
Do you have a question about the Adjustable Base and is the answer not in the manual?
Questions and answers