Advertisement
Advertisement
Table of Contents

Related Manuals for Swift SW200


Summary of Contents for Swift SW200
- Page 1 User Guide: SW200...
-
Page 2: Table Of Contents
Welcome to your Swift SW200 standard edition microscope! Whether you are a seasoned professional or a beginner hobbyist, Swift has the perfect microscope for you. This quick-start guide will introduce you to the components of your new microscope and help you begin to use it. For more information about our microscopes or customer service requests, please visit www.swiftoptical.com. -
Page 3: Specifications
I. Specifications Model SW200 Standard Edition Observation tube Monocular, 360° rotatable Inclination 30° Eyepiece Wide-field 10X and 25X Nosepiece Triple revolving Objectives 4X, 10X, and 40X Achromatic Magnifications 40X, 100X, 250X, 400X, and 1000X Stage Plain stage with slide clips... -
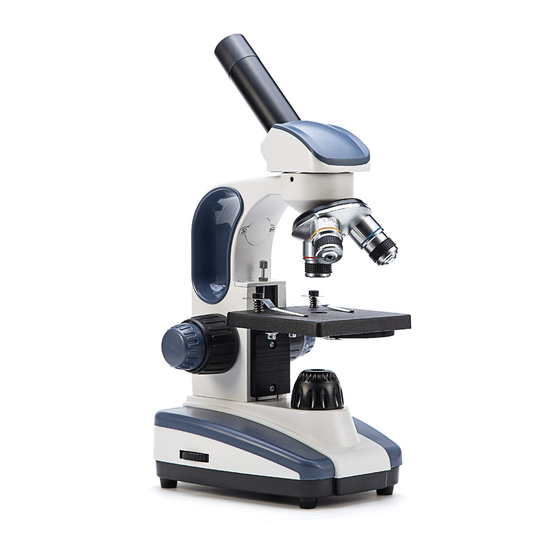
Page 4: Parts Of The Microscope
II. Parts of the microscope III. Assembly and set up Carefully remove the microscope from the box and set it on a sturdy, flat surface. Remove the plastic cover from the eyepiece holder on the microscope's head, then place an eyepiece into the holder. Locate the power adapter and attach it to the microscope, then plug it in. -
Page 5: Caring For Your Microscope
If you have a problem, you may be able to correct it yourself. Here are some common issues and easy solutions you can try before calling customer support for service. *Caution: Never disassemble the electrical, mechanical,or optical components. This servicing should only be done by a Swift technician. - Page 6 Issue Possible cause Solution Visual field is uneven, or Nosepiece is not locked in Turn nosepiece until you image is dark at the edges place to center the hear a click to center the objective lens objective lens Slide is not centered over Center the slide over the the bulb, leaving part of the bulb with the X-Y...
- Page 7 Light is too dim Iris aperture is closed too Open the iris aperture wider Lamp setting is too low Increase intensity on the control knob Condenser lens is dirty Wipe the condenser lens off with a soft cloth Voltage is too low Use the supplied power adapter Objective lens collides with...
-
Page 8: Warranty Information And Customer Support
● One (1) Year Warranty for Electrical and Video components. Does not cover light bulbs, batteries, fuses, or electrical cords. All warranties start from the original date of purchase. Swift provides the repair or replacement of warrantied parts for free, including labor, during the warranty period.
Need help?
Do you have a question about the SW200 and is the answer not in the manual?
Questions and answers