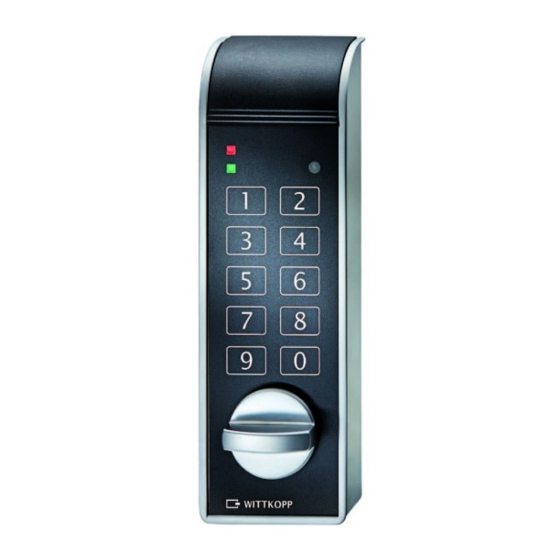
Wittkopp SmartCam User Manual
Hide thumbs
Also See for SmartCam:
- Installation instructions (4 pages) ,
- Quick start (2 pages) ,
- User manual (15 pages)
Table of Contents
Advertisement
User's manual
SmartCam
Content
1 General instructions _____________________________________________________________ 2
2 Authorisations __________________________________________________________________ 3
3 Signalisation ____________________________________________________________________ 4
4 Changing operation mode/number ________________________________________________ 5
5 Operating/programming operation mode K1 _______________________________________ 6
6 Operating/programming operation mode K2 ______________________________________ 10
7 Operating/programming operation mode K3 ______________________________________ 12
8 Operating/programming operation mode K4 ______________________________________ 13
9 Reset _________________________________________________________________________ 14
10 Testing the system _____________________________________________________________ 14
11 Bolt position signalisation ______________________________________________________ 14
12 Reading out operation mode ____________________________________________________ 14
13 Power supply and battery change ________________________________________________ 15
© Carl Wittkopp GmbH - Errors and omissions excepted
Rel. 1.3
19.07.2016
User´s manual no. 9999-132-0
Advertisement
Table of Contents

Summary of Contents for Wittkopp SmartCam
-
Page 1: Table Of Contents
10 Testing the system _____________________________________________________________ 14 11 Bolt position signalisation ______________________________________________________ 14 12 Reading out operation mode ____________________________________________________ 14 13 Power supply and battery change ________________________________________________ 15 © Carl Wittkopp GmbH - Errors and omissions excepted Rel. 1.3 19.07.2016 User´s manual no. 9999-132-0... -
Page 2: General Instructions
SmartCam 1 General instructions • Please read the operating instructions carefully, before activating the lock. 1.1 Liability notes • We don’t assume liability for malfunctions due to incorrect operation, use of force or inappropriate handling. In cases of damage to property or valuables, which are due to incorrect locking of the safe, we also don’t assume liability. -
Page 3: Authorisations
SmartCam 2 Authorisations Operation mode Authorisations User User User User Opening Master Master Master Master Administrator Facility-master Locking user code Keystroke Keystroke Changing code Changing code Locking administrator Keystroke Locking master code Keystroke Keystroke Locking facility-master code Keystroke Programming user code... -
Page 4: Signalisation
SmartCam 3 Signalisation Each key entry will be confirmed by a tone signal. This signal will not be considered in this instruction. This means that by entering the last digit three consecutively signals can be heard. Explanation LED red/tone signal... -
Page 5: Changing Operation Mode/Number
SmartCam 4 Changing operation mode/number In case of changing the operation mode/number all user codes will be deleted. Master code, administrator code and facility-master code remains valid. Changing the operation mode/number is only possible when the lock is opened. ... -
Page 6: Operating/Programming Operation Mode K1
SmartCam 5 Operating/programming operation mode K1 5.1 Locking K1 Close the door at the safe and enter any key. Turn the knob within 3 seconds into locking position. The lock is closed. 5.2 Opening K1 5.2.1 Opening with user code K1 ... - Page 7 SmartCam 5.4 Changing a user code K1 Press and hold the key “0“ for approx. 3 seconds. When releasing the key the green LED lights up permanently. 1313 / 13 2. Enter your old 4-/6-digit user code e.g.
- Page 8 SmartCam 5.7 Time delay and opening window K1 Only the administrator can program or delete the time delay. Only the master can open the lock when a time delay is programmed. Time delay: 00 - 99 minutes - time to wait until the lock can be opened.
- Page 9 SmartCam 5.7.3 Deleting the time delay K1 The time delay can only be deleted within the opening window. 3333 / 33 1. Enter your 4-/6-digit user code e.g. 2. Wait until the end of the time delay. every 10s 3.
-
Page 10: Operating/Programming Operation Mode K2
SmartCam 6 Operating/programming operation mode K2 6.1 Locking K2 Close the door at the safe and enter any key. Turn the knob within 3 seconds into locking position. The lock is closed. 6.2 Opening 6.2.1 Opening with user code ... - Page 11 SmartCam 6.4 Changing the master code K2 Changing the master code is only possible when the lock is opened. Press and hold the key “2“ for approx. 3 seconds. When releasing the key the green LED lights up permanently.
-
Page 12: Operating/Programming Operation Mode K3
SmartCam 7 Operating/programming operation mode K3 7.1 Locking K3 At any time upon locking a 4-/6-digit user code can be chosen. 1. Close the door at the safe and turn the knob into locking position. 3333 / 33 2. -
Page 13: Operating/Programming Operation Mode K4
SmartCam 8 Operating/programming operation mode K4 8.1 Locking K4 At any time upon locking a 4-/6-digit user code can be chosen 1. Close the door at the safe and turn the knob into locking position. 3333 / 33 2. -
Page 14: Reset
SmartCam 9-13 Valid for all operating modes 9 Reset In a case of a reset all user codes will be reset to factory mode. Programmed user codes will be deleted. Reset is only possible when the lock is opened. -
Page 15: Power Supply And Battery Change
• Always dispose used batteries in an environmentally friendly way. In order to change battery loosen screw and slide out battery compartment Cut foil and remove. Hold battery here Fig. 1: Battery compartment SmartCam and emergency powering contacts... - Page 16 SmartCam Notice...


Need help?
Do you have a question about the SmartCam and is the answer not in the manual?
Questions and answers