Advertisement
Installation instructions Primor 100
Content
1 General instructions _____________________________________________________________ 2
2 Installation input unit Primor RO ___________________________________________________ 2
3 Installation input unit Primor RE ____________________________________________________ 4
4 Installation lock Primor 100 _______________________________________________________ 6
5 Connection input unit/lock ________________________________________________________ 9
6 Functional test __________________________________________________________________ 9
© Carl Wittkopp GmbH - Errors and omissions excepted
Installation instructions no 9999-139-0
Advertisement
Table of Contents

Subscribe to Our Youtube Channel
Related Manuals for Wittkopp Primor 100


Summary of Contents for Wittkopp Primor 100
-
Page 1: Table Of Contents
2 Installation input unit Primor RO ___________________________________________________ 2 3 Installation input unit Primor RE ____________________________________________________ 4 4 Installation lock Primor 100 _______________________________________________________ 6 5 Connection input unit/lock ________________________________________________________ 9 6 Functional test __________________________________________________________________ 9 © Carl Wittkopp GmbH - Errors and omissions excepted Installation instructions no 9999-139-0... -
Page 2: General Instructions
Installation instructions Primor 100 1 General instructions • Please read the installation instructions carefully, before activating the lock. 1.1 Liability notes • The mounting of the electronic lock and the input unit has to be carried out according to the installation instruction. - Page 3 Installation instructions Primor 100 2.3 Axis length calculation input unit Primor RO 2.3.1 In connection with Primor 100 2.3.2 Door drilling for connection axis Türlochbohrung mind . ø10,6 - max. ø11,4 min. Ø 10,6 mm/max. Ø 11,4 mm Türlochbohrung Connection axis: mind.
-
Page 4: Installation Input Unit Primor Re
Installation instructions Primor 100 2.4.3 Cable guidance Primor RO 2.4.4 Plug position Primor RO Plug position Connection axis • Lead connection cable through the input unit. • Insert the connection axis into the input unit from behind. • Lead connection cable through the input unit and connect the plug. - Page 5 Installation instructions Primor 100 3.3 Axis length calculation input unit Primor RE 3.3.1 In connection with Primor 100 3.3.2 Door drilling for connection axis Türlochbohrung mind . ø10,6 - max. ø11,4 min. Ø 10,6 mm/max. Ø 11,4 mm Connection axis: Türlochbohrung...
-
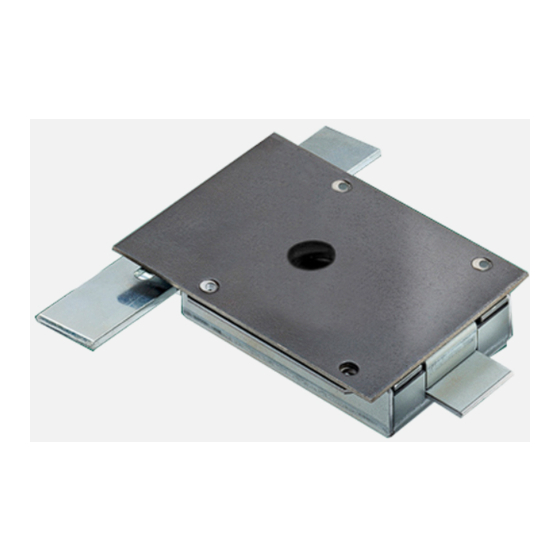
Page 6: Installation Lock Primor 100
Installation instructions Primor 100 4 Installation lock Primor 100 Before mounting the lock the input unit RO or RE has to be installed (see up to page 2). • The lock can be installed in all conventional safes. • The maximal bolt load against ist closing direction may not excel 5N. - Page 7 If the lock is mounted without ist lock case further installation guidelines have to be considered. Non-observance leads to loss of VdS certification. A separate installation instruction can be found on www.carl-wittkopp.com. 4.2 Mounting lock Primor 100 - lock cover screwed 4.2.1 Dimensions lock Primor 100 - lock cover srewed...
- Page 8 Installation instructions Primor 100 4.3 Mounting lock Primor 100 - lock cover welded 4.3.1 Dimensions lock 100 - lock cover welded 4.3.2 Dimensions lock Primor 100 - lock cover welded (without anti-drilling plate) (with anti-drilling plate) 102,1 Hub/Stroke Hub/Stroke 12 Platzbedarf für Riegelhub /...
-
Page 9: Connection Input Unit/Lock
Installation instructions Primor 100 5 Connection input unit/lock 5.1 Primor 100 Plug position • Connect the plug of the input unit with the lock in its designated position. • Connect the battery with its clip. • Only use 9v block batteries.
Need help?
Do you have a question about the Primor 100 and is the answer not in the manual?
Questions and answers