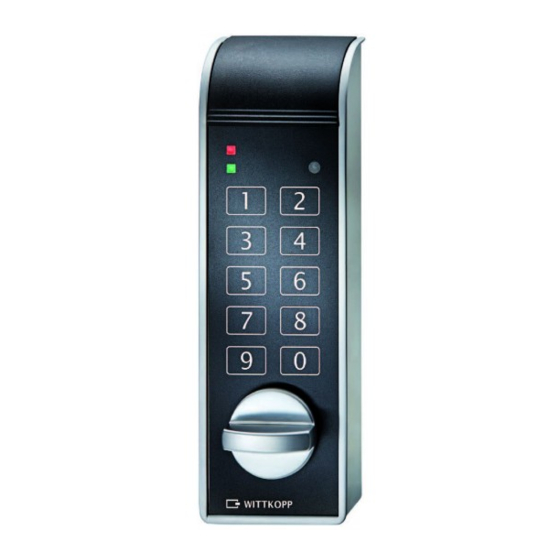
Wittkopp SmartCam Installation Instructions
Hide thumbs
Also See for SmartCam:
- User manual (16 pages) ,
- Quick start (2 pages) ,
- User manual (15 pages)
Table of Contents
Advertisement
Quick Links
Installation instructions SmartCam
1 General instructions
• Please read the installation instructions carefully, before activating the lock.
• Attention: The turning knob may not be operated before assigning closing direction.
1.1 Liability notes
• The mounting of the electronic lock has to be carried out according to the installation instruction.
• By opening the lock cover warranty of the manufacturer will be void.
• Take care that the input unit or the lock and the battery cable should not be damaged.
2 Mounting
•Various lever versions can be mounted. Check the lock for flawless functioning.
• The electronic lock/mechanical emergency lock is maintenance free in normal domestic and office surroundings. After ap
prox. 10,000 closures it is recommended to carry out a security and functional test of the electronic lock.
• Do not insert any lubricants or other substances into the electronic lock.
2.1 Installation dimensions SmartCam
2
13,6
13,6
26,5
27
26,5
69
69
2
50
27
2.2 Drill pattern SmartCam
50
16
• When using the drilling plan use the graphic in the
given measurement
© Carl Wittkopp GmbH - Errors and omissions excepted
Installation instructions no 9999133-0
Advertisement
Table of Contents

Summary of Contents for Wittkopp SmartCam
- Page 1 • Do not insert any lubricants or other substances into the electronic lock. 2.1 Installation dimensions SmartCam 2.2 Drill pattern SmartCam 13,6 13,6 26,5 26,5 • When using the drilling plan use the graphic in the given measurement © Carl Wittkopp GmbH - Errors and omissions excepted Installation instructions no 9999133-0...
- Page 2 Installation instructions SmartCam 3 Closing strokes 3.1 Overview closing strokes • R: right-hand locking • L: left-hand locking OPEN OPEN CLOSE CLOSE OPEN OPEN CLOSE CLOSE CLOSE CLOSE OPEN OPEN Rel. 1.1...
- Page 3 Installation instructions SmartCam 3.2 Adjusting closing stroke Attention: turning knob may not be operated before. Closing stroke can not be changed after installing the cylinder pin! Cylinder pin • Adjust closing stroke as in 3.1 and push cylinder pin flush in position R (right-hand locking) or position L (left-hand locking).
- Page 4 Installation instructions SmartCam 5 Functional test (when the door is open) • Carry out a functional test after installing the lock. • Press and hold the key “8“ for eg. 3 seconds. When releasing the key the green LED flashes permanentely.


Need help?
Do you have a question about the SmartCam and is the answer not in the manual?
Questions and answers