Advertisement
Quick Links
IMPORTANT SAFEGUARDS
When using electrical equipment, basic safety precautions should
always be followed including the following:
READ AND FOLLOW ALL SAFETY
INSTRUCTIONS
1.
DANGER- Risk of shock- Disconnect power before installation.
DANGER – Risque de choc – Couper l'alimentation avant
l'installation.
2.
This luminaire must be installed in accordance with the NEC or
your local electrical code. If you are not familiar with these codes
and requirements, consult a qualified electrician.
Ce produit doit être installé conformément à NEC ou votre code
électrique local. Si vous n'êtes pas familier avec ces codes et
ces exigences, veuillez contacter un électricien qualifié.
SAVE THESE INSTRUCTIONS FOR
FUTURE REFERENCE
• Prior to installation, store luminaire in a dry location protected from rain,
dust, and outdoor environment. If equipped with a photocell receptacle,
remove the protective cover only if immediately replacing with a suitable
photocell, shorting cap, or other compatible device. The protective socket
cover is not intended to remain in place after installation. Do NOT leave
receptacle open to environmental elements. Luminaires with a top-
mounted photocell receptacle should not be installed in an up-light position
or at a tilt greater than 45 degrees from the down-light position.
TO INSTALL:
1
Pole Mount Adapter
5/16" Hex Nut
DIRECT POLE MOUNT
NOTE: Access to Components Compartment
is not necessary for installation. To access
the Components Compartment, loosen (5)
self-retaining screws on the luminaire Cover
Door. See Figure 4.
STEP 1:
Verify that there is access from top of the
pole.
STEP 2:
Use dimensions on template shown on the
back page for drilling if pole is not pre-
1 of 3
Backing
Plate
Foam Gasket
Pole
drilled. (Template is not to scale.)
STEP 3:
From top of the pole insert Backing Plate
with pre-assembled top bolt through the top
mounting hole of the pole. See Figure 1.
STEP 4:
Remove any extra gaskets plugs from the
foam gasket and place gasket over bolt
extending from pole. See Figure 1.
NOTES:
• DO NOT remove the knock out on the top of the luminaire
(See
Figure 3 on page 2). If a NEMA or photocontrol is desired
customer must order OSQ luminaire with factory installed
NEMA Photocell Receptacle (R option). NEMA photocell
receptacle or photo control's are not field installable.
•
Use a ½" socket with a minimum 9" extension to reach all
the way thru the arm to fasten the nut.
•
A 3/16" Allen screw driver is needed to tighten the set
screws.
•
Compatible with 3.0" or larger round or square poles.
2
Pole Mount Adapter
Backing Plate
STEP 5:
Place the top hole of the Pole Mount Adapter
over the top bolt from the pole and secure
from inside the adapter with supplied 5/16"
hex nut. See Figure 1.
STEP 6:
Install remaining bolt with star washer inside
the pole through the bottom hole of the
Backing Plate and thread into the Pole Mount
Adapter. Torque the 5/16" hex nut and bolt to
132 in-lbs (15 N-m). See Figure 2.
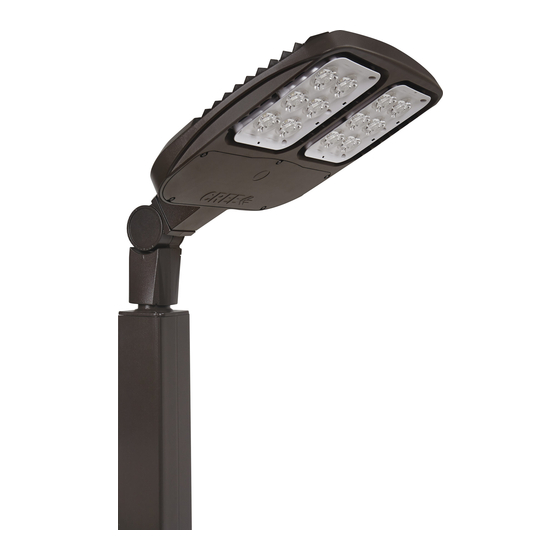
OSQ Series
LED Area Light
Direct Pole Mount
INSTALLATION INSTRUCTIONS
INSTRUCTIONS D'INSTALLATION
Pole
LPN00219X0001A5_A
Advertisement

Related Manuals for Cree OSQ Series


Summary of Contents for Cree OSQ Series
- Page 1 OSQ Series LED Area Light Direct Pole Mount IMPORTANT SAFEGUARDS INSTALLATION INSTRUCTIONS INSTRUCTIONS D’INSTALLATION When using electrical equipment, basic safety precautions should always be followed including the following: READ AND FOLLOW ALL SAFETY INSTRUCTIONS DANGER- Risk of shock- Disconnect power before installation.
- Page 2 NOTE: This luminaire may be provided with field adjustable dimming. If so, luminaires leave the factory adjusted to the maximum setting specified when ordered. Visit www.cree.com/Lighting/ Document-Library for product dimming spec sheet. STEP 1: The Dimming module is located inside the luminaire.
- Page 3 Connect orange fixture lead to orange supply lead. g. Connect red fixture lead to brown supply lead. © 2018 Cree, Inc. All rights reserved. For informational purposes only. Content is subject to change. See http://lighting.cree.com/warranty for warranty and specifications. Cree is a registered trademark, and the Cree logo is a ®...
Need help?
Do you have a question about the OSQ Series and is the answer not in the manual?
Questions and answers